In case y’all haven’t figured it out, I like anime. Quite a bit. And one of my favorite animes so far is My Hero Academia, set in a future where superheroes and superpowers are commonplace. While my favorite character may be Bakugo…

…My favorite visual effect / design choice is Midoriya in his Shoot Style setup, a soccer-like, kick-based fighting style he uses in conjunction with leg armor and cleats to kick some serious butt.

I wanted to make my own setup, loosely inspired after Shoot Style. I’ve always been a fan of armor, and it seemed like a fun project. I was spending Thanksgiving break at school, so I used the time to do a quick two-day build.
.
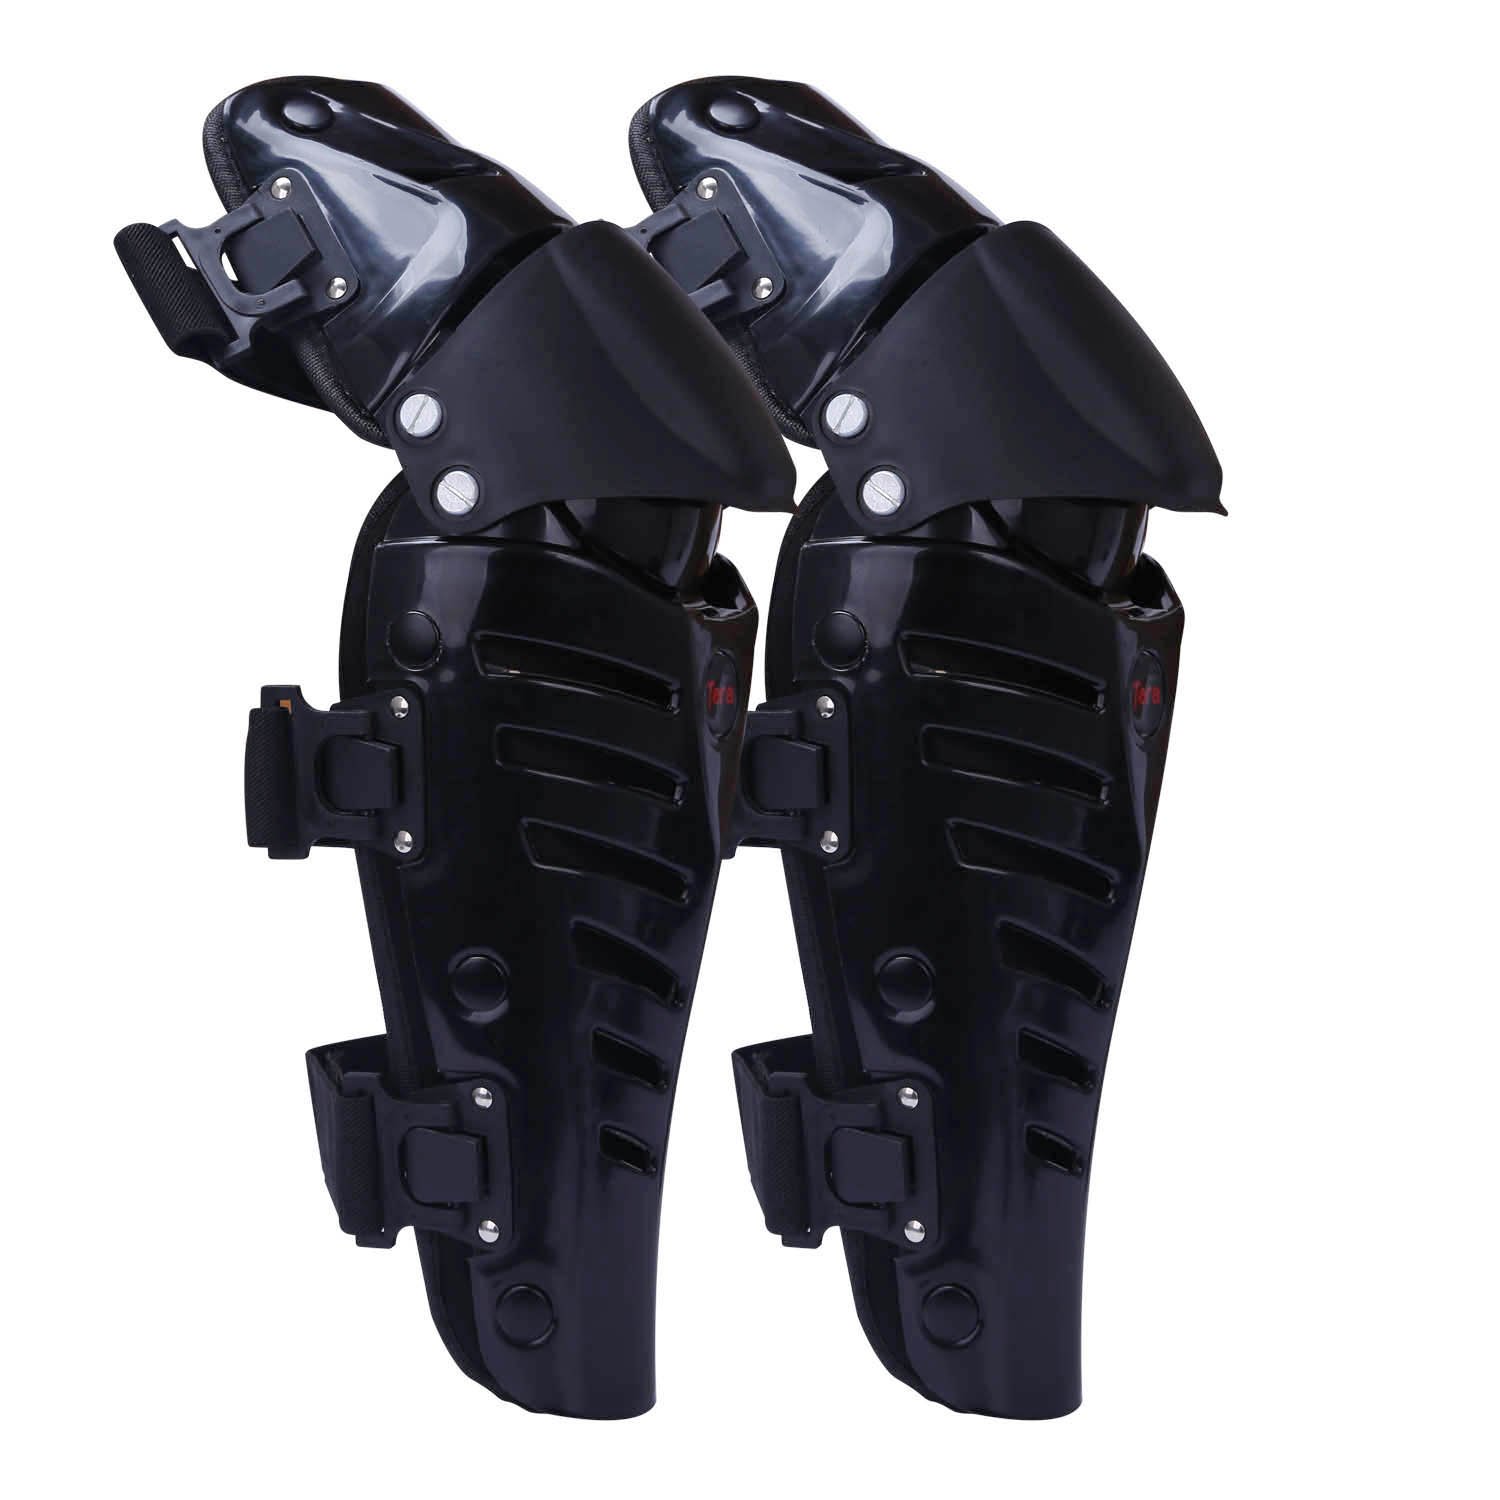
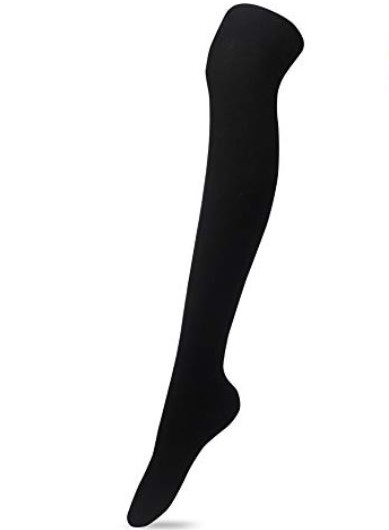
I bought some motorcross leg armor on Amazon, along with some women’s black kneesocks to cover the back of my calves. The armor would be the base for this build.
Kind of a tangent: I’m a pretty reckless biker, always sliding around, falling off, and getting cut up. My friends are always giving me grief about all my leg scars too. So this armor had some practical purpose too, and wasn’t just for looks!
I needed some way to have the green light effect on my legs, so I managed to swing some free LEDs from Engi 210. They were bright and perfect for my application.


Next, I had to modify the armor a bit. Inside the outer plastic shell, there was a layer of foam padding, and a final inner cloth sleeve. I tore out all the foam to make space for my LED setup. I also shaved off a decent amount of plastic away from the hinge areas, to increase my legs’ range of motion when armored up.

I had planned to use some mesh or translucent fabric to diffuse the light, but there wasn’t any readily available in the makerspace and I was short on time. I considered using the black fabric from my underwear, but it turned out that if I didn’t stick the LED bulb directly inside the armor vent, the light would bounce off the inner fabric sleeve and diffuse enough without me having to do anything. Nice!


Next, I basically wired 2 sets of LEDs in parallel, in parallel, and glued them close (but not inside) the vents. I used thin-gauge solid core wire because it was a bit easier to bend and keep in place (it was also all the makerspace had at the time).
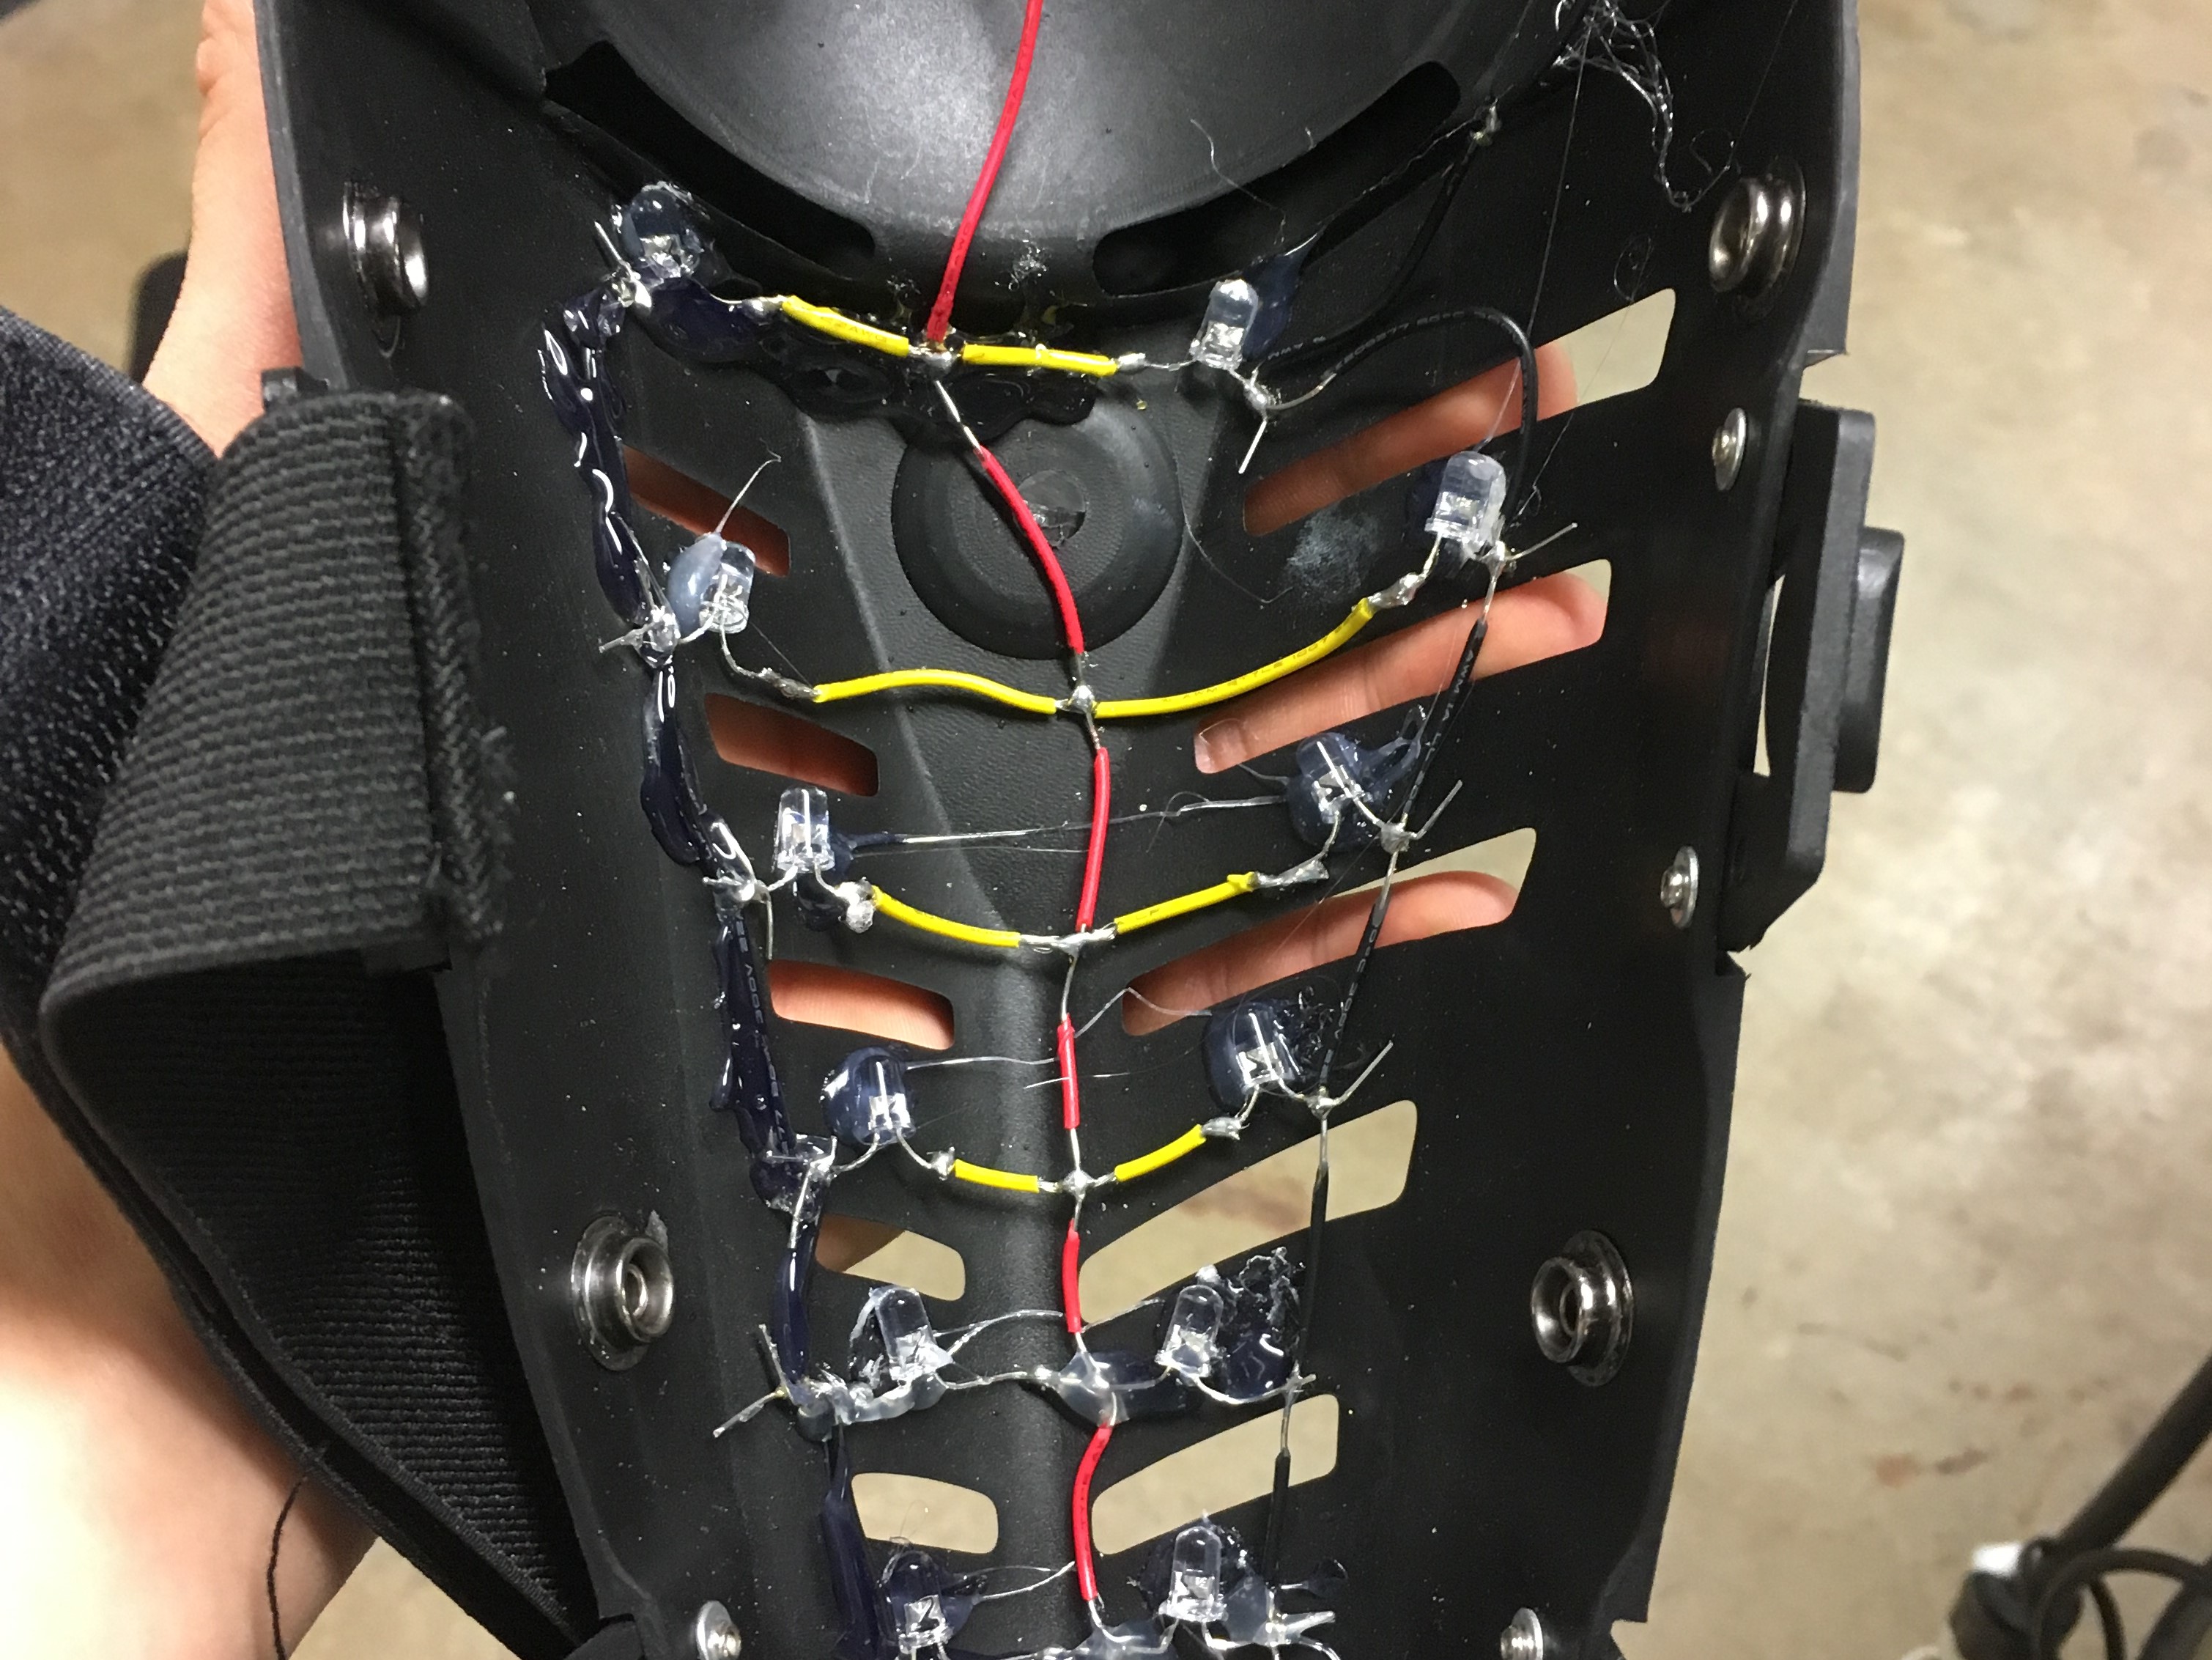

Near the hinge area, I routed the wires through some 3D-printed wire guides I made, so they couldn’t get caught. It’s in the above right picture too, but it might be hard to see in all the black.

Next, I needed some way to mount the battery. I didn’t want to go with a hard compartment, as that would have been bulky and annoying. What I did was instead was take some strap fabric and thread, and sewed…


A little battery pouch on the inside of the fabric sleeve. The battery slides right in.


With the inserts snapped into place, you can barely even tell it’s been modified at all, save for one or two wires peeking out.

Finally, I superglued the loose threads in the pouch, and painted over some nicks that probably happened during shipping.


Also! the look wouldn’t be complete with the Midoriya’s trademark red shoes, so I went on NikeID and got some Chucks in custom colors. They ended up being pretty sick.


I haven’t gotten to take a picture with the whole setup together, with school and whatnot, but I’ll update when I do!
This thing looks so cool! I jumped around and did a bunch of kicks while armored up and they left these cool, ghostly green shadows on the walls. Best of all, they leave freaking light trails, just like in the show!


Just realized how stupid I look jumping on repeat but that’s ok. Yah, that’s about it, thanks for reading!
