Original Title: “Yo! Shinji! Get in the 「Muppet」!”
Hey everyone, it’s Brian again (and for the last time)
For our ENGI 210 final, Adulfo and I worked together to make our molded chess piece (knight). While much of the class chose some interesting and intricate designs (cough cough Adulfo and his sea dragon), I decided to take a ‘counterculture’ approach and to make my piece as janky, memey, and intentionally bad as possible.
I’d like to say my decision to make a knight was inspired by Monty Python’s Kniggits gag, but it really wasn’t. I wasn’t even in class when groups and pieces were assigned; was busy playing hooky instead. But here is the video anyway. It’s pretty hilarious.
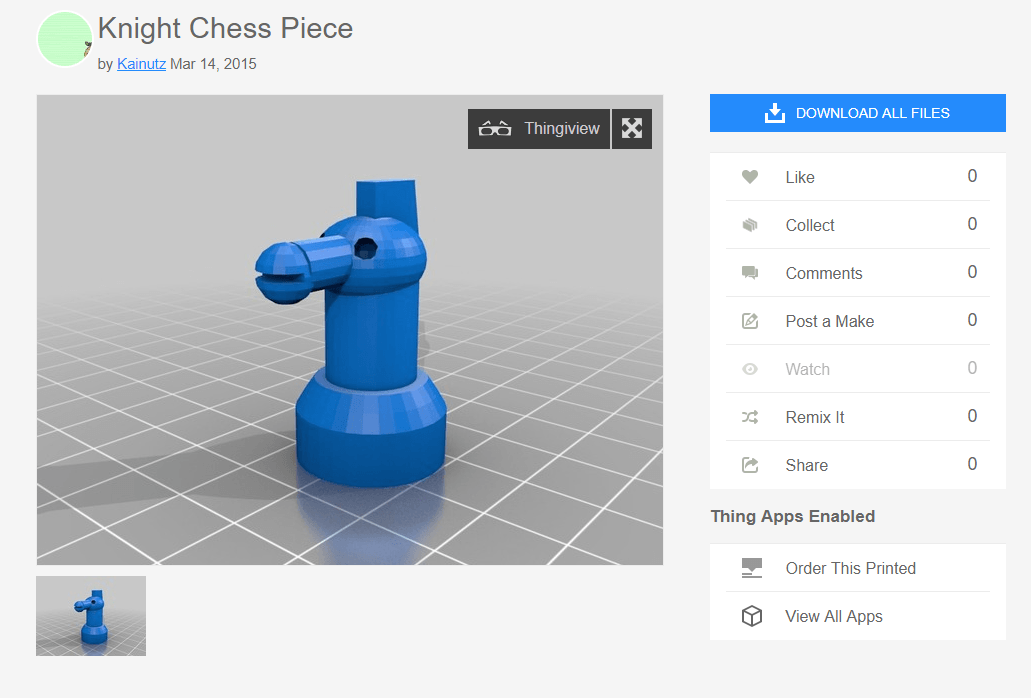
(1) I found a “Knight Chess Piece” by someone named Kainutz on Thingiverse and immediately wanted to use it for my project. Not to bash Kainutz at all, but the ‘horse’ looked more like a duck and I couldn’t look at the design without dying.
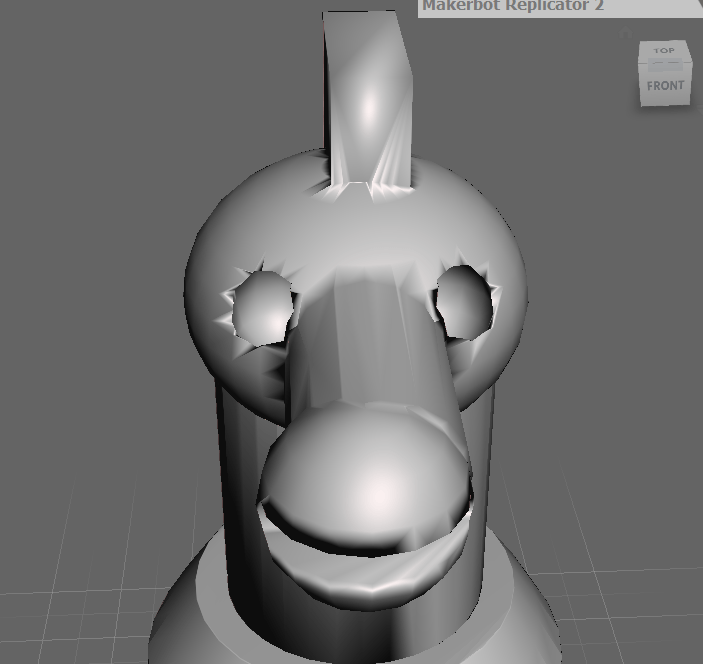
(2) Imagine this beauty looking through your bedroom window in the middle of the night. Also (to my endless amusement), the mouth piece wasn’t even aligned.
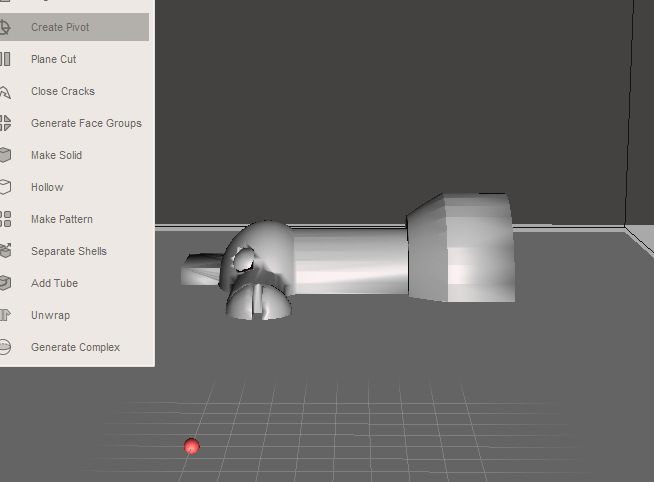

(3) Imported the file into meshmixer to slice it in half
(4) And then into Fusion 360 to do some preprocessing and CAM stuff. I was having some trouble scaling the file, and I eventually lost patience and rebuilt the file in Solidworks instead.

(5) My (even further) simplified version of Kainutz’s knight piece. I hadn’t realized how much Solidworks I’d forgotten until now, so relearning this was almost as hard as learning Fusion 360.
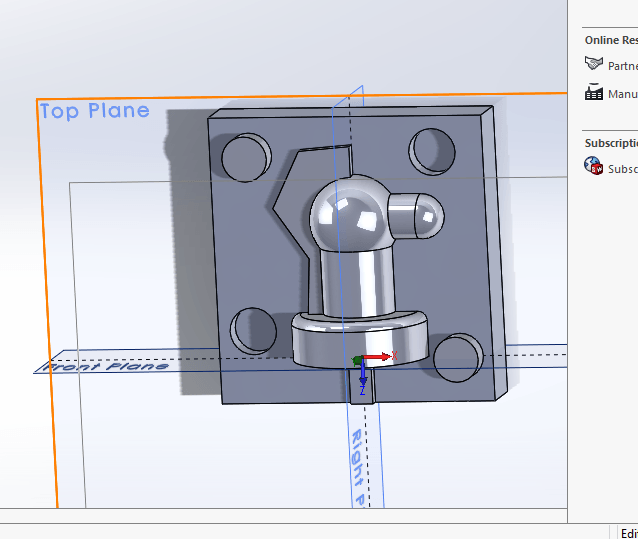
(6) Added the rectangular enclosure, alignment tabs and holes, and a fill nozzle. We optimized the CAD a few times after this, shrinking the enclosure size to reduce cut time, and resizing/repositioning the tabs and holes accordingly. The fill hole was also too small, but instead of enlarging the hole in CAD, we opted to cut into the actual silicone of the mold.
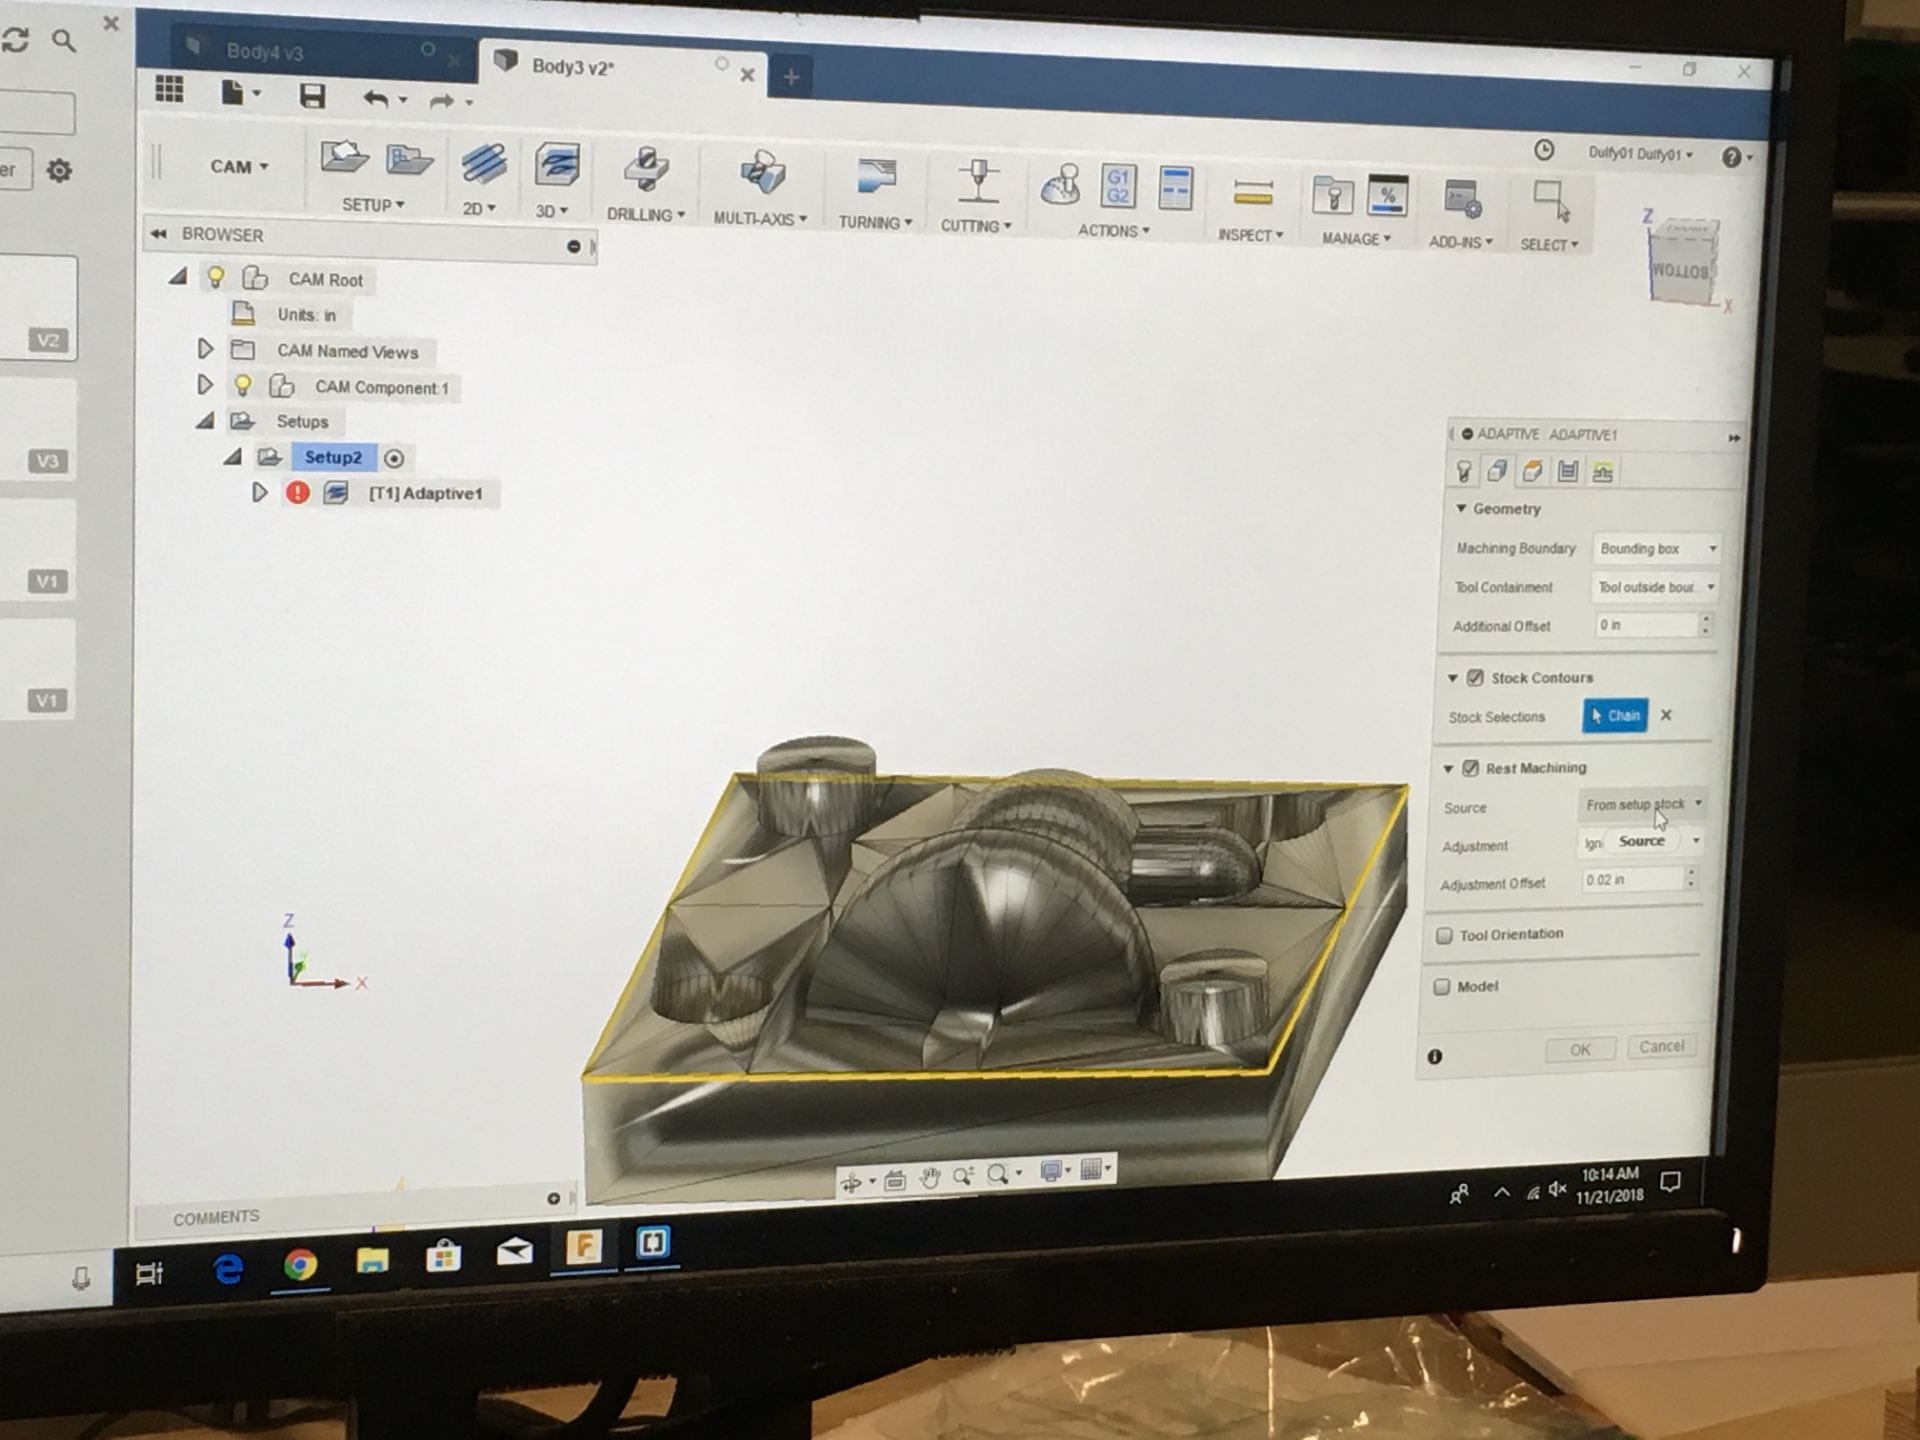
(7) Running the CAM simulation in Fusion 360
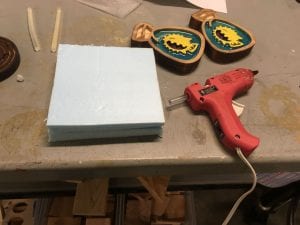
(8) Gluing two pieces of blue foam together for our test cut. I saw many people trying to saw through the foam with box cutters, but the real trick to clean cuts is to score the surface and break through the rest of the board with a karate chop or something.
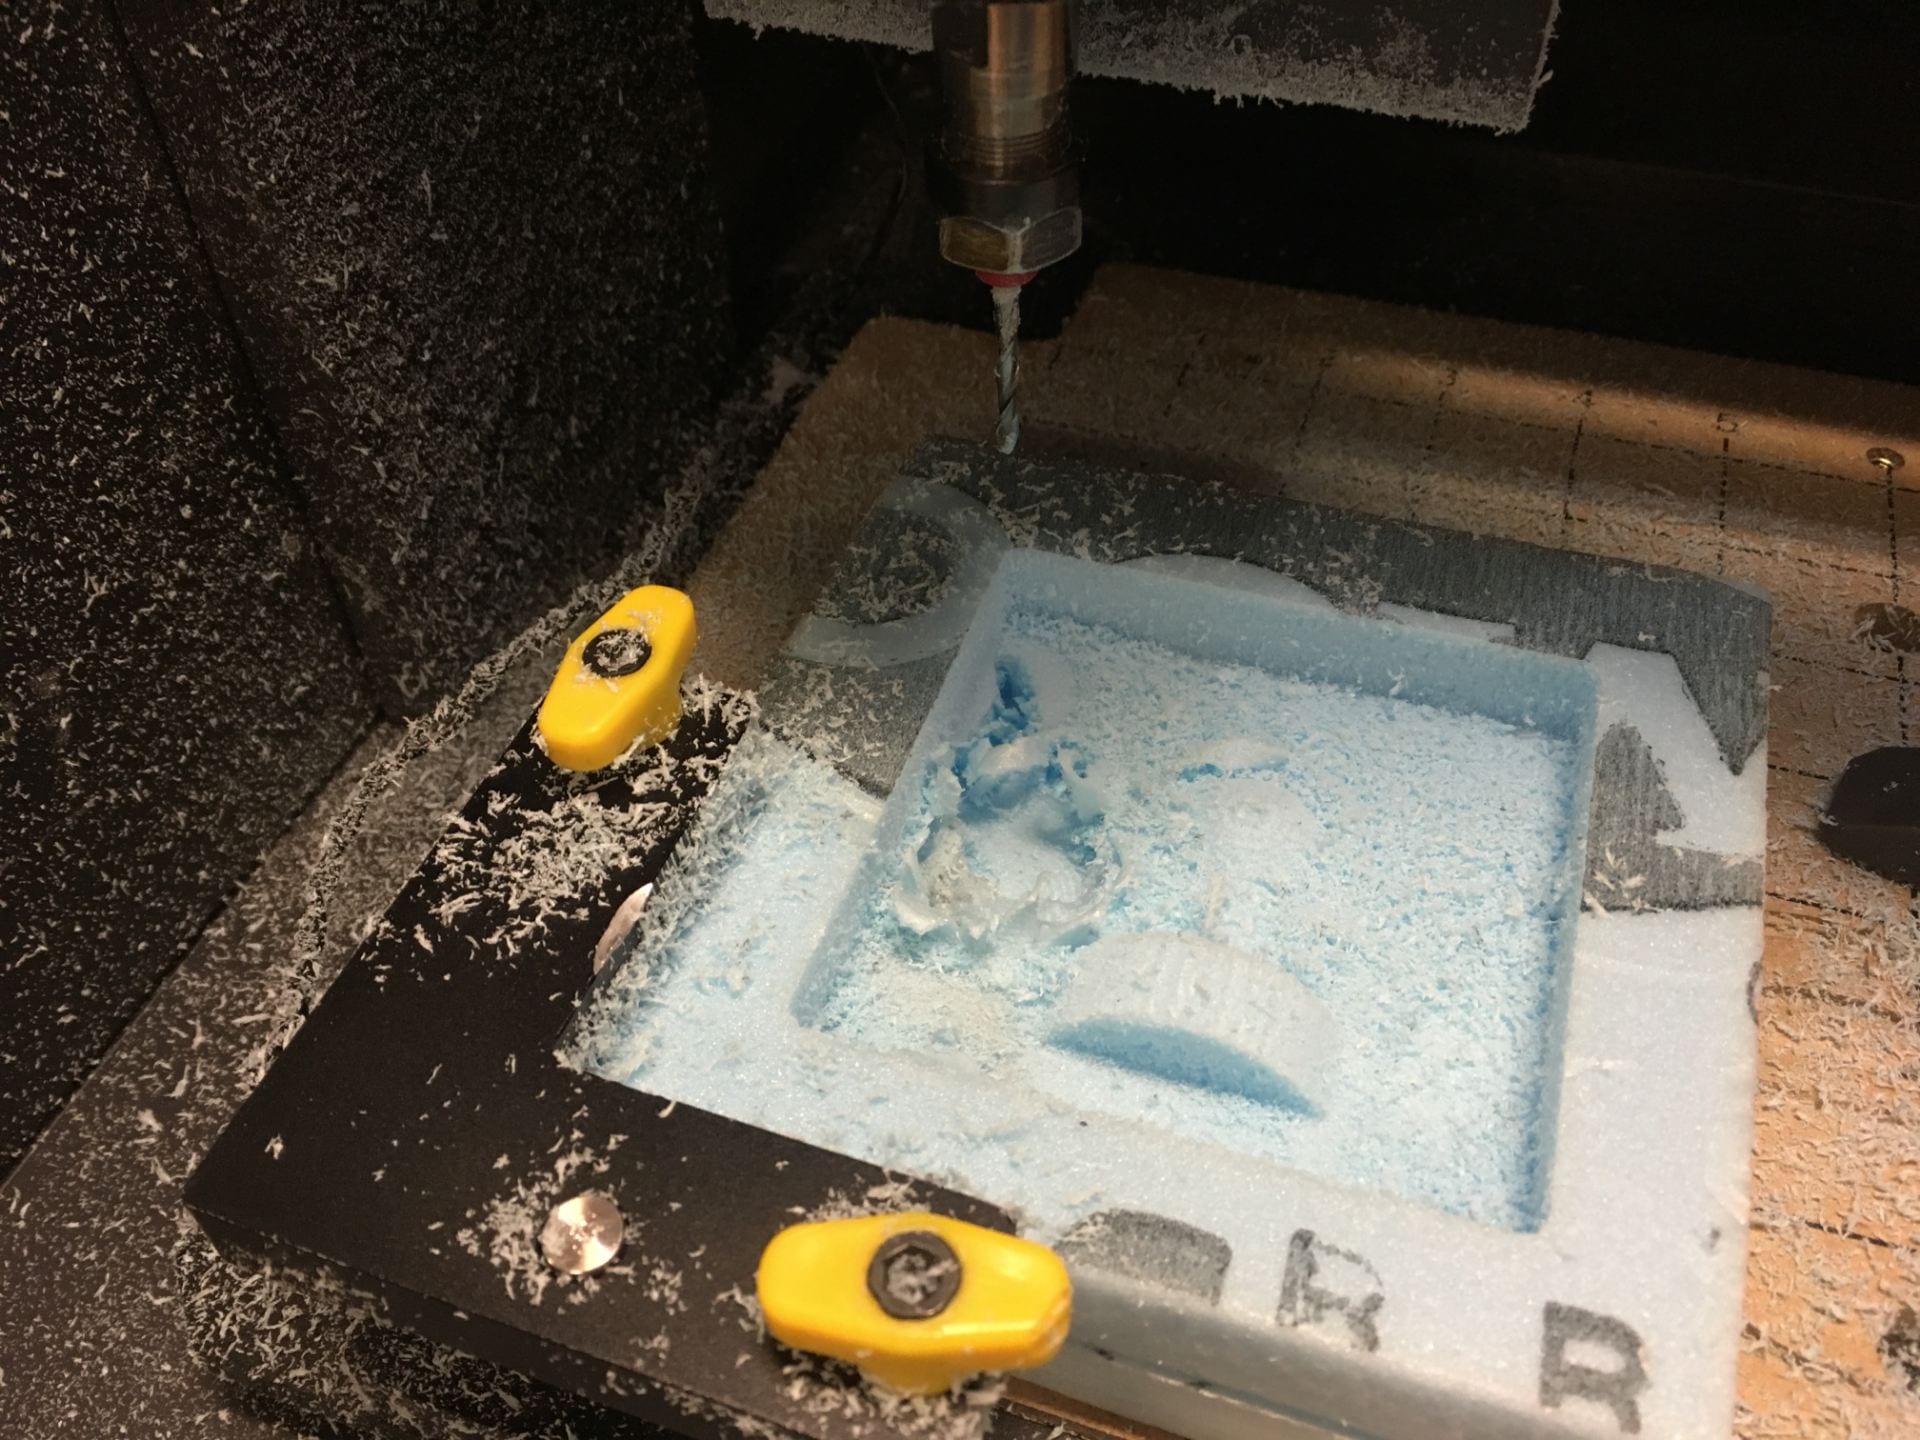
(9) The glue layer in between the foam turned out to be a huge problem. Since the base of our chess piece was 1.5 inches across, our enclosure and cuts needed to be at least to that depth in the foam. However, the glue gummed up the bit when it cut through, and the glue-bit combination spinning around at speed shredded the rest of our piece.
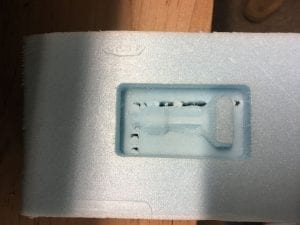
(10) Looks like we weren’t the only group to have this problem. This was another group’s cut. There was no possible way to get the foam to be one continuous piece, since there is a layer of hot glue between them, and hot glue has thickness. Unless you didn’t glue the inside faces and only did the outside edges… Hmm. well anyway
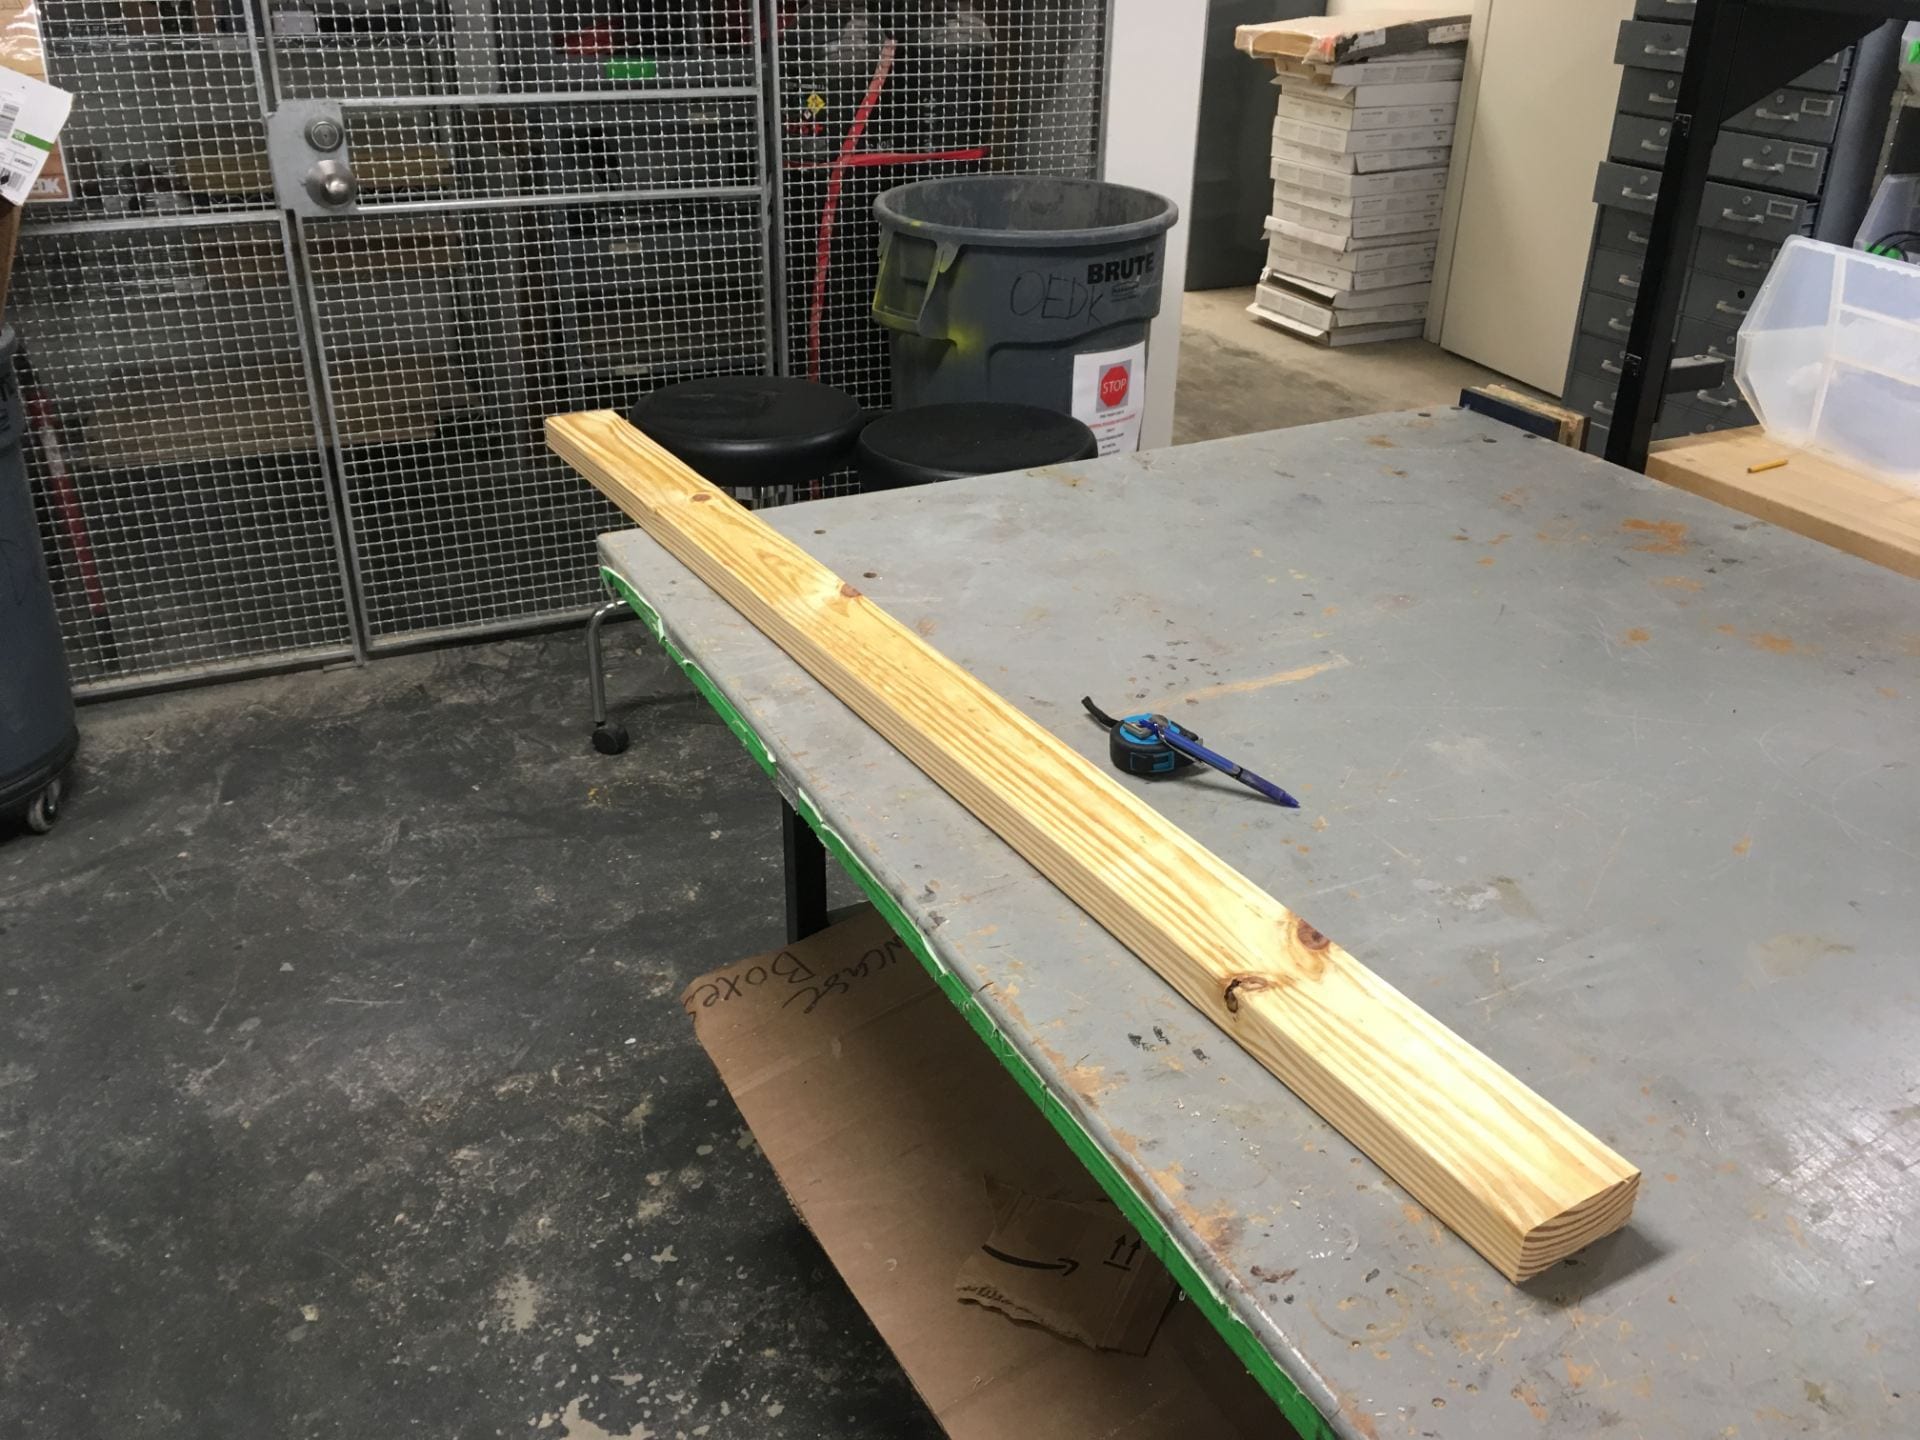
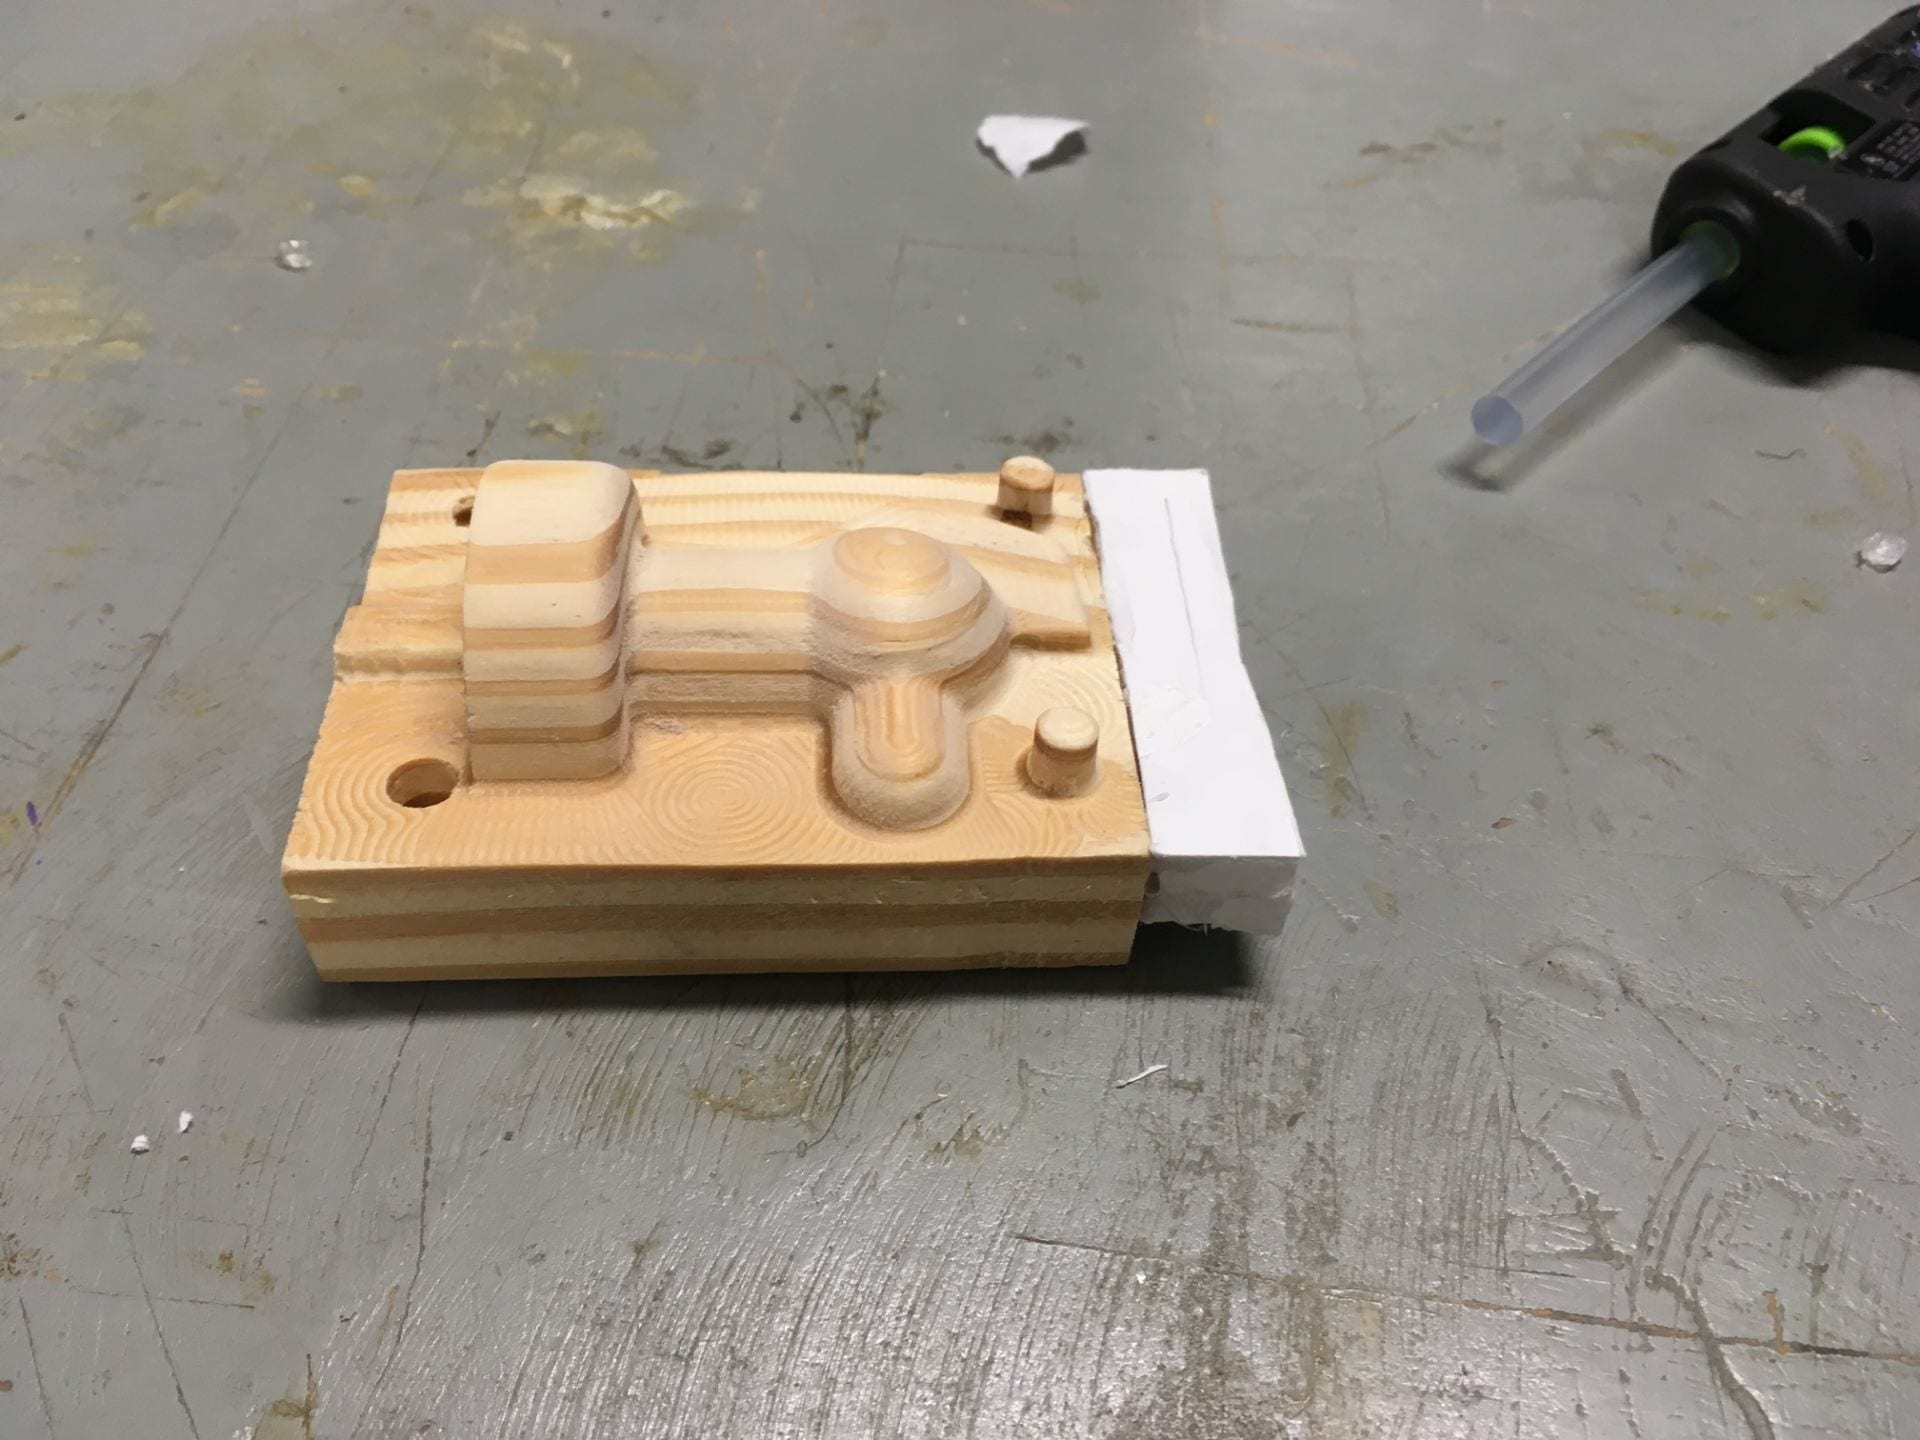
(11) Jigsawing some 4-inch segments of 2″x4″ to carve instead
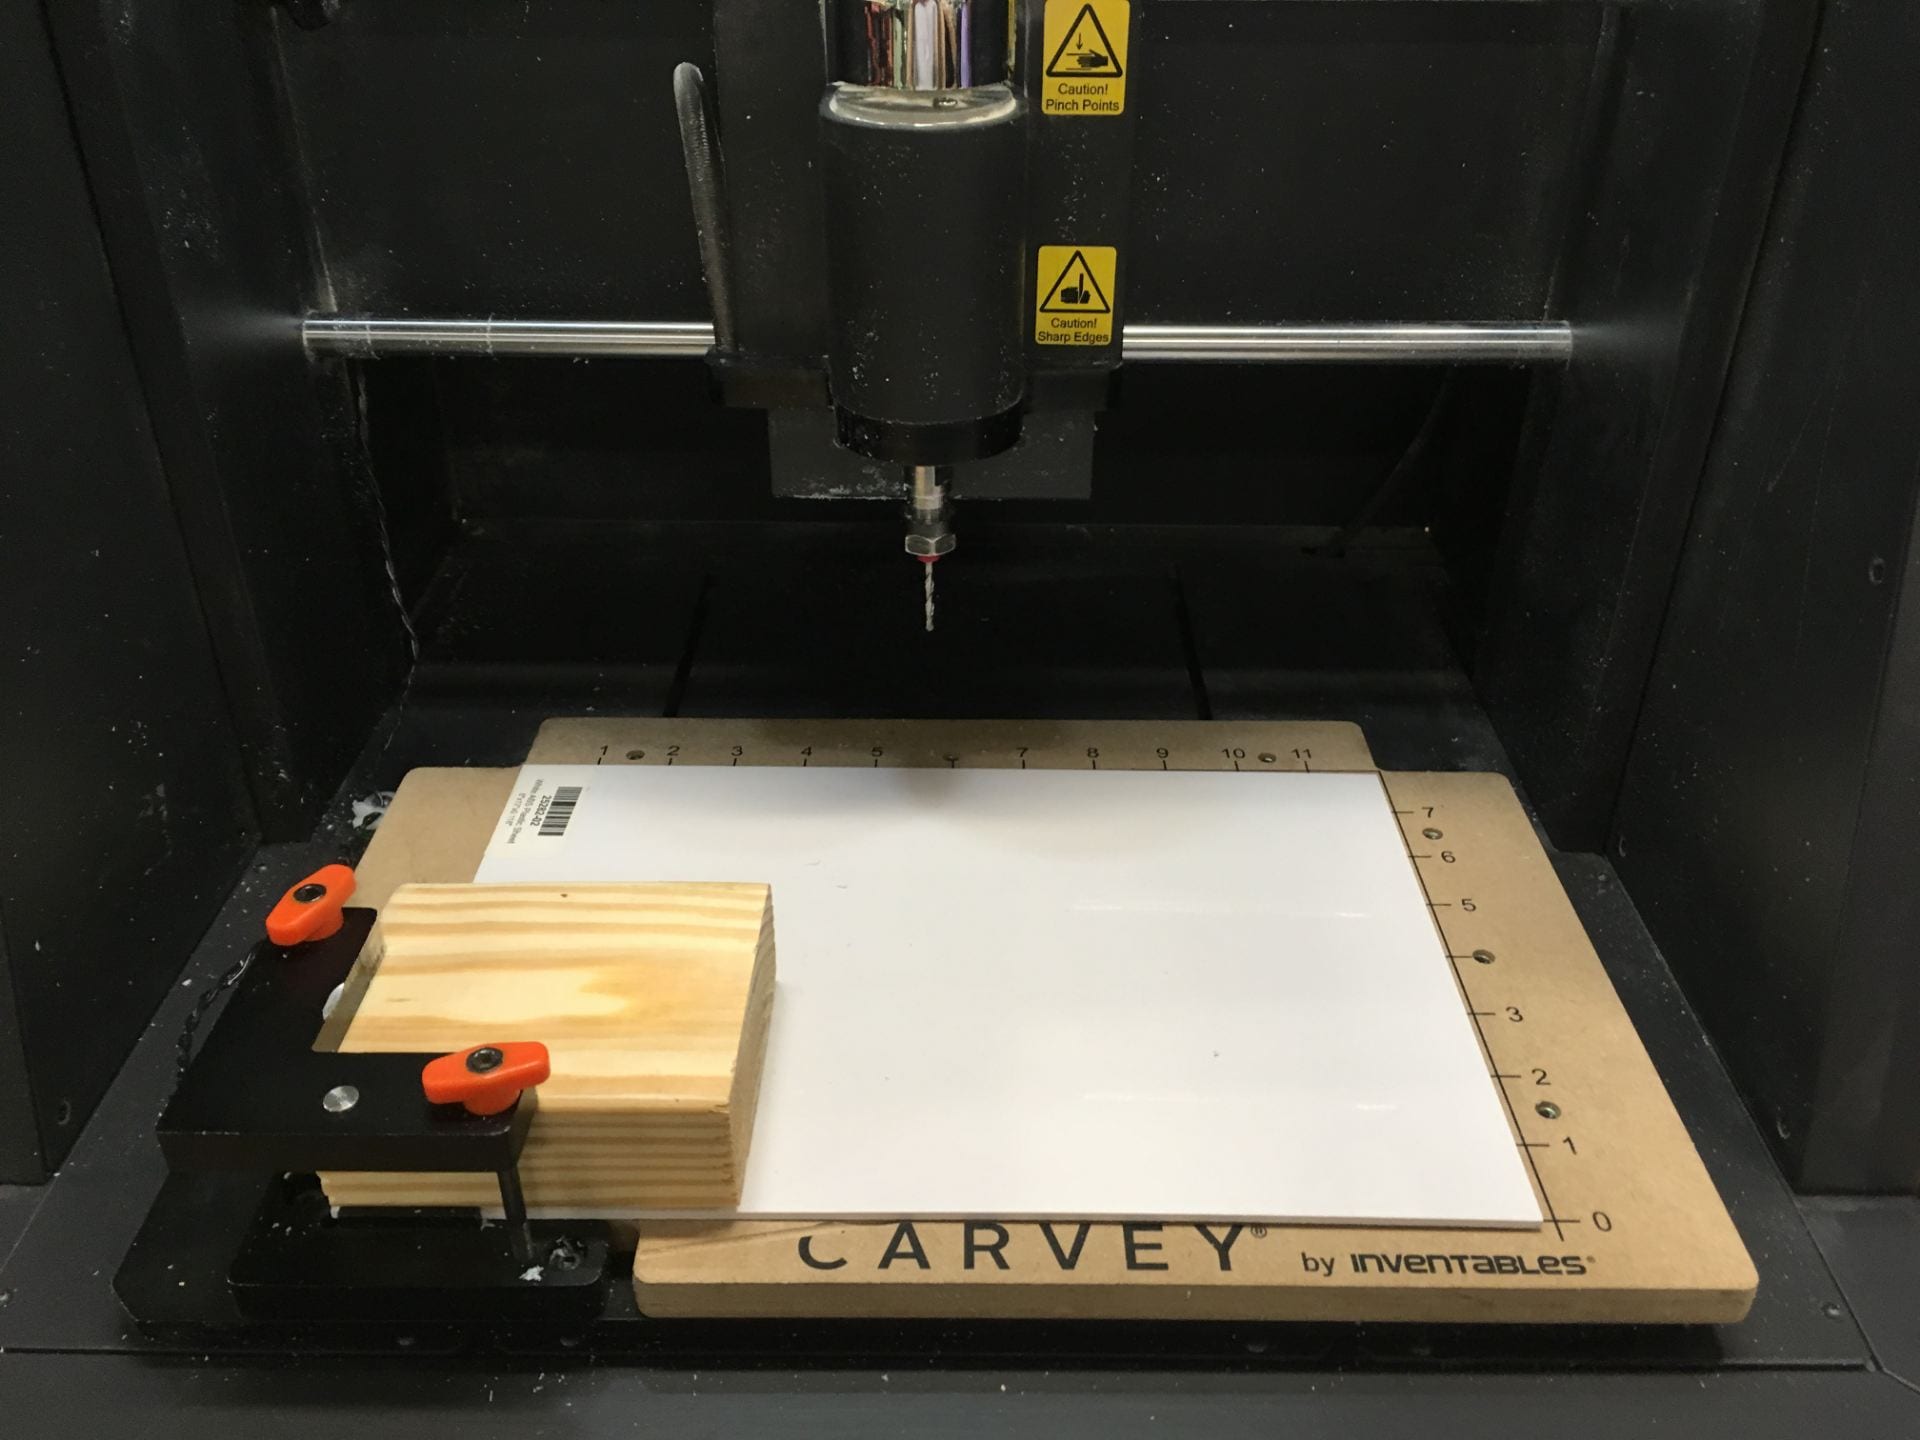
(12) The orange thumbscrews were too long to secure the wood in carvey’s work plane, so we wedged some ABS sheet under to make up the difference. All our cuts were done with an 1/8″ ball end bit.
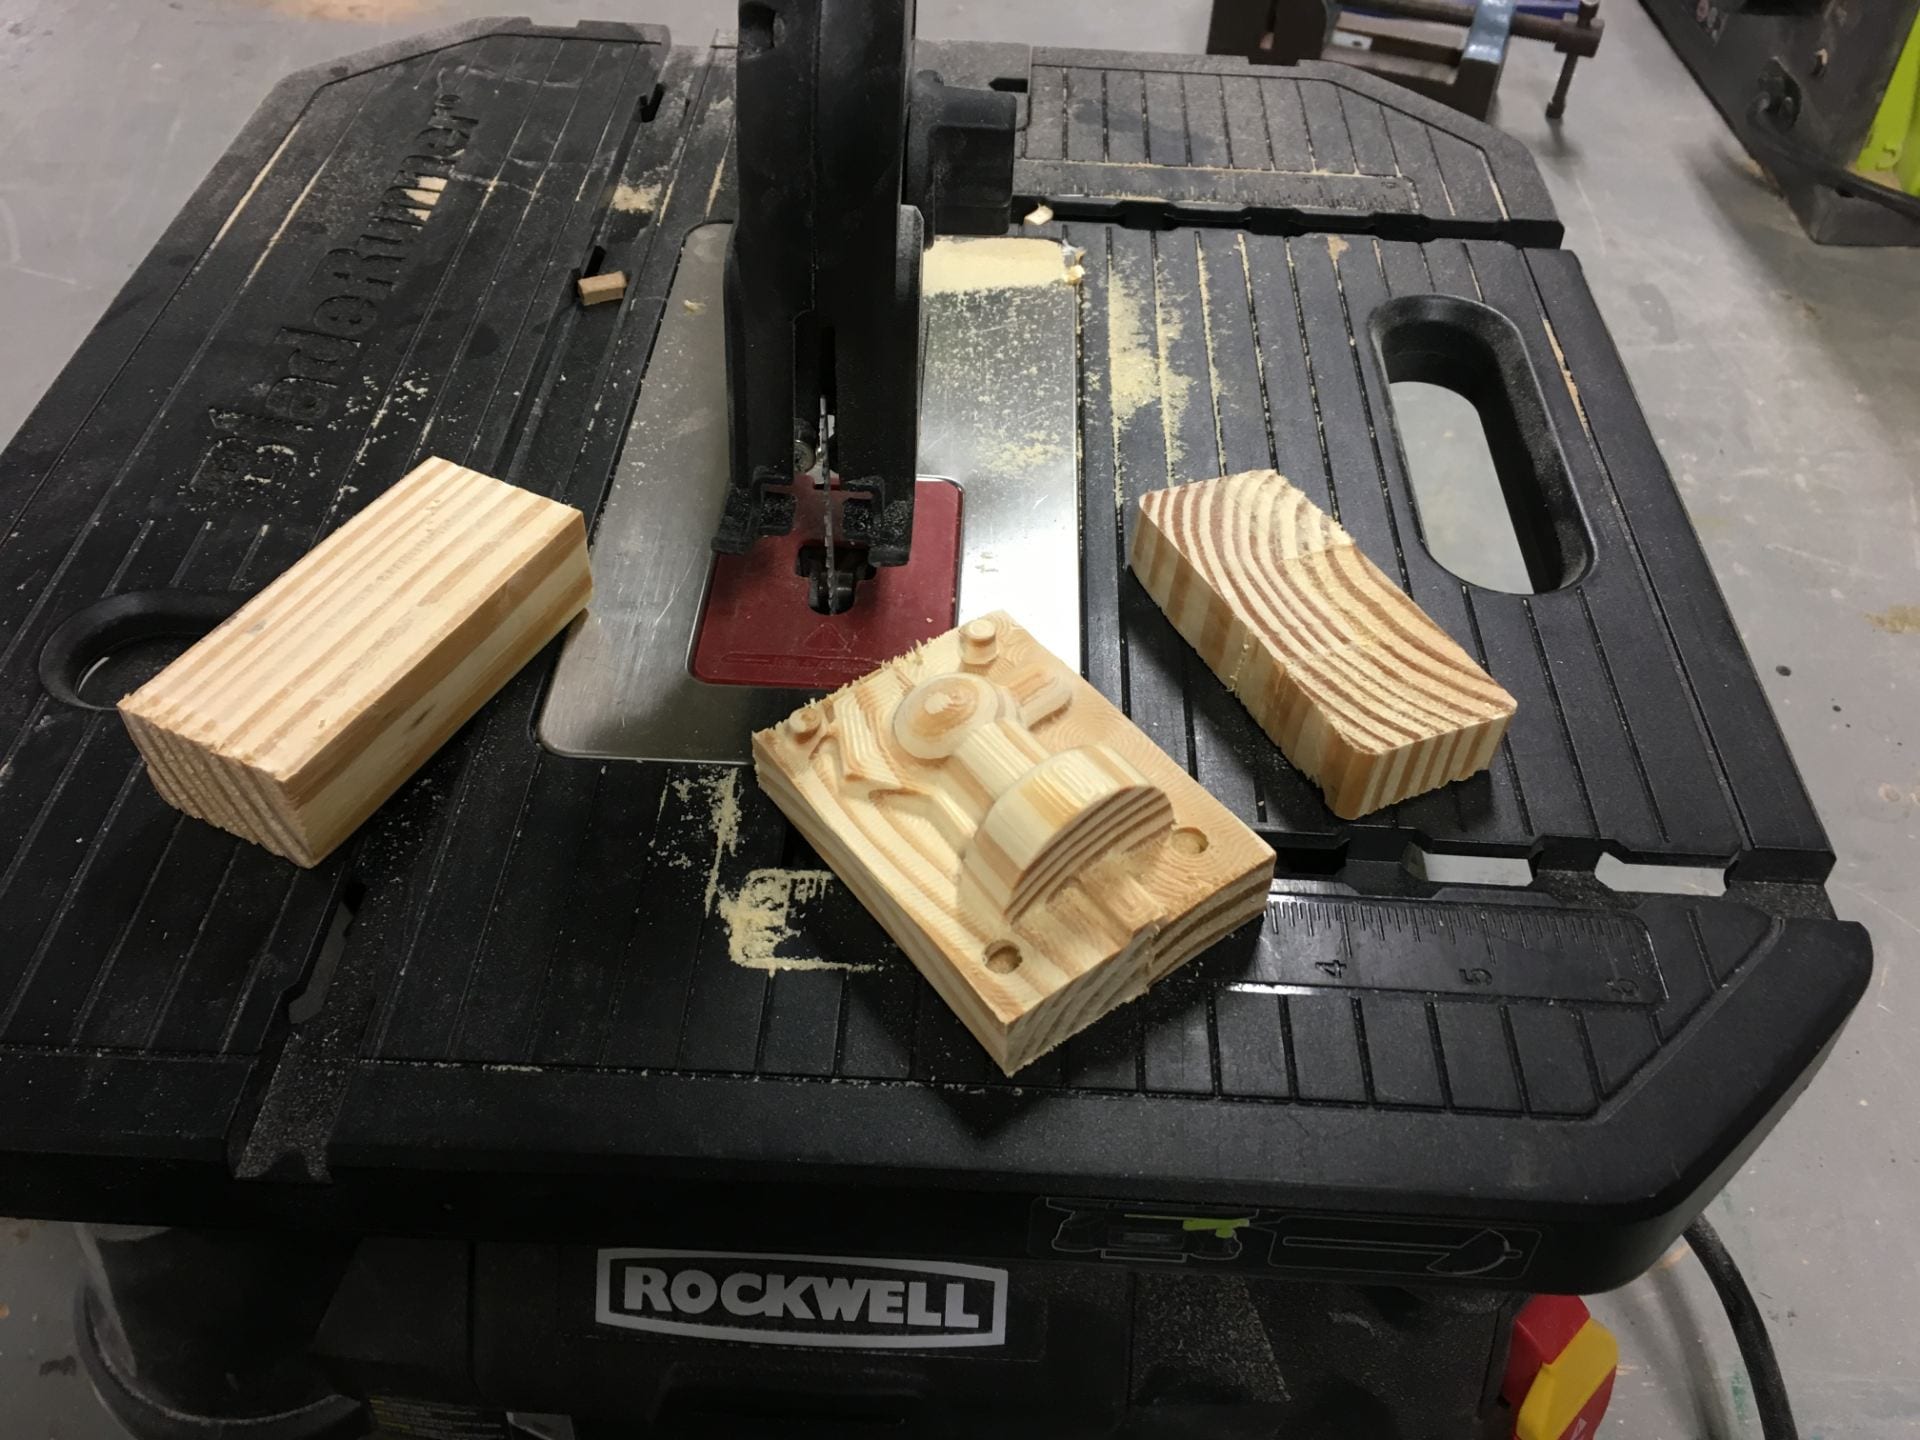
(13) Cutting off the excess wall material after the carve. While the walls were fine, we wanted to make taller walls to have a thicker mold that wouldn’t buckle when clamped.
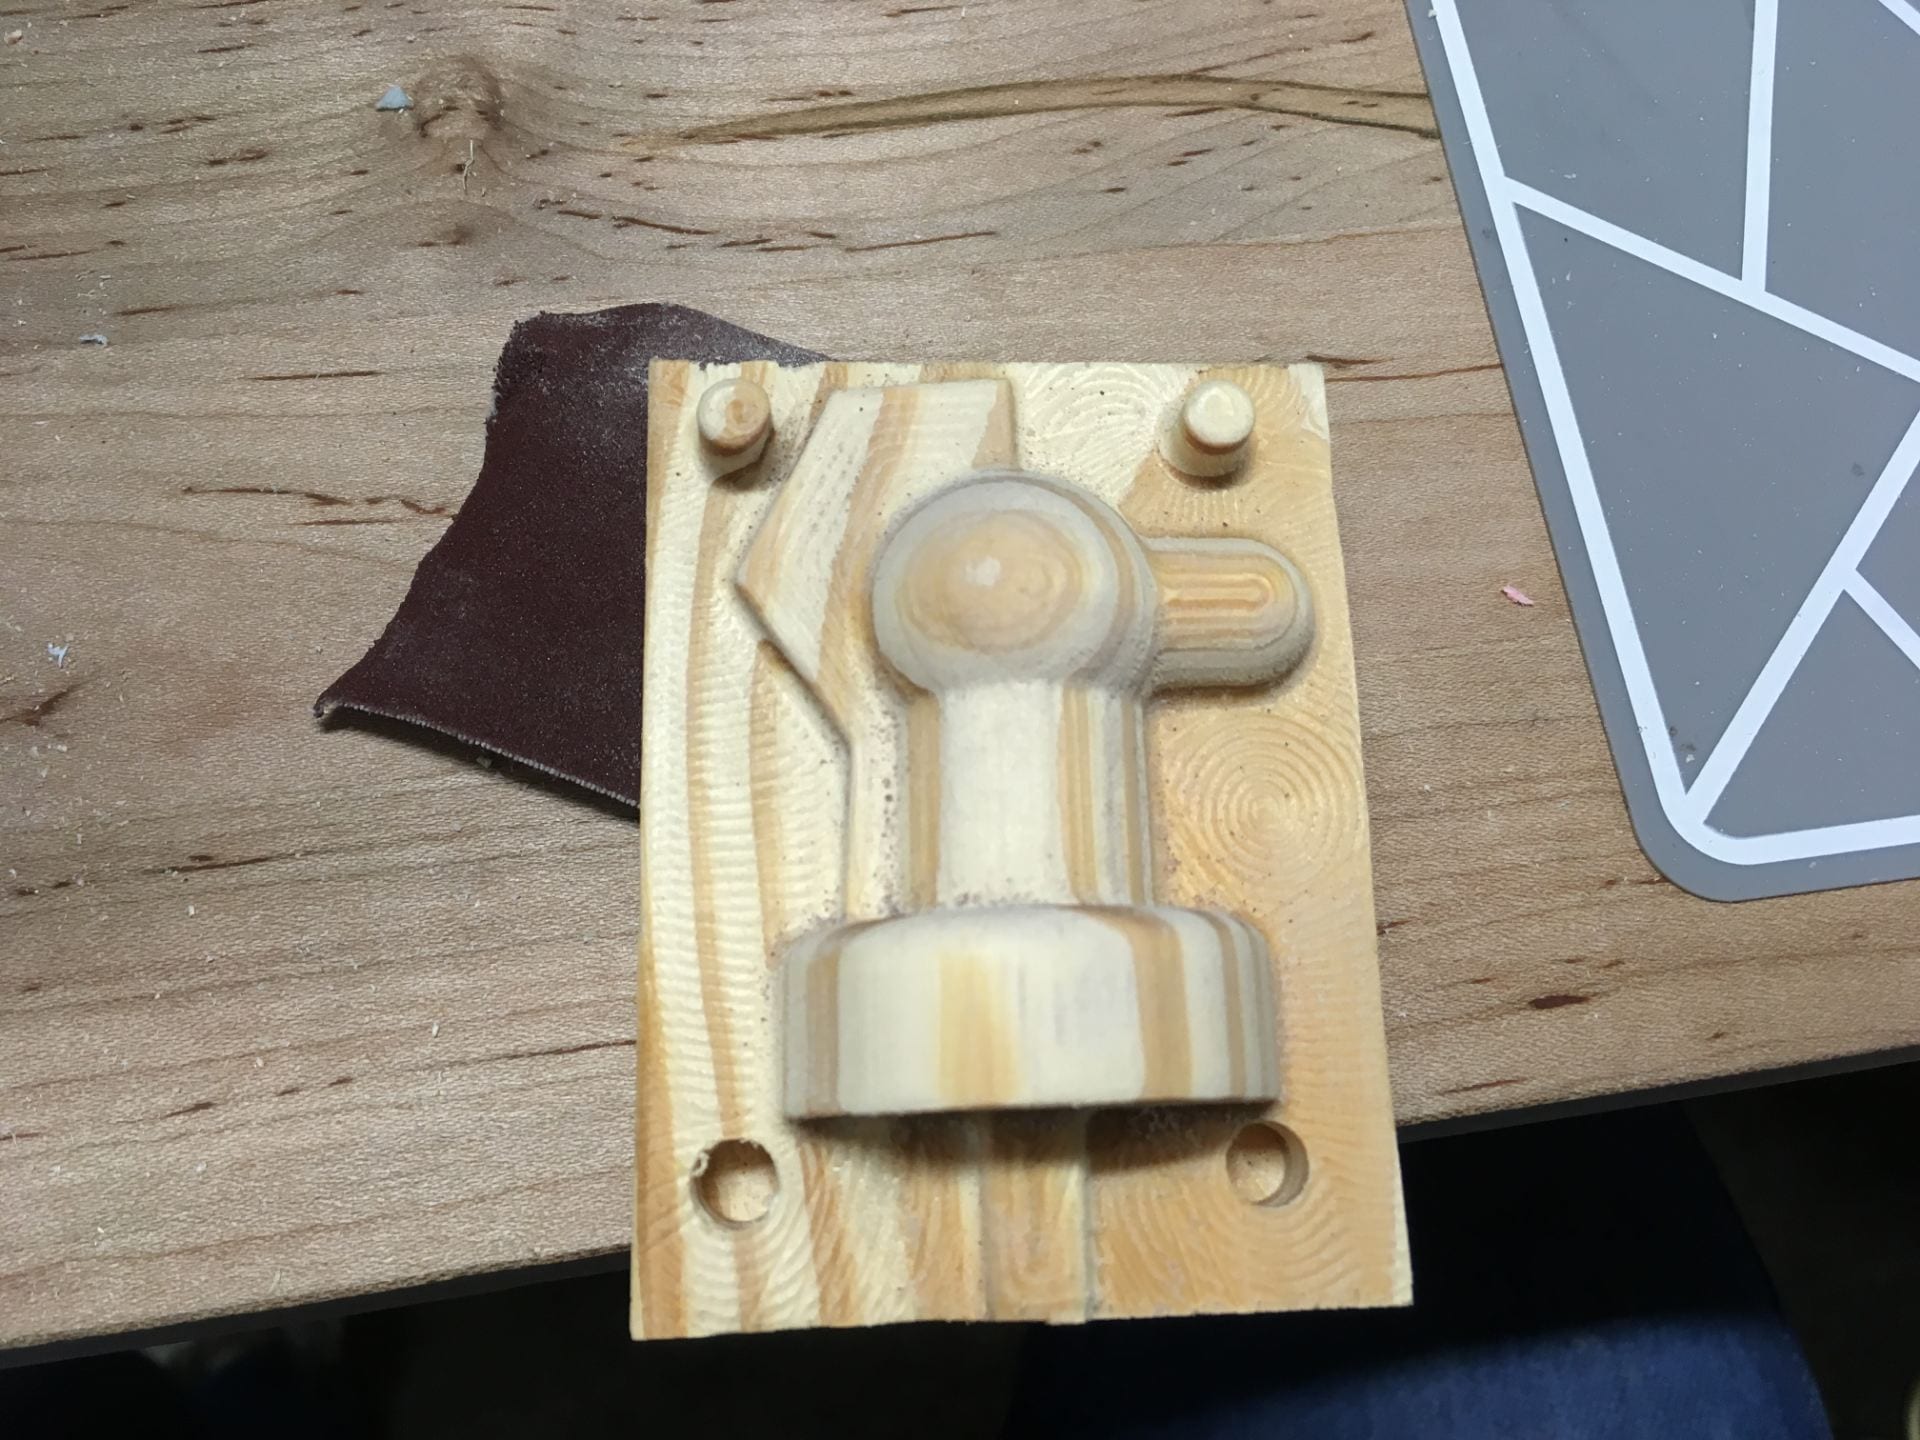
(14) Ready for casting the negative! Also, the alignment holes Carvey cut were too small, so Adulfo and I drilled them out to the correct size with a 1/4″ drill it. While we also intended to do another pass with a 1/16″ bit to improve the resolution, we decided a quick hand sanding job to kill the contouring was enough.
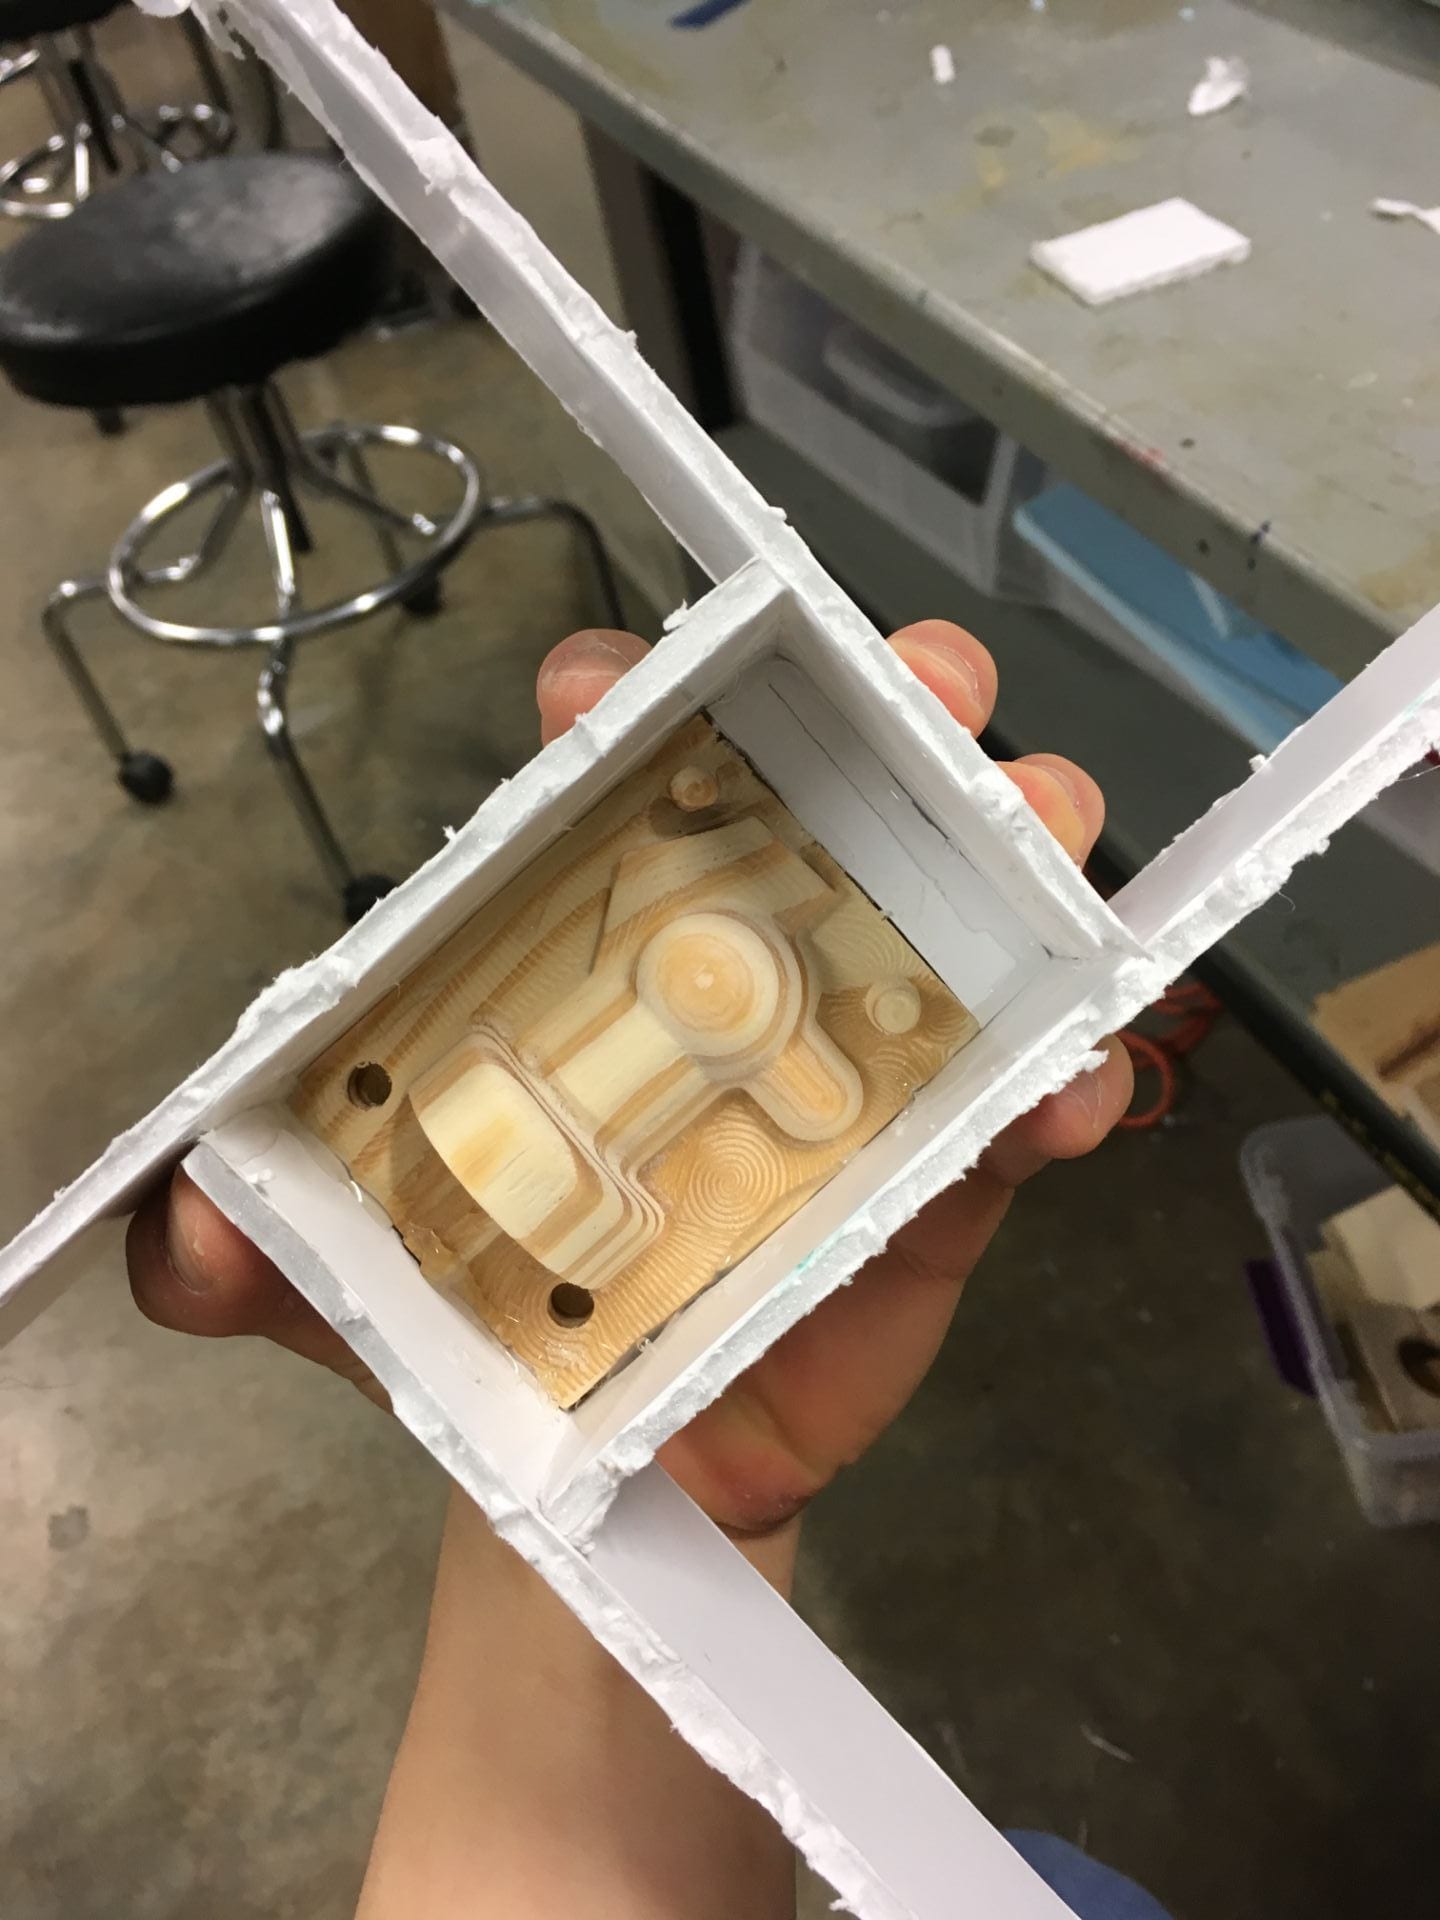
(15) Since I didn’t really think about the mold buckling when I created my CAD model, the top of the knight’s mane was really close to the top of the rectangle, which would mean the mold being incredibly thin at that point. To work around this, we just glued some foam to extend the top of our piece.
(16) Creating the infamous box
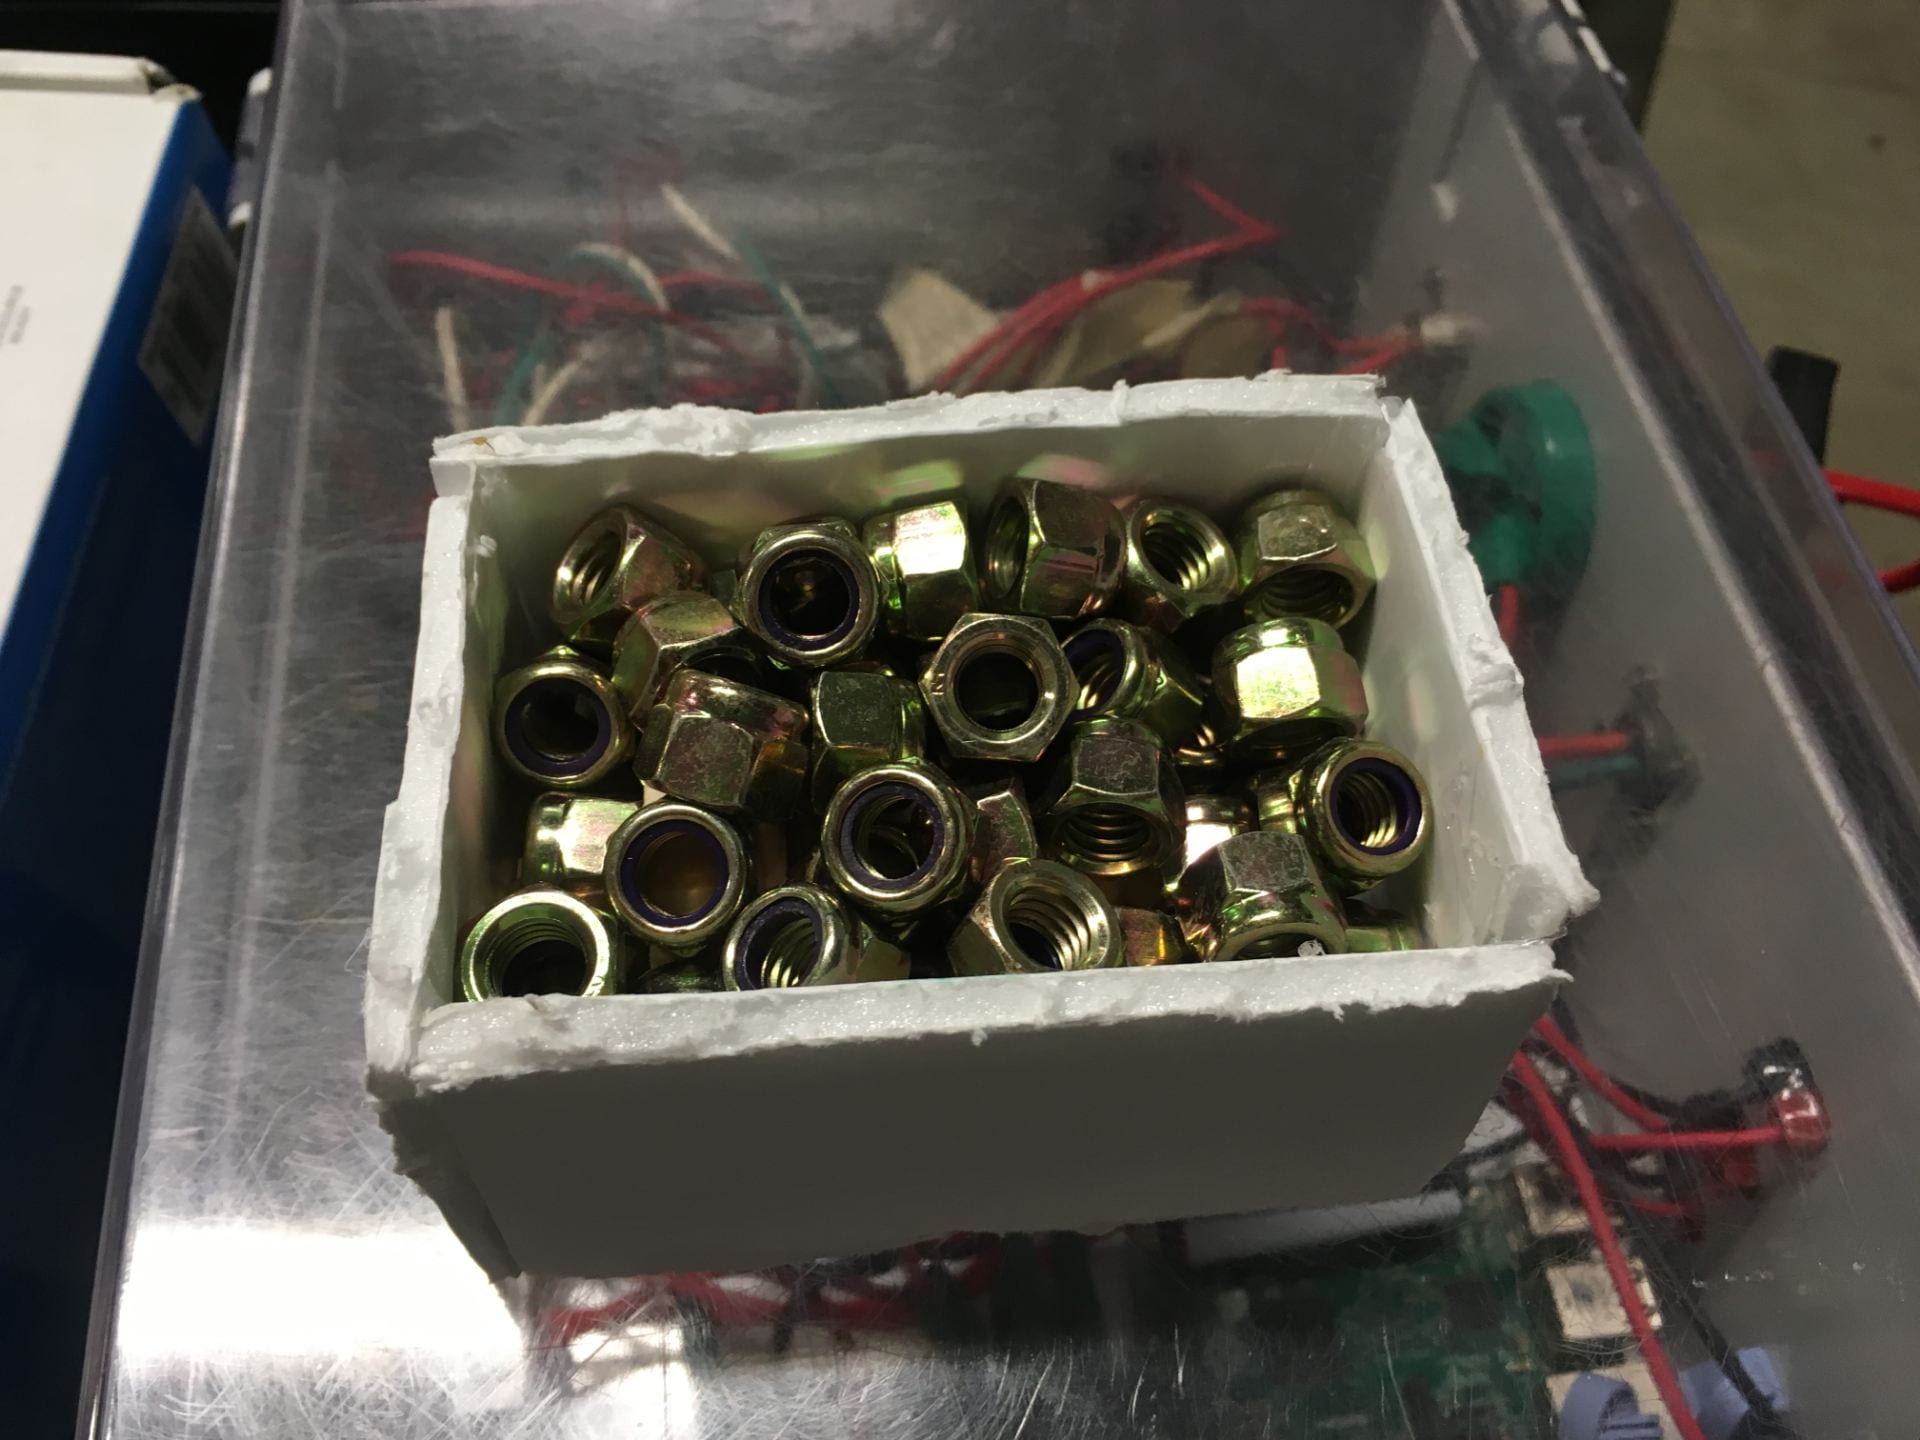
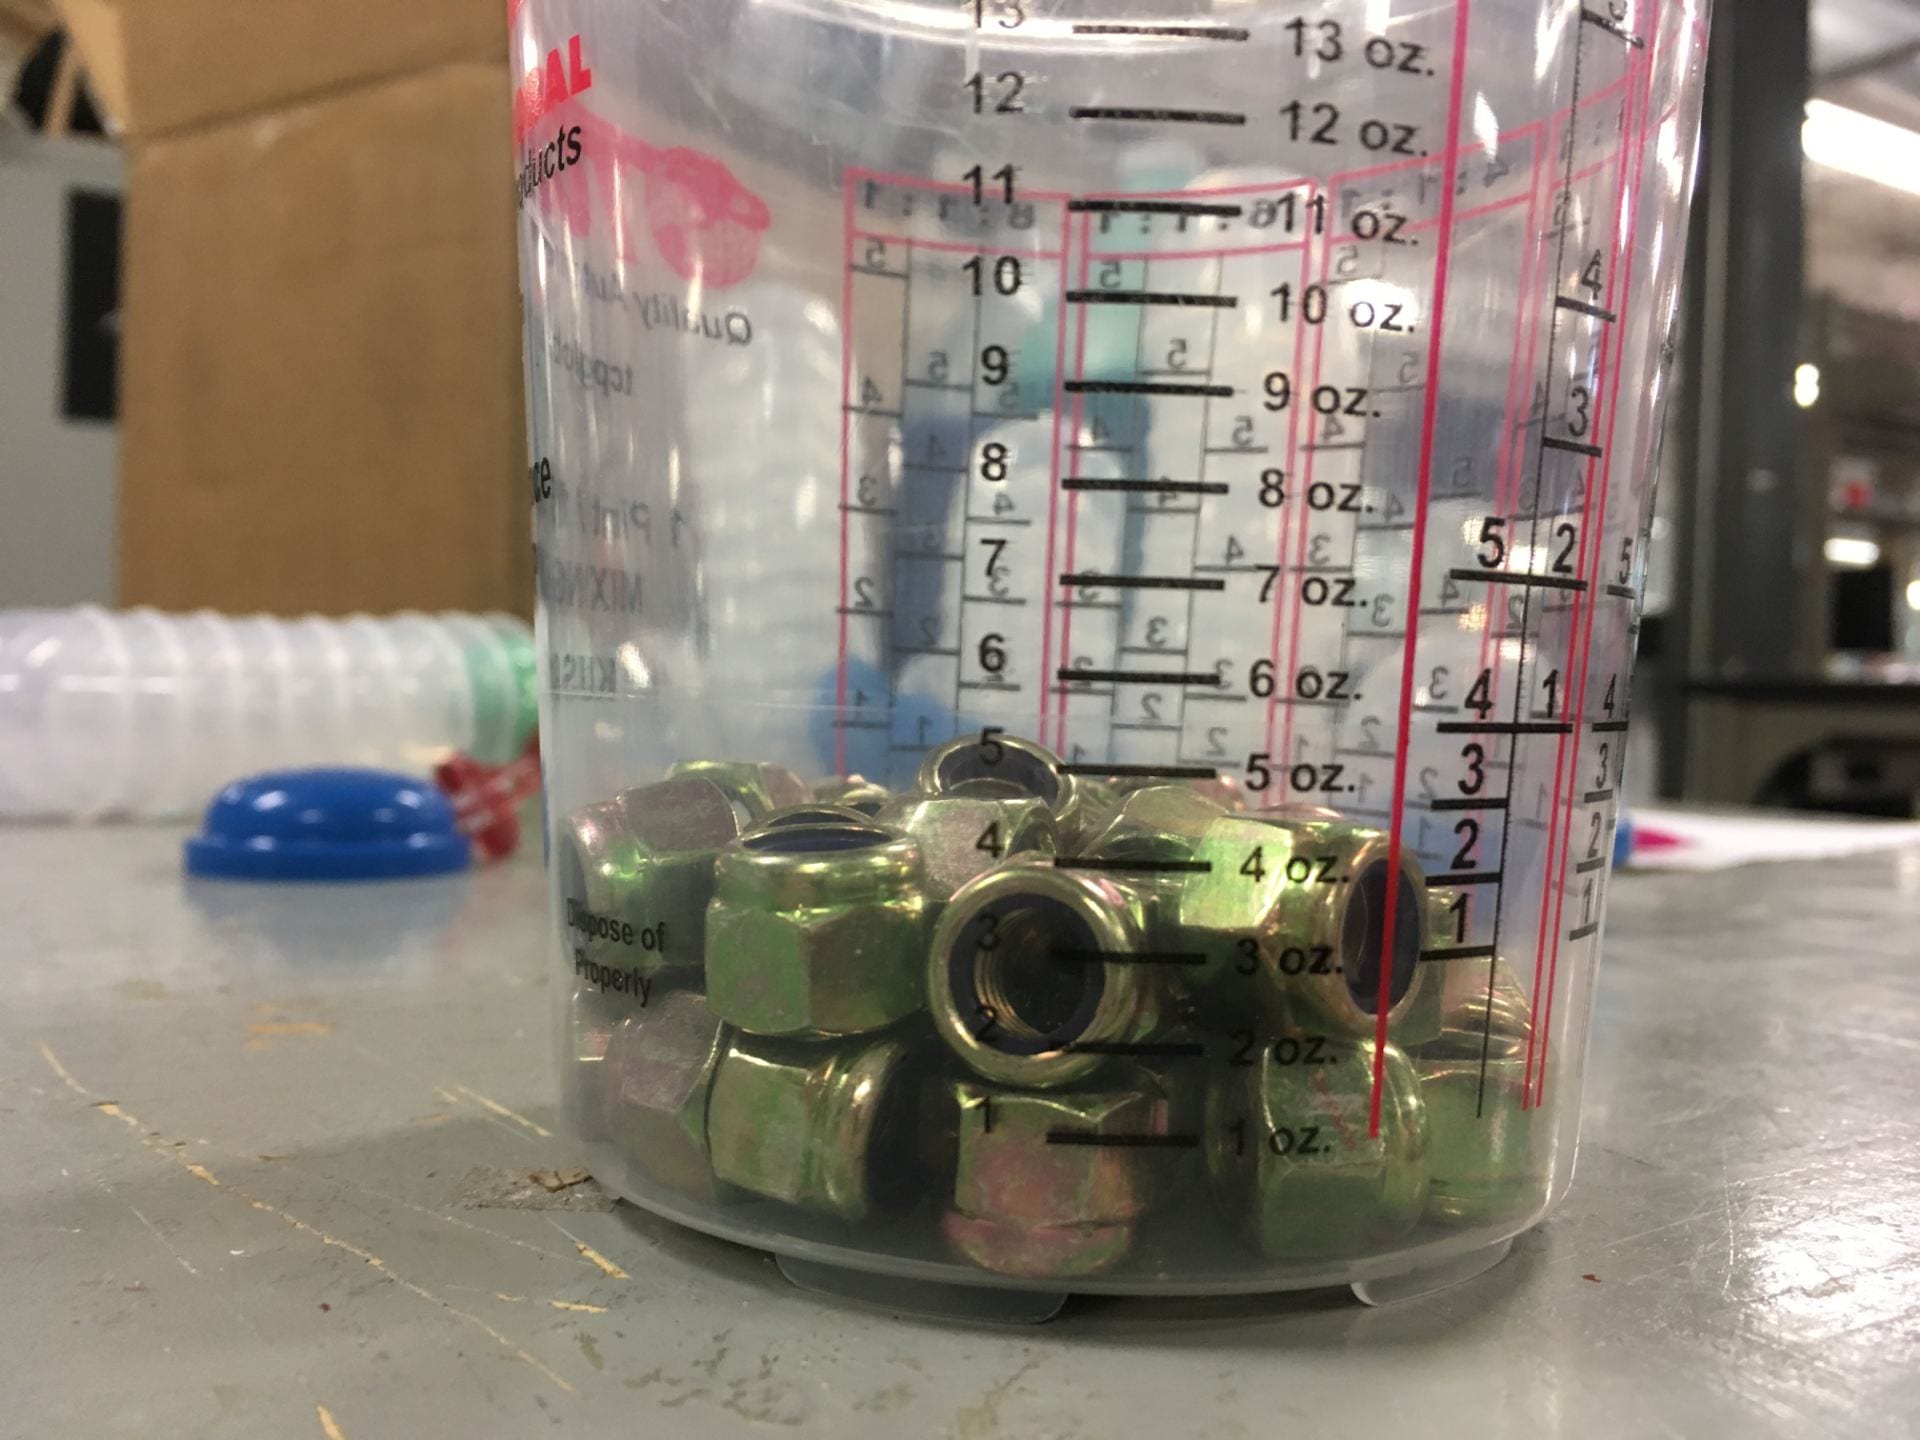
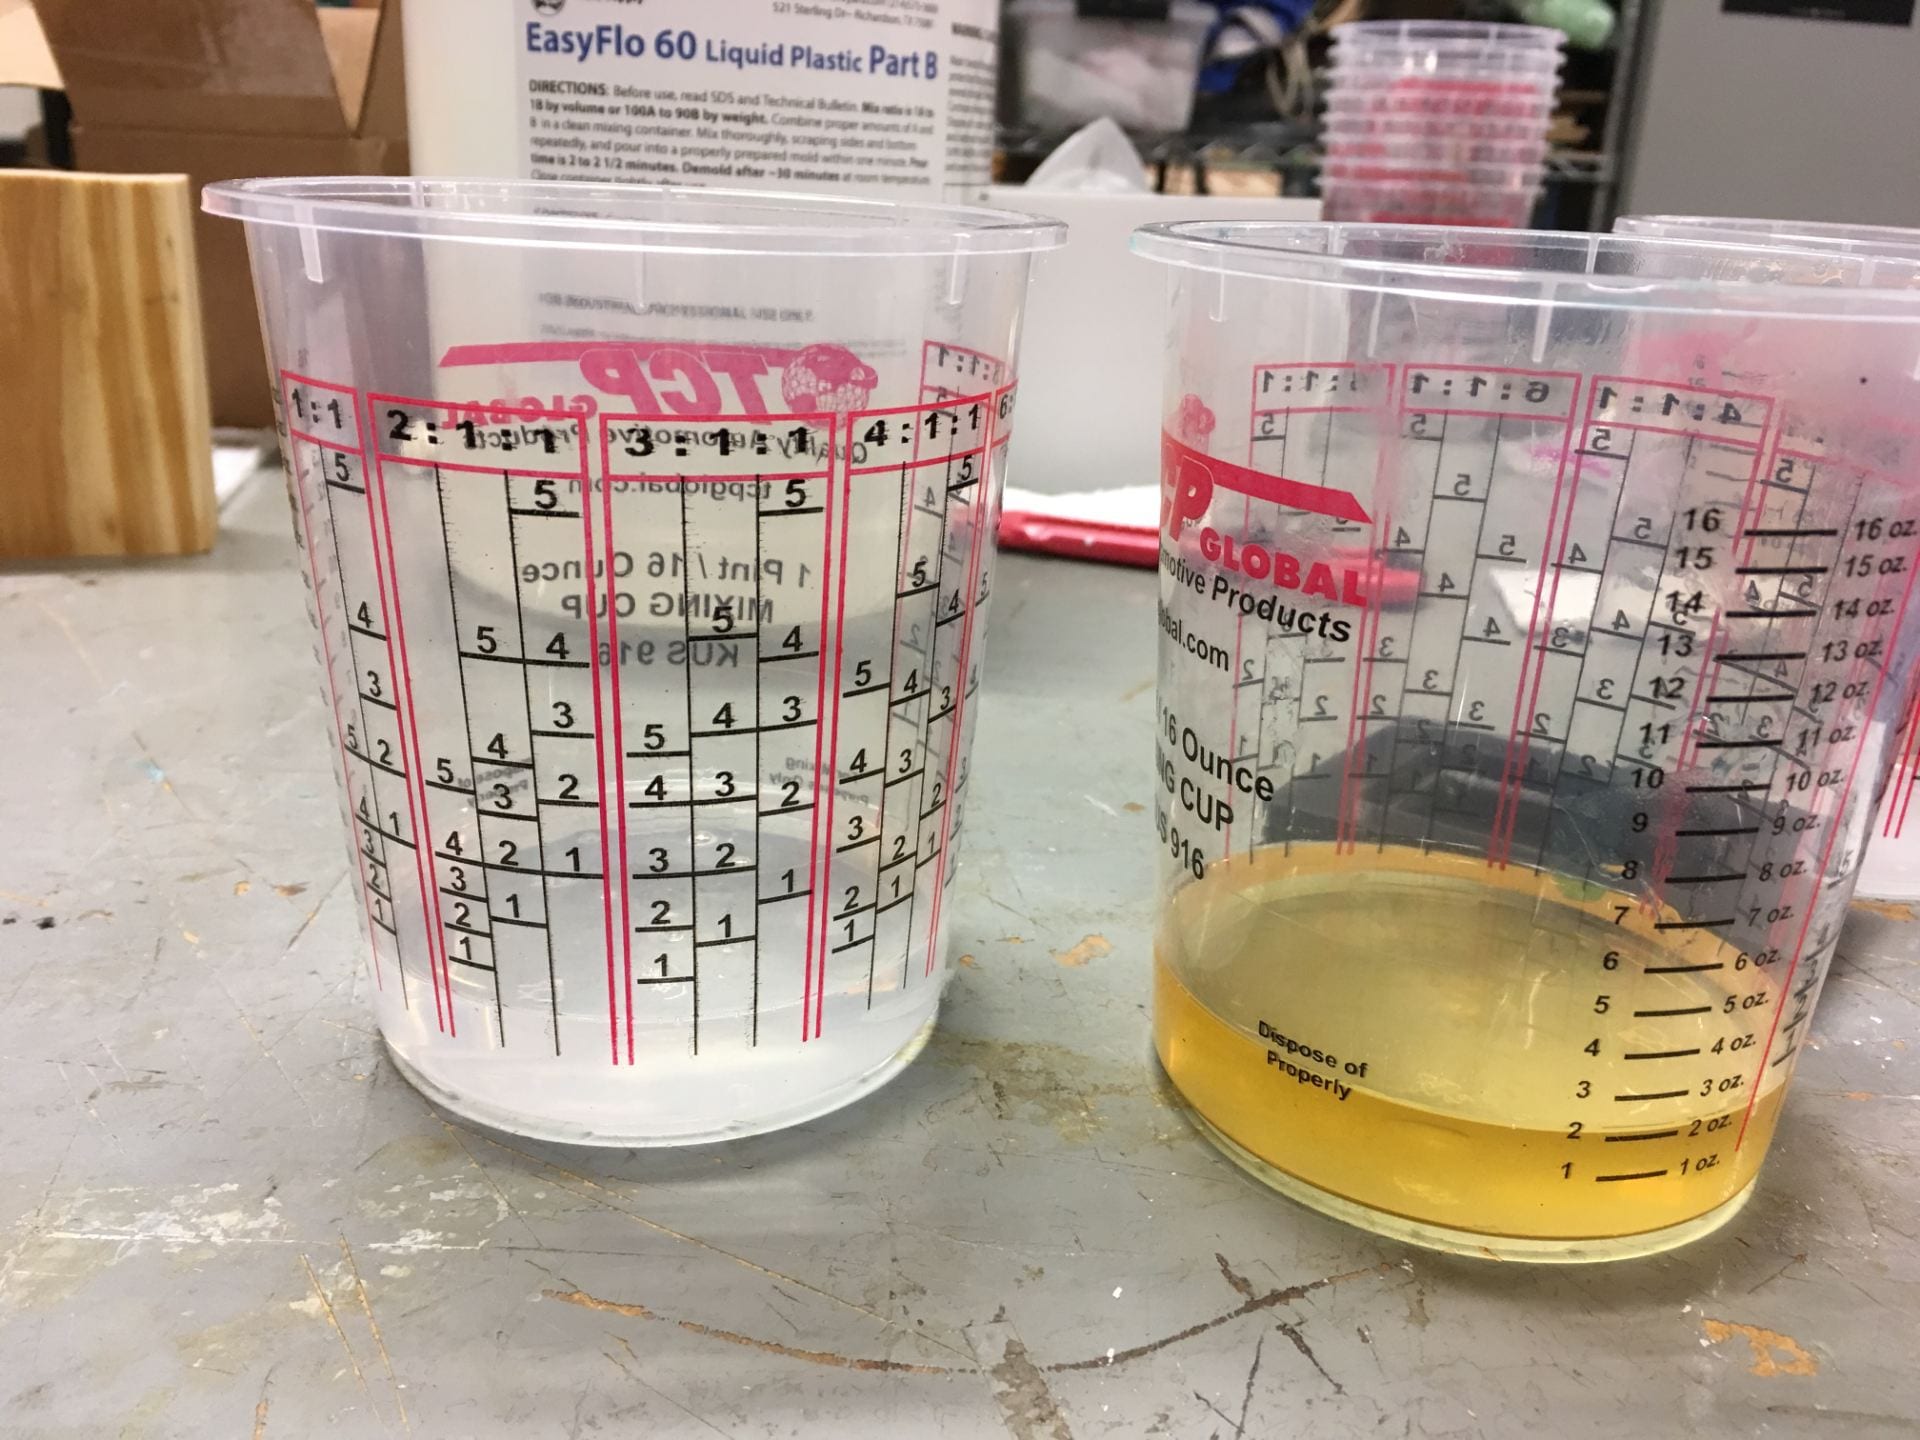
(17) Using nuts to approximate the volume of our mold
(18) Came out to be between 4 and 5 fluid ounces.
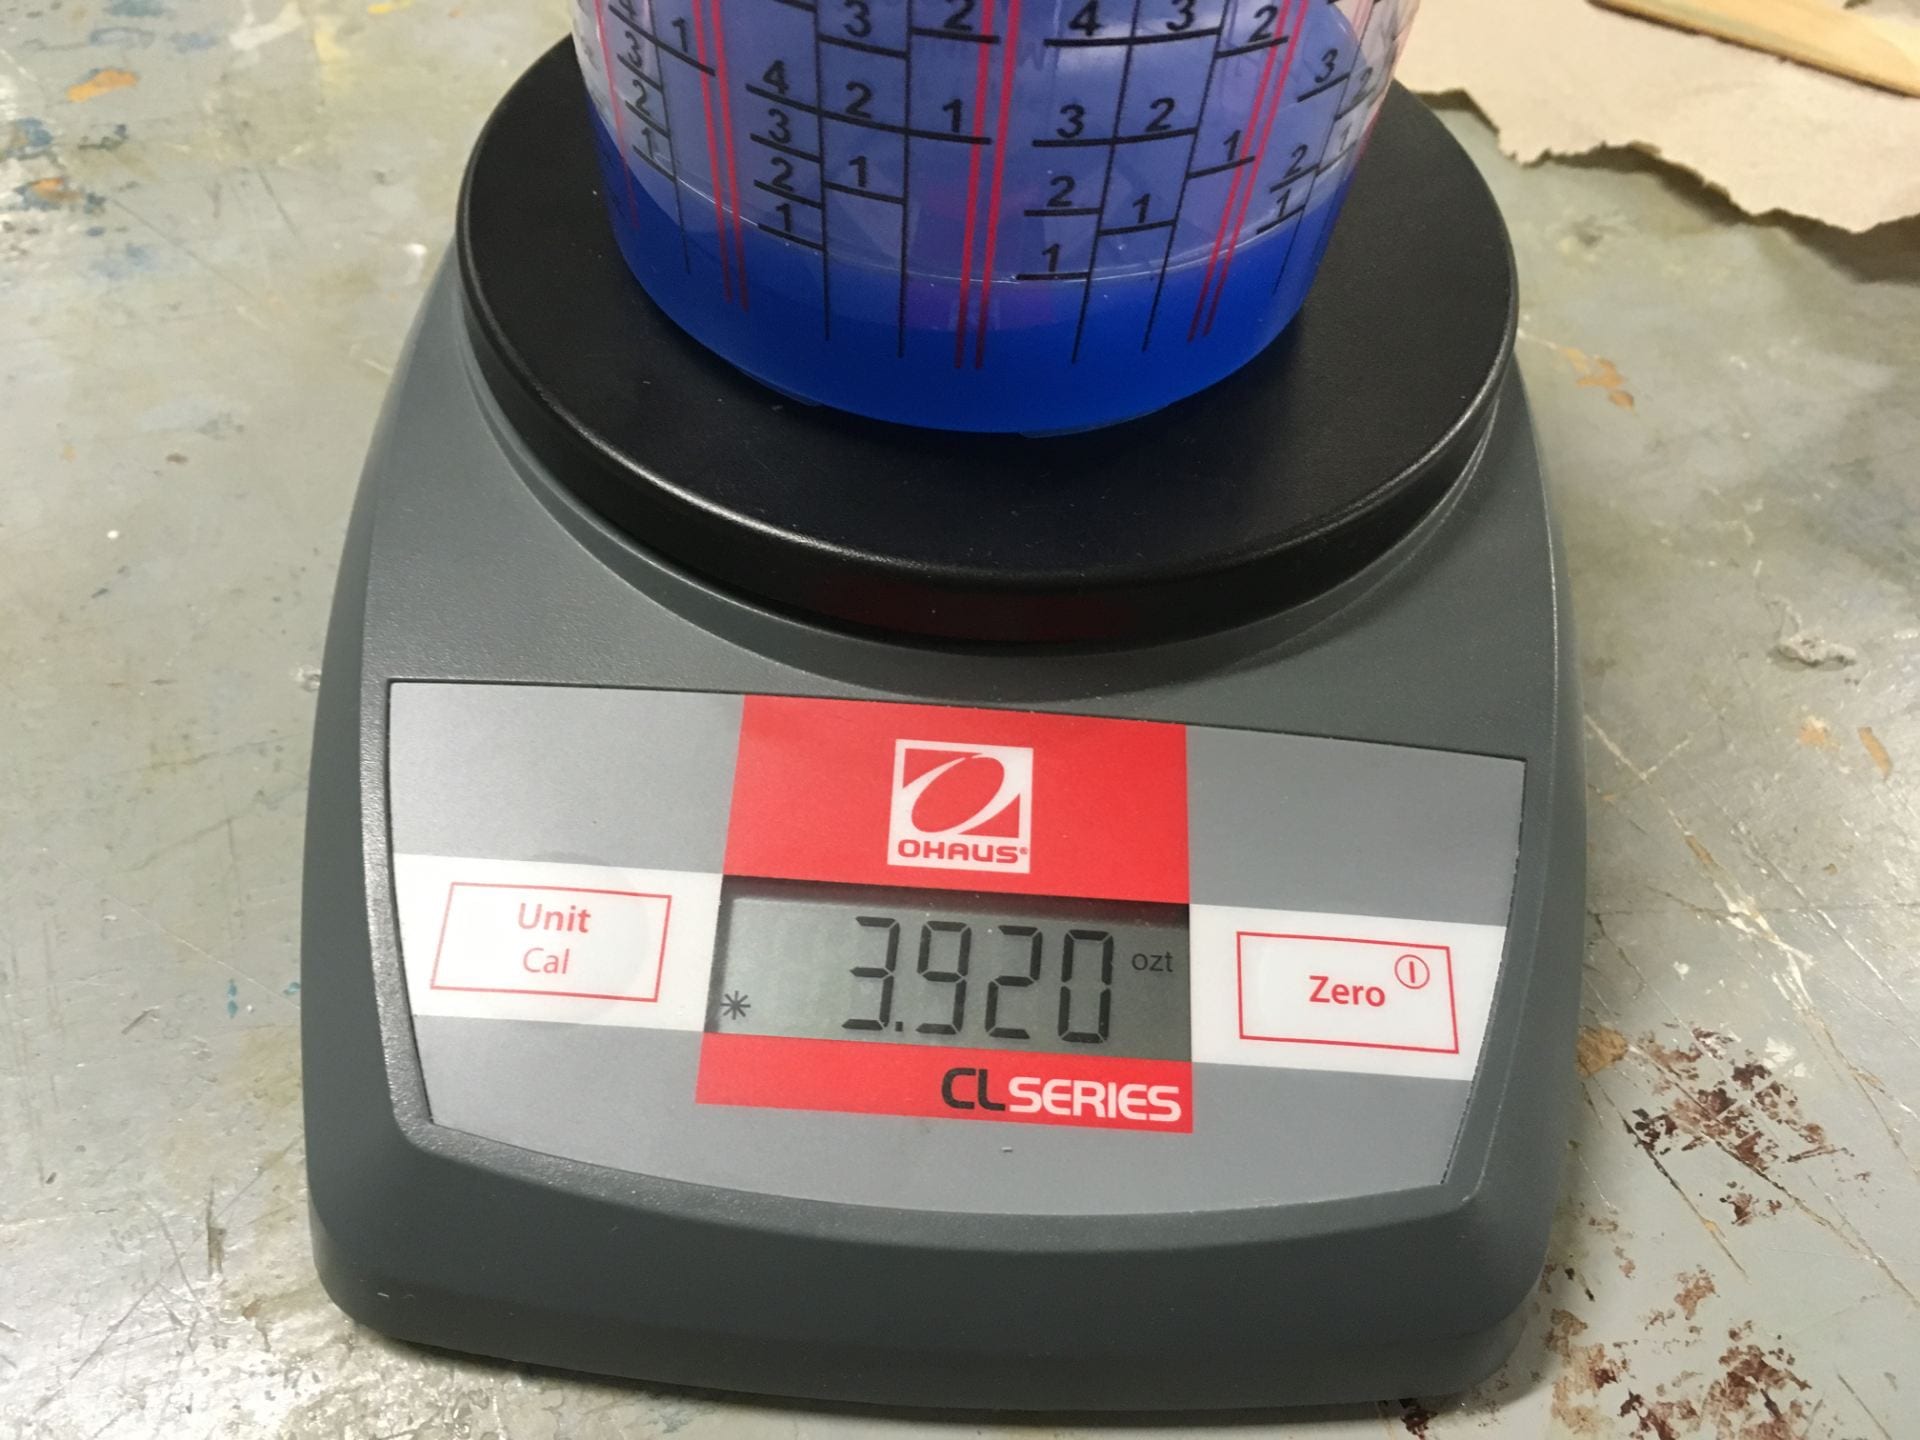
(19) Approximately 2.5 fluid ounces of the blue liquid weighed 3.920 ounces
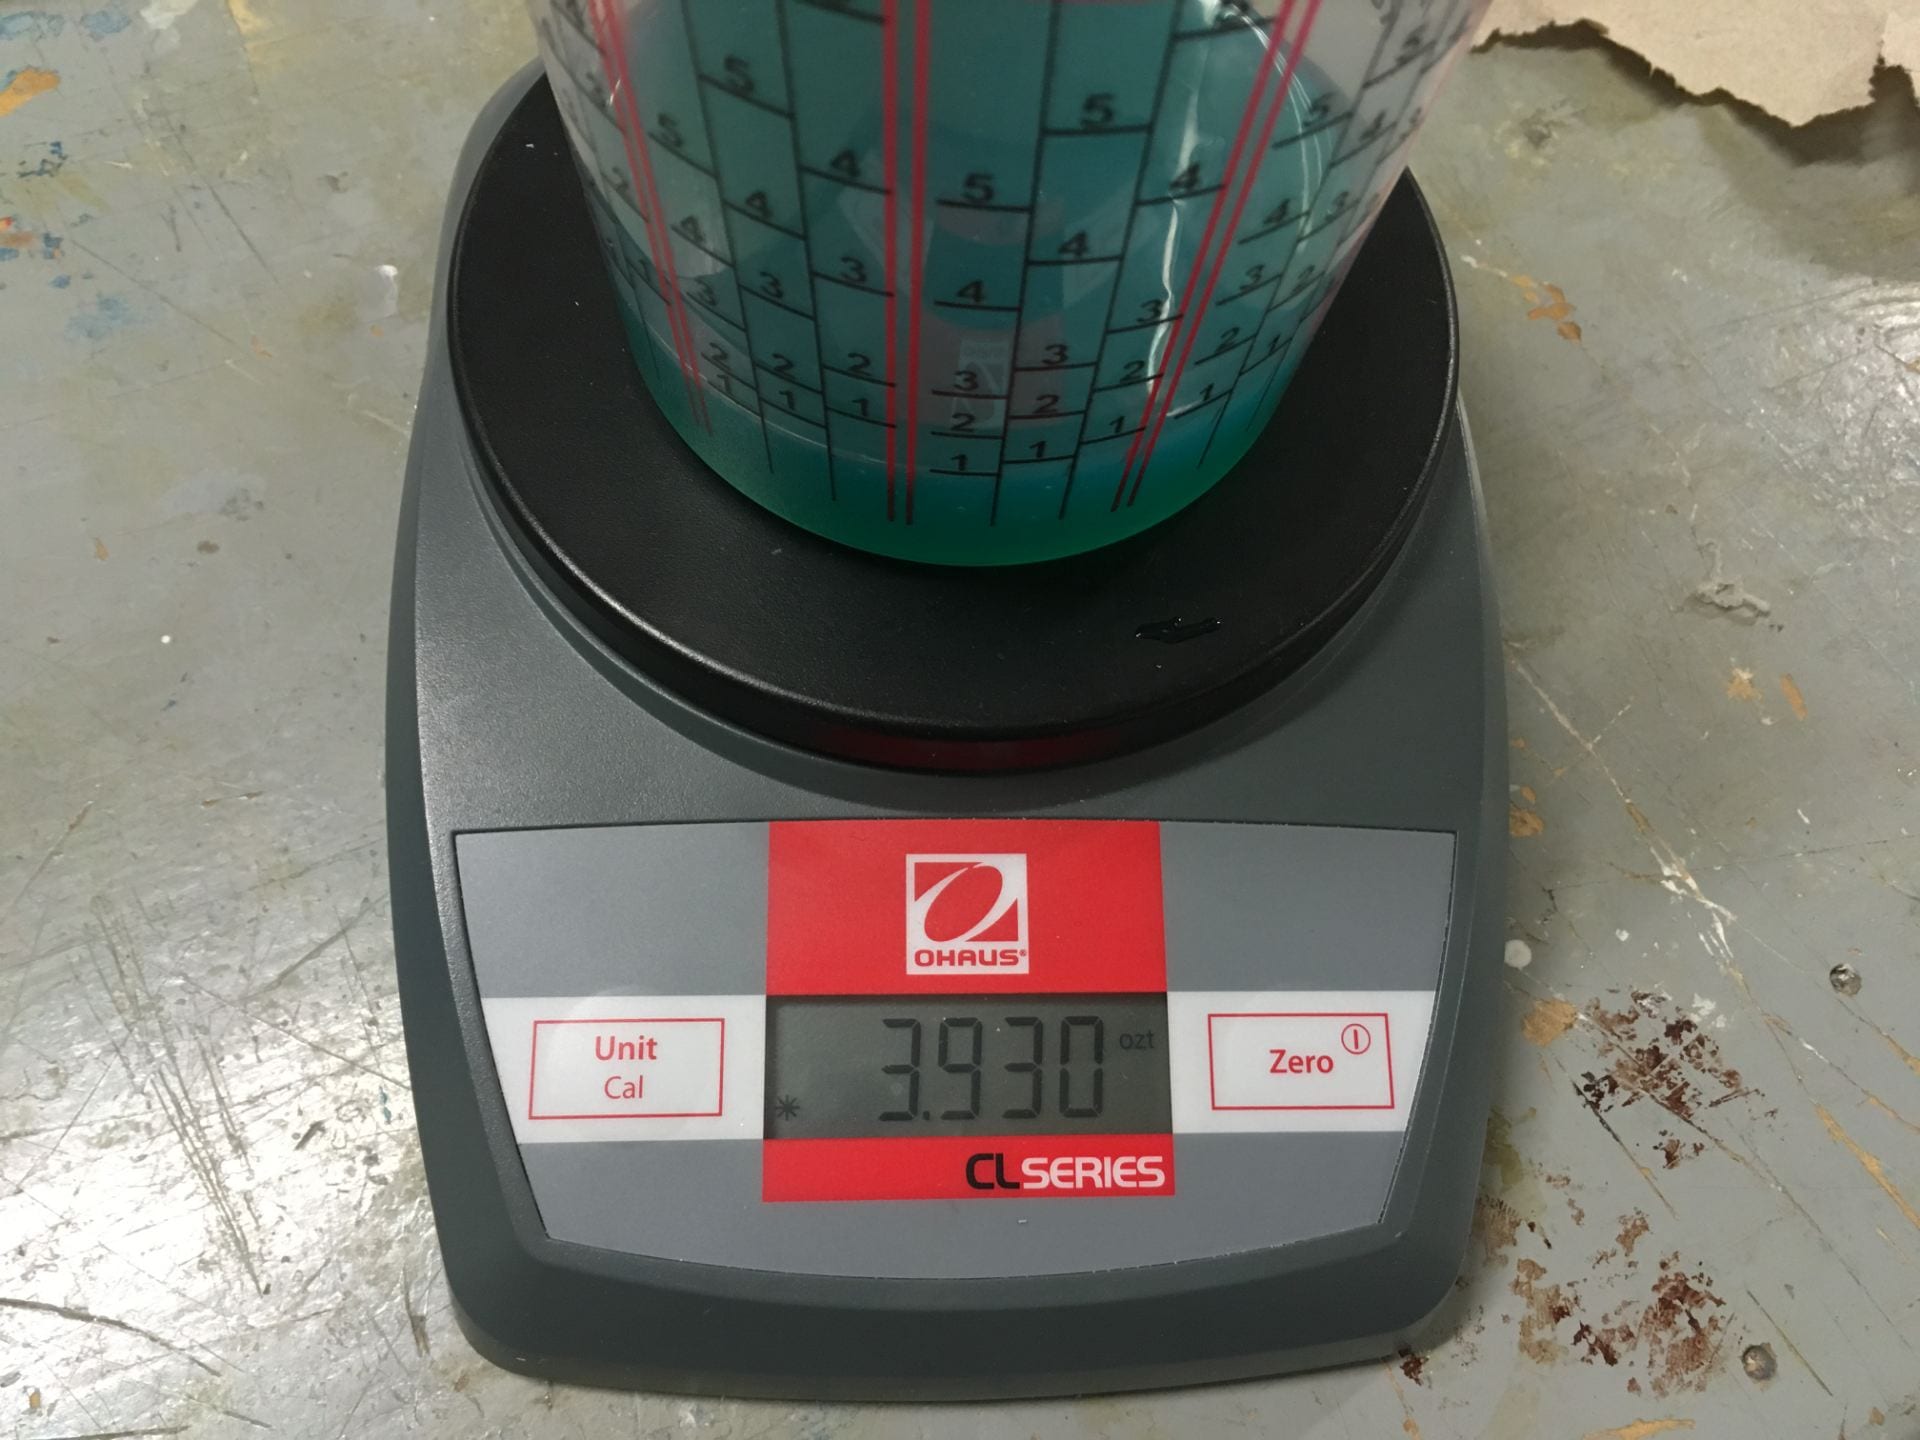
(20) I managed to measure out 3.930 ounces of green liquid. Not bad
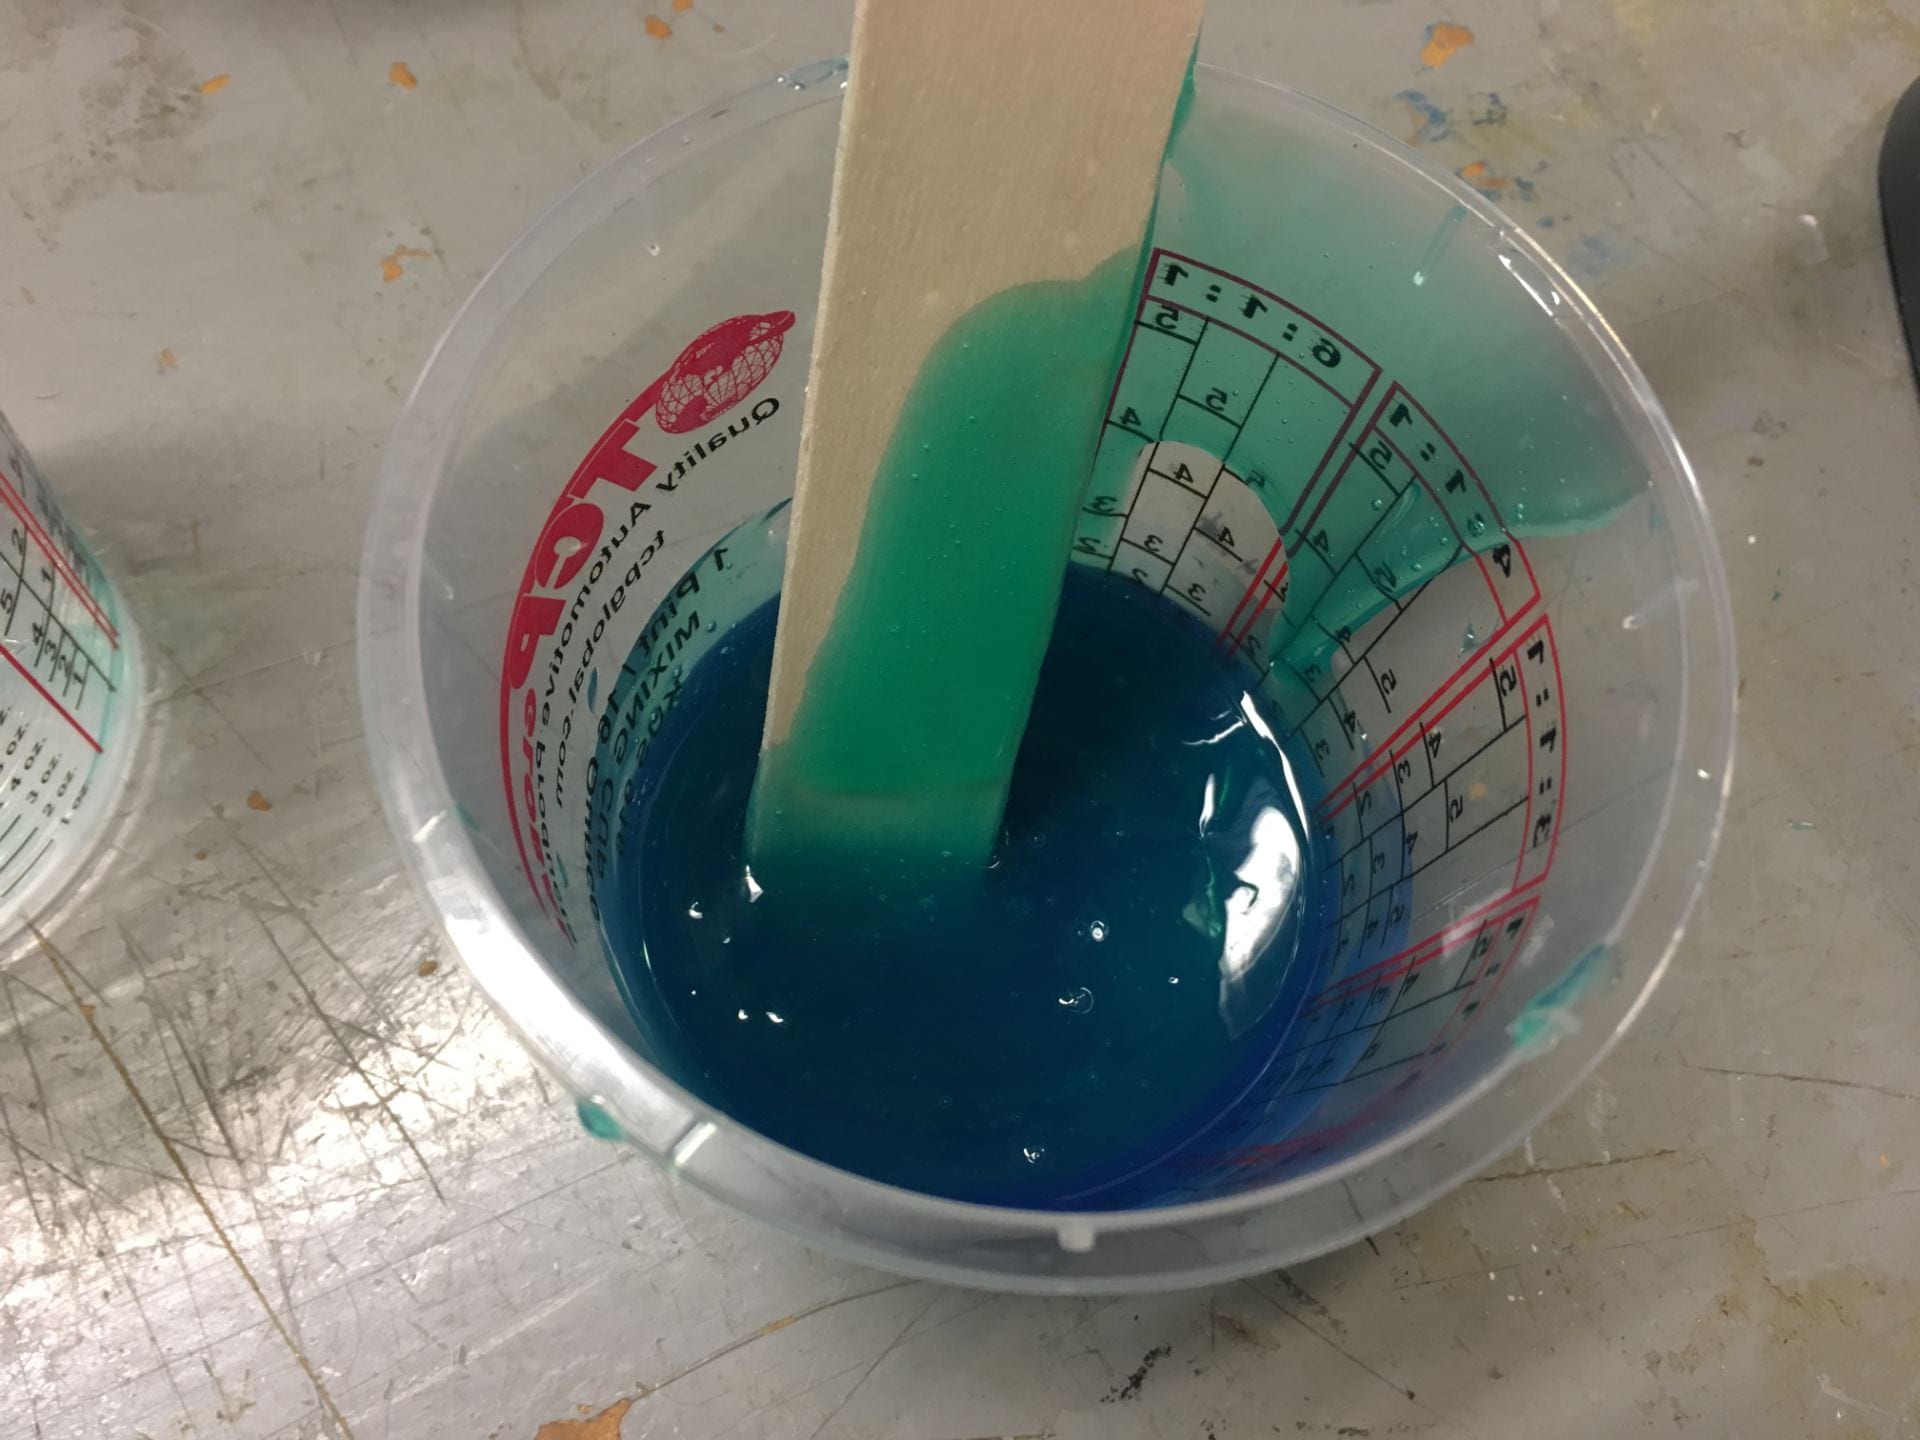
(21) Mixing!
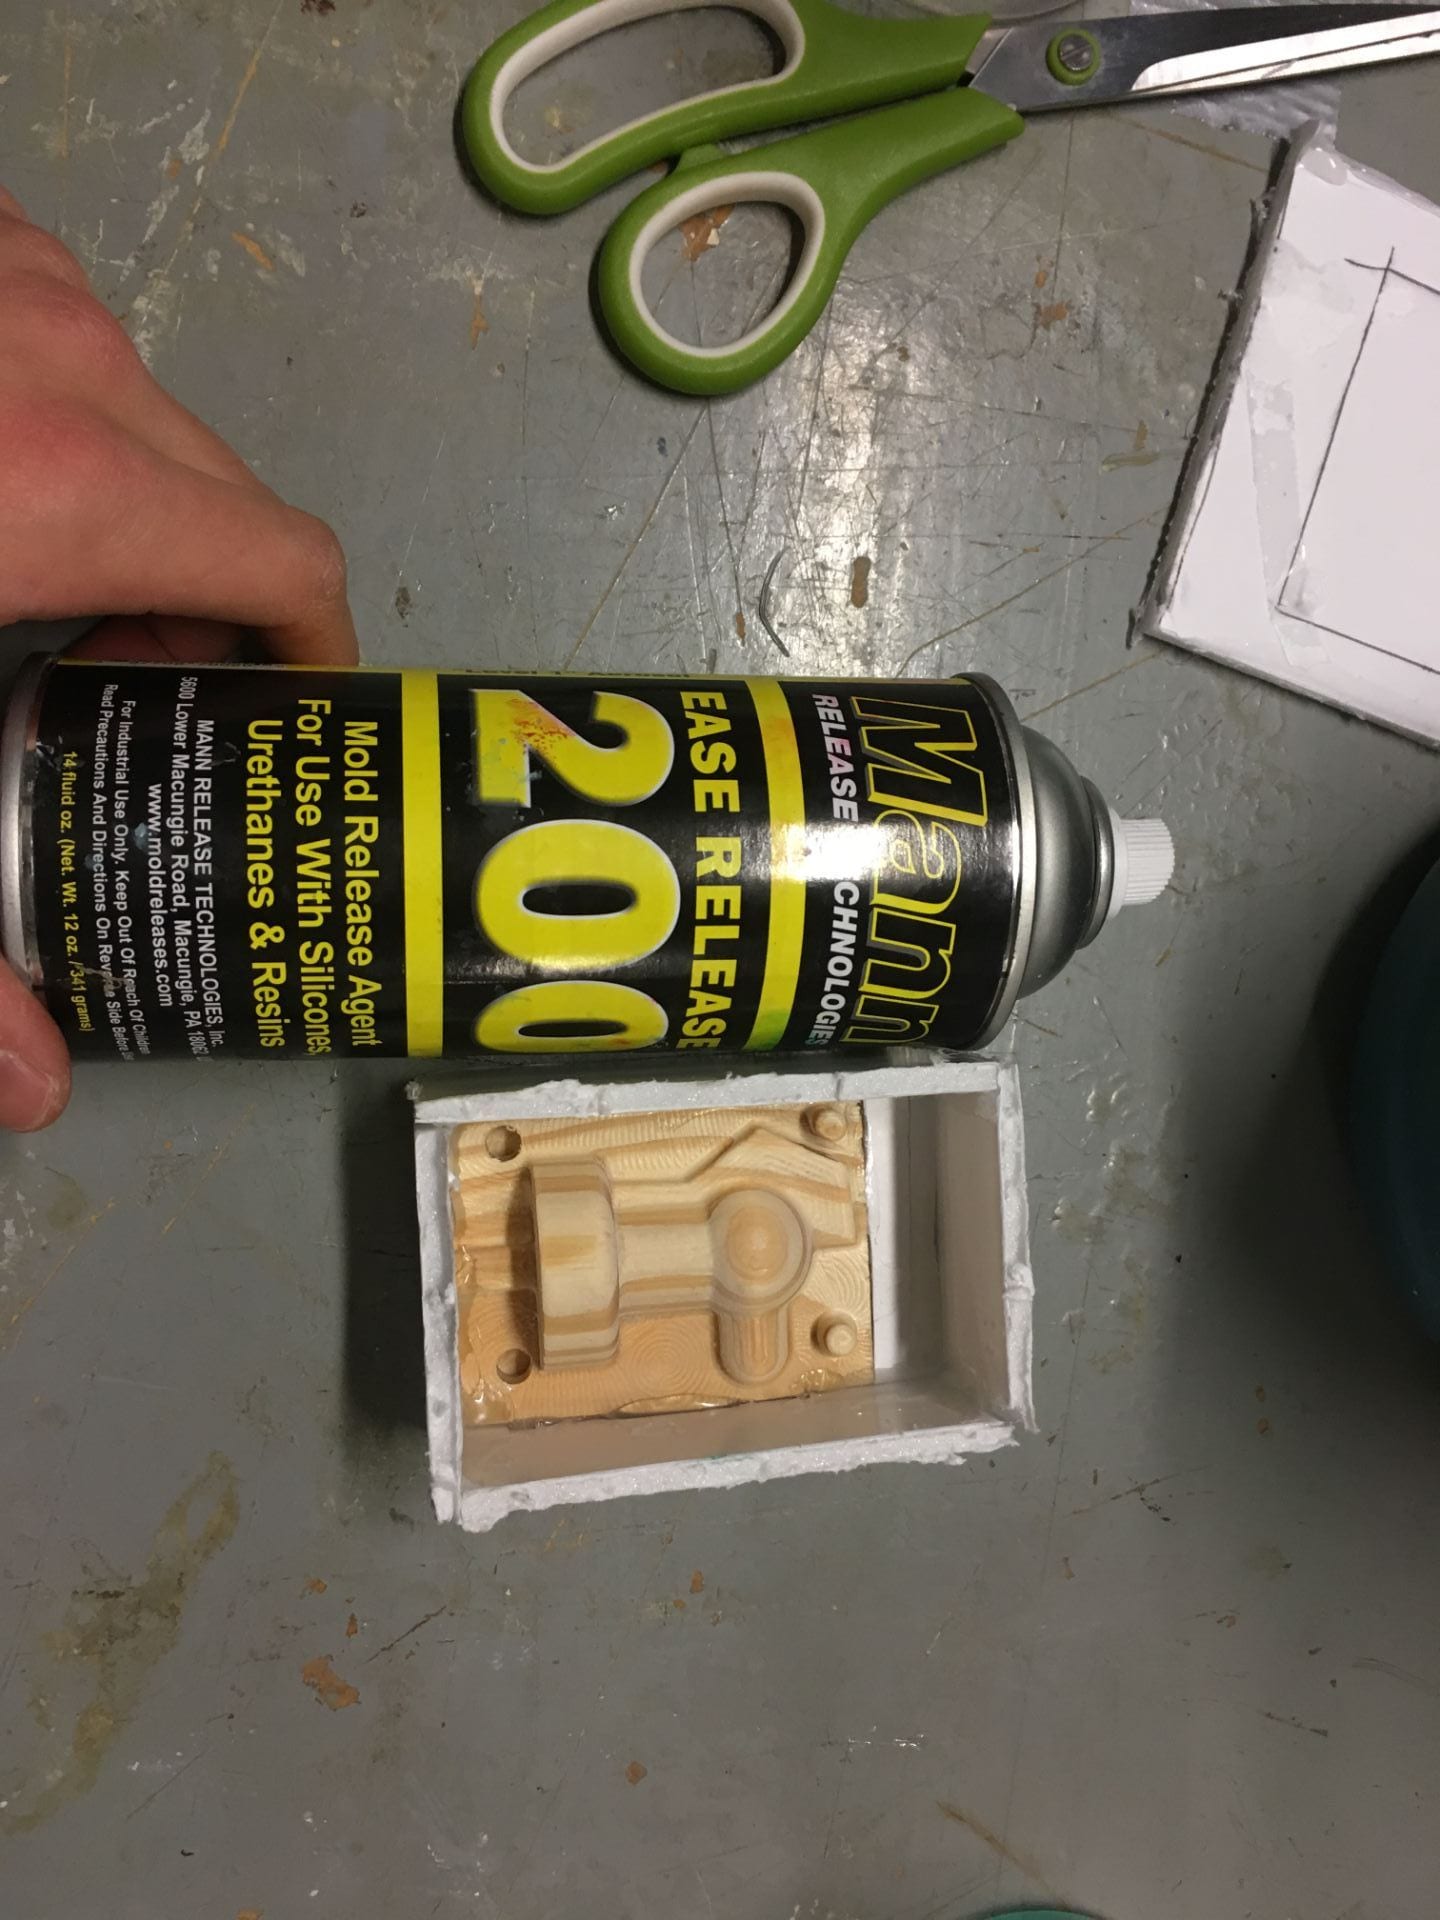
(22) Mold Release!

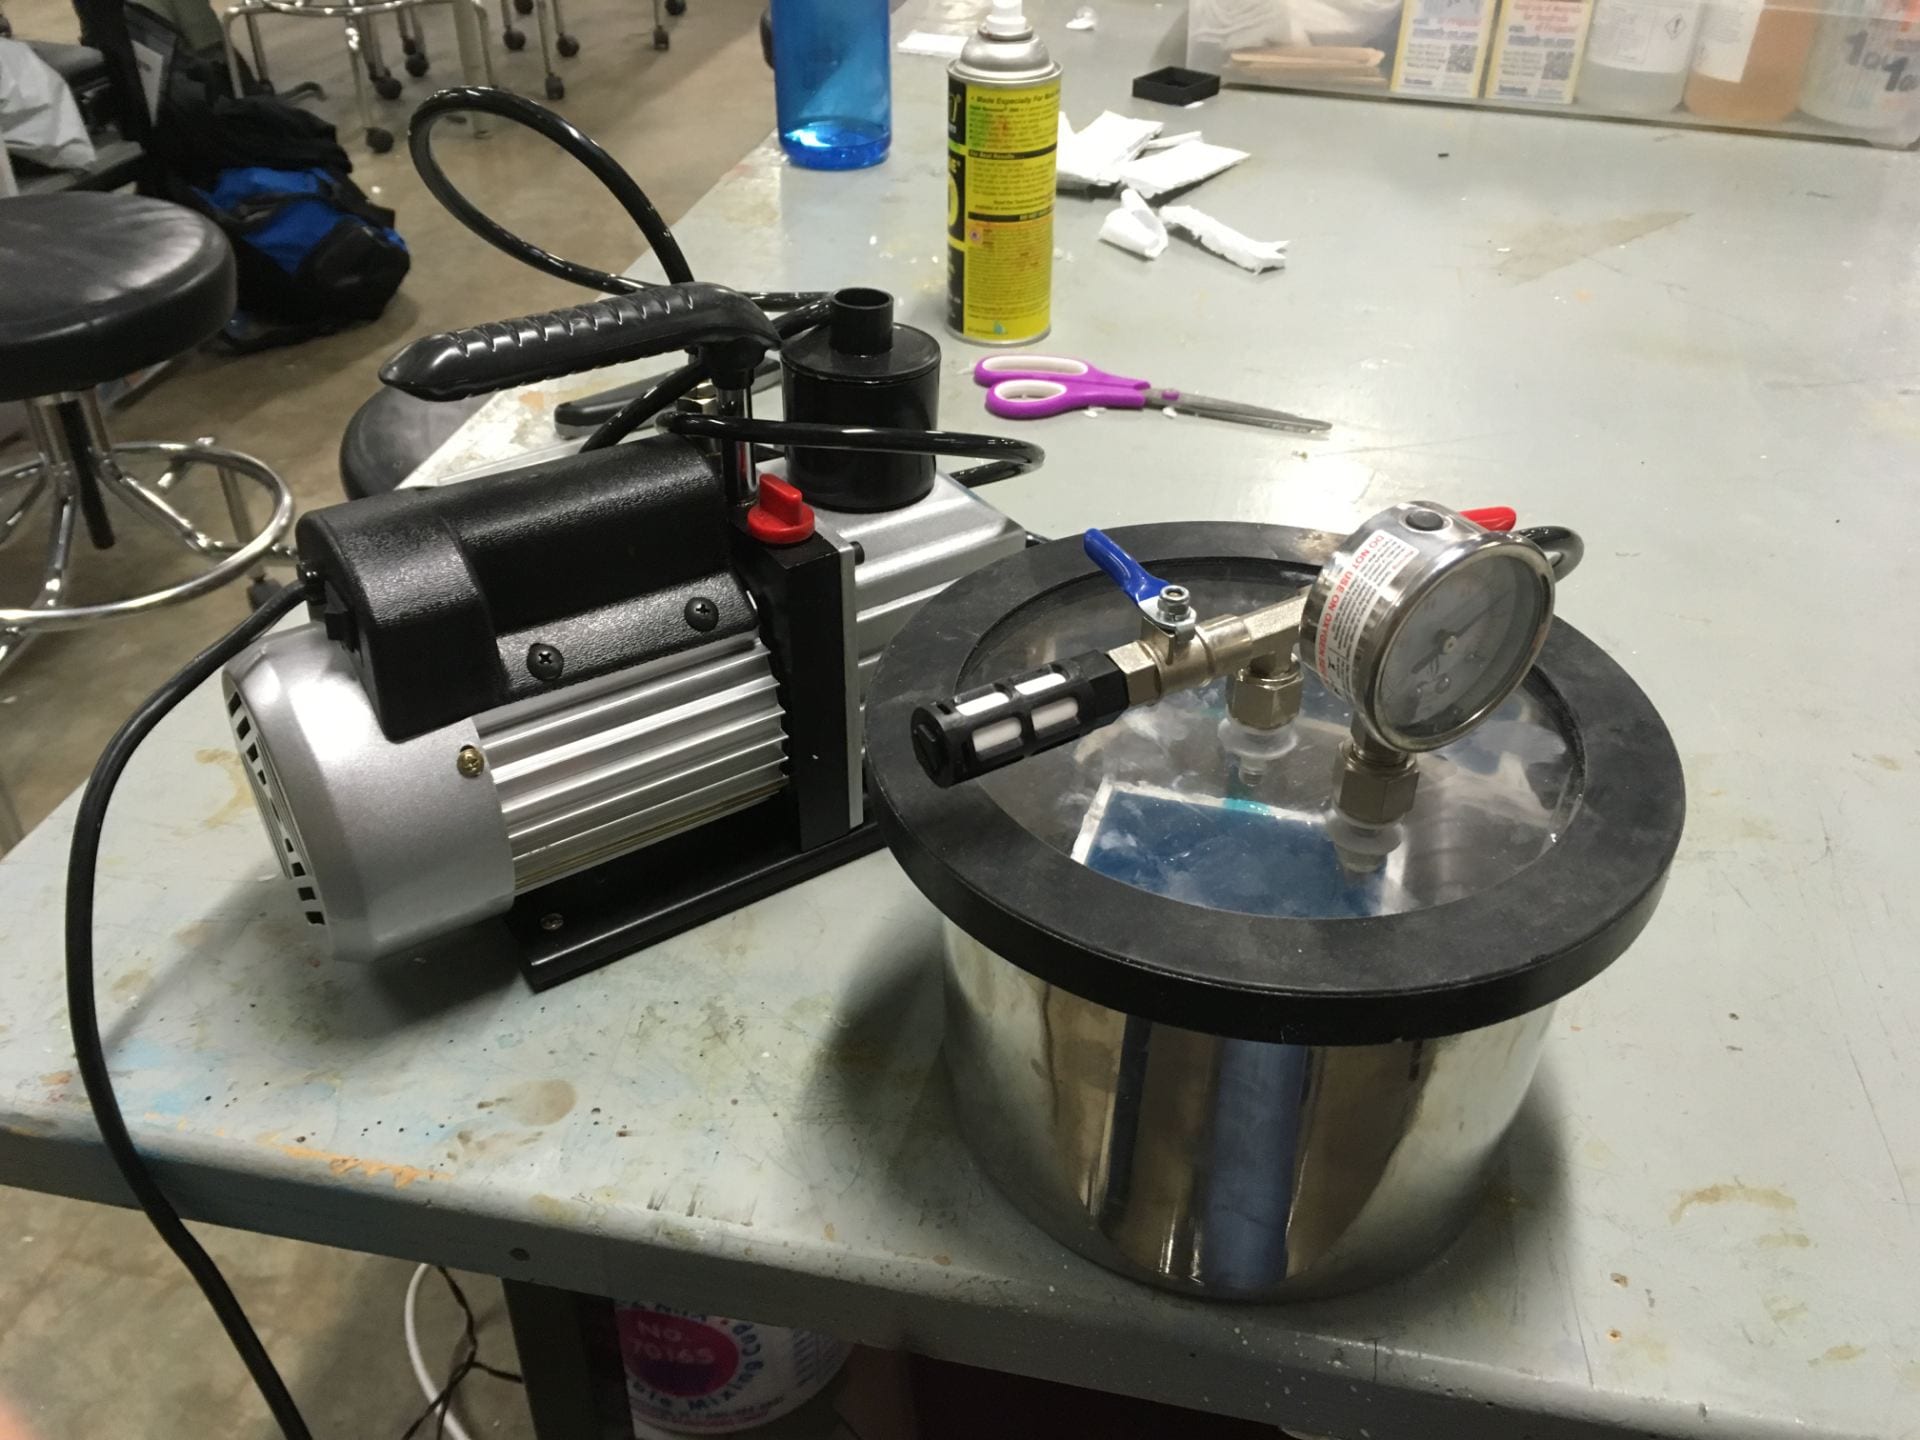
(23) Pouring the liquid silicone into our positive
(24) We used a vacuum pump to get rid of some of the air trapped in the silicone while mixing.
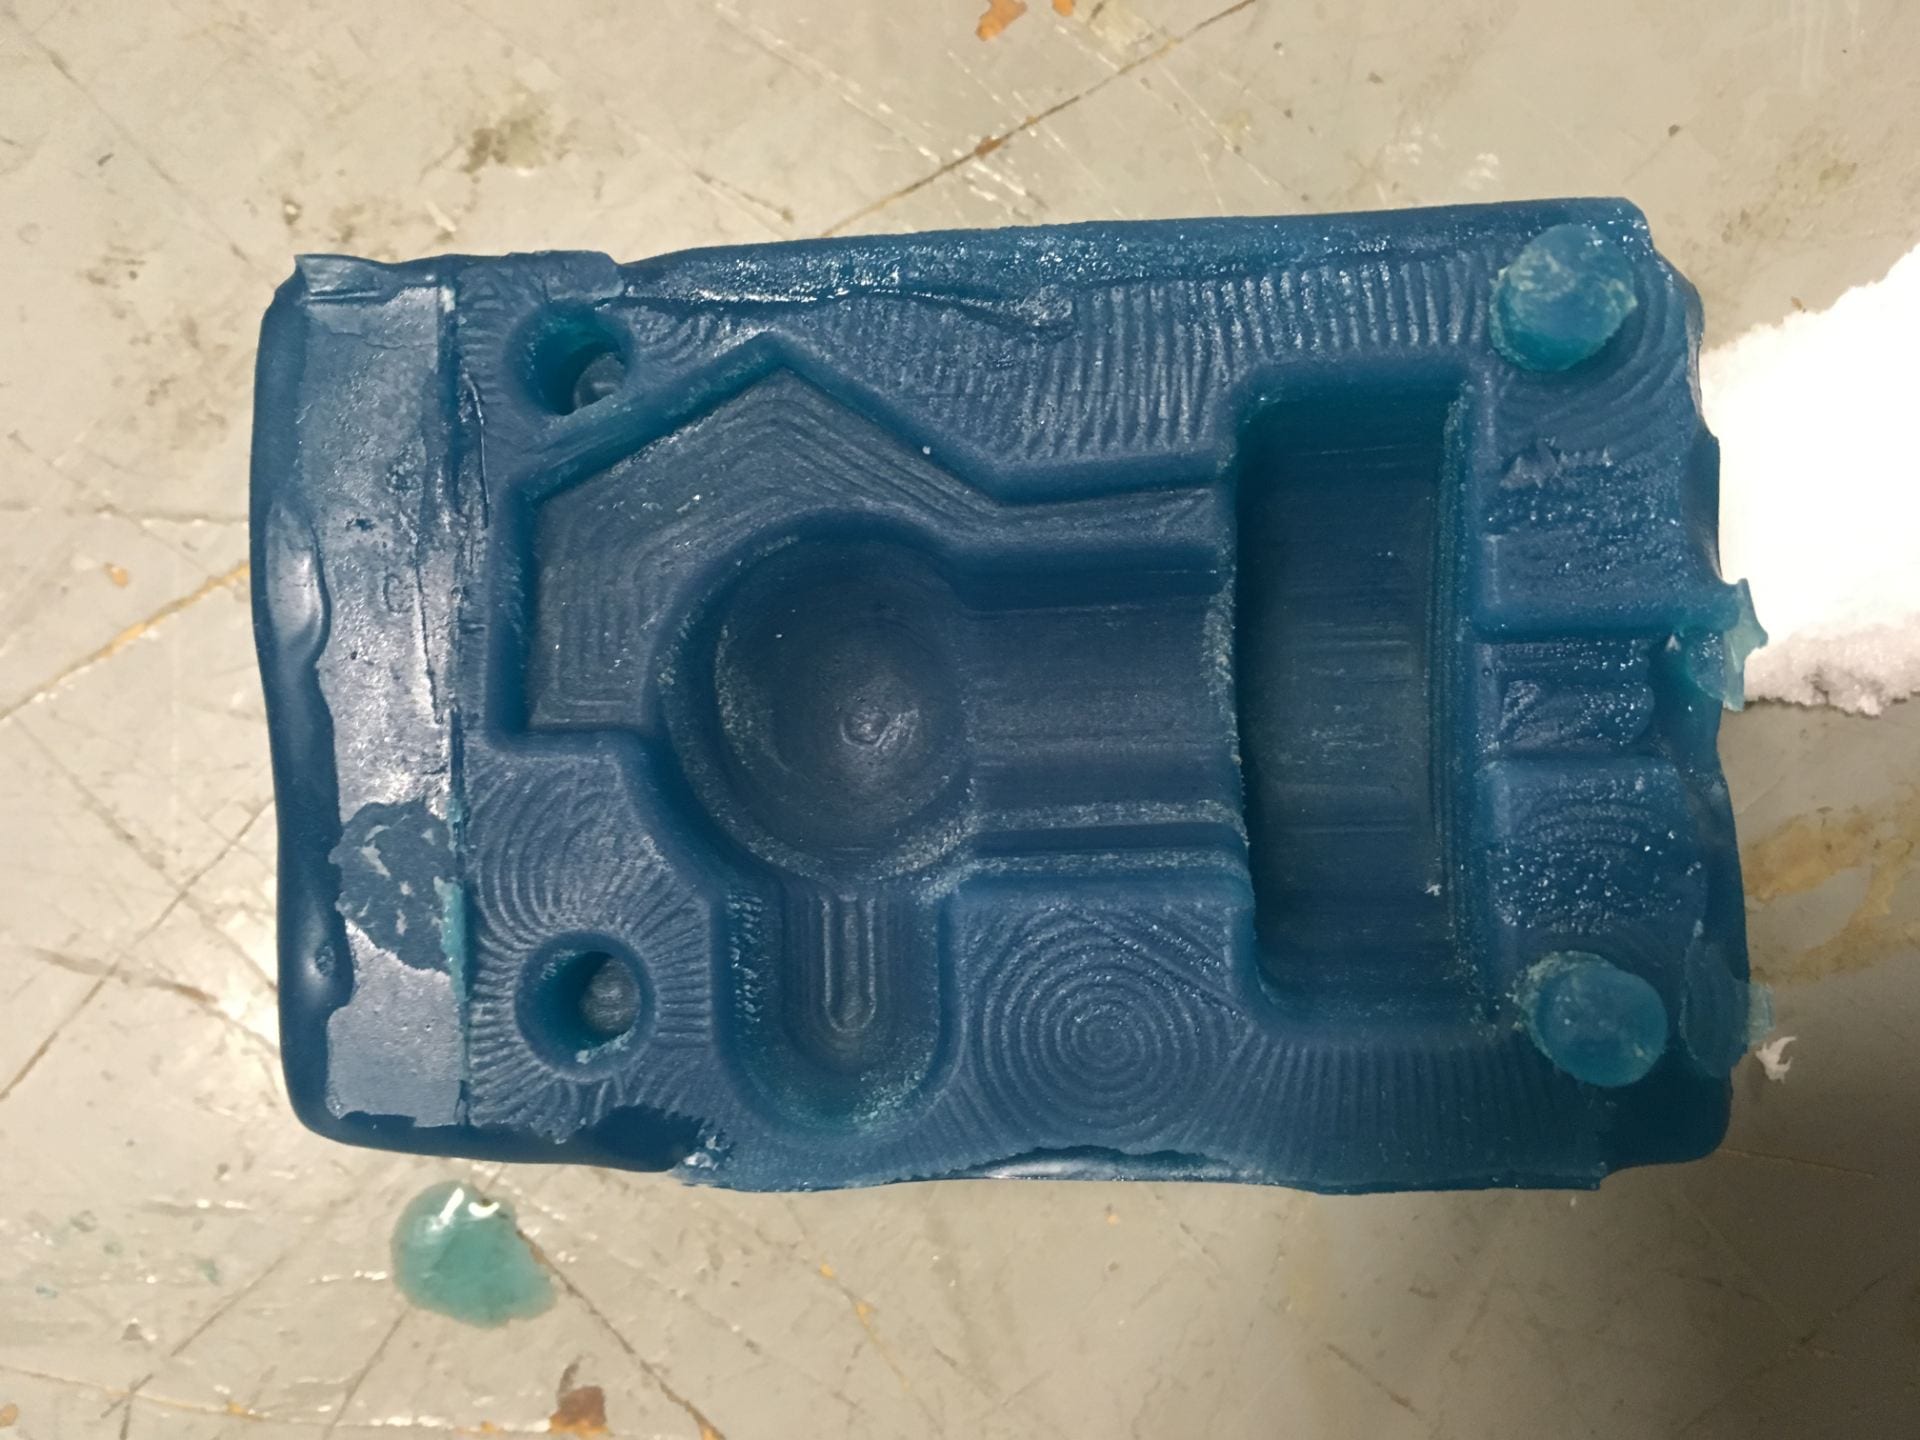
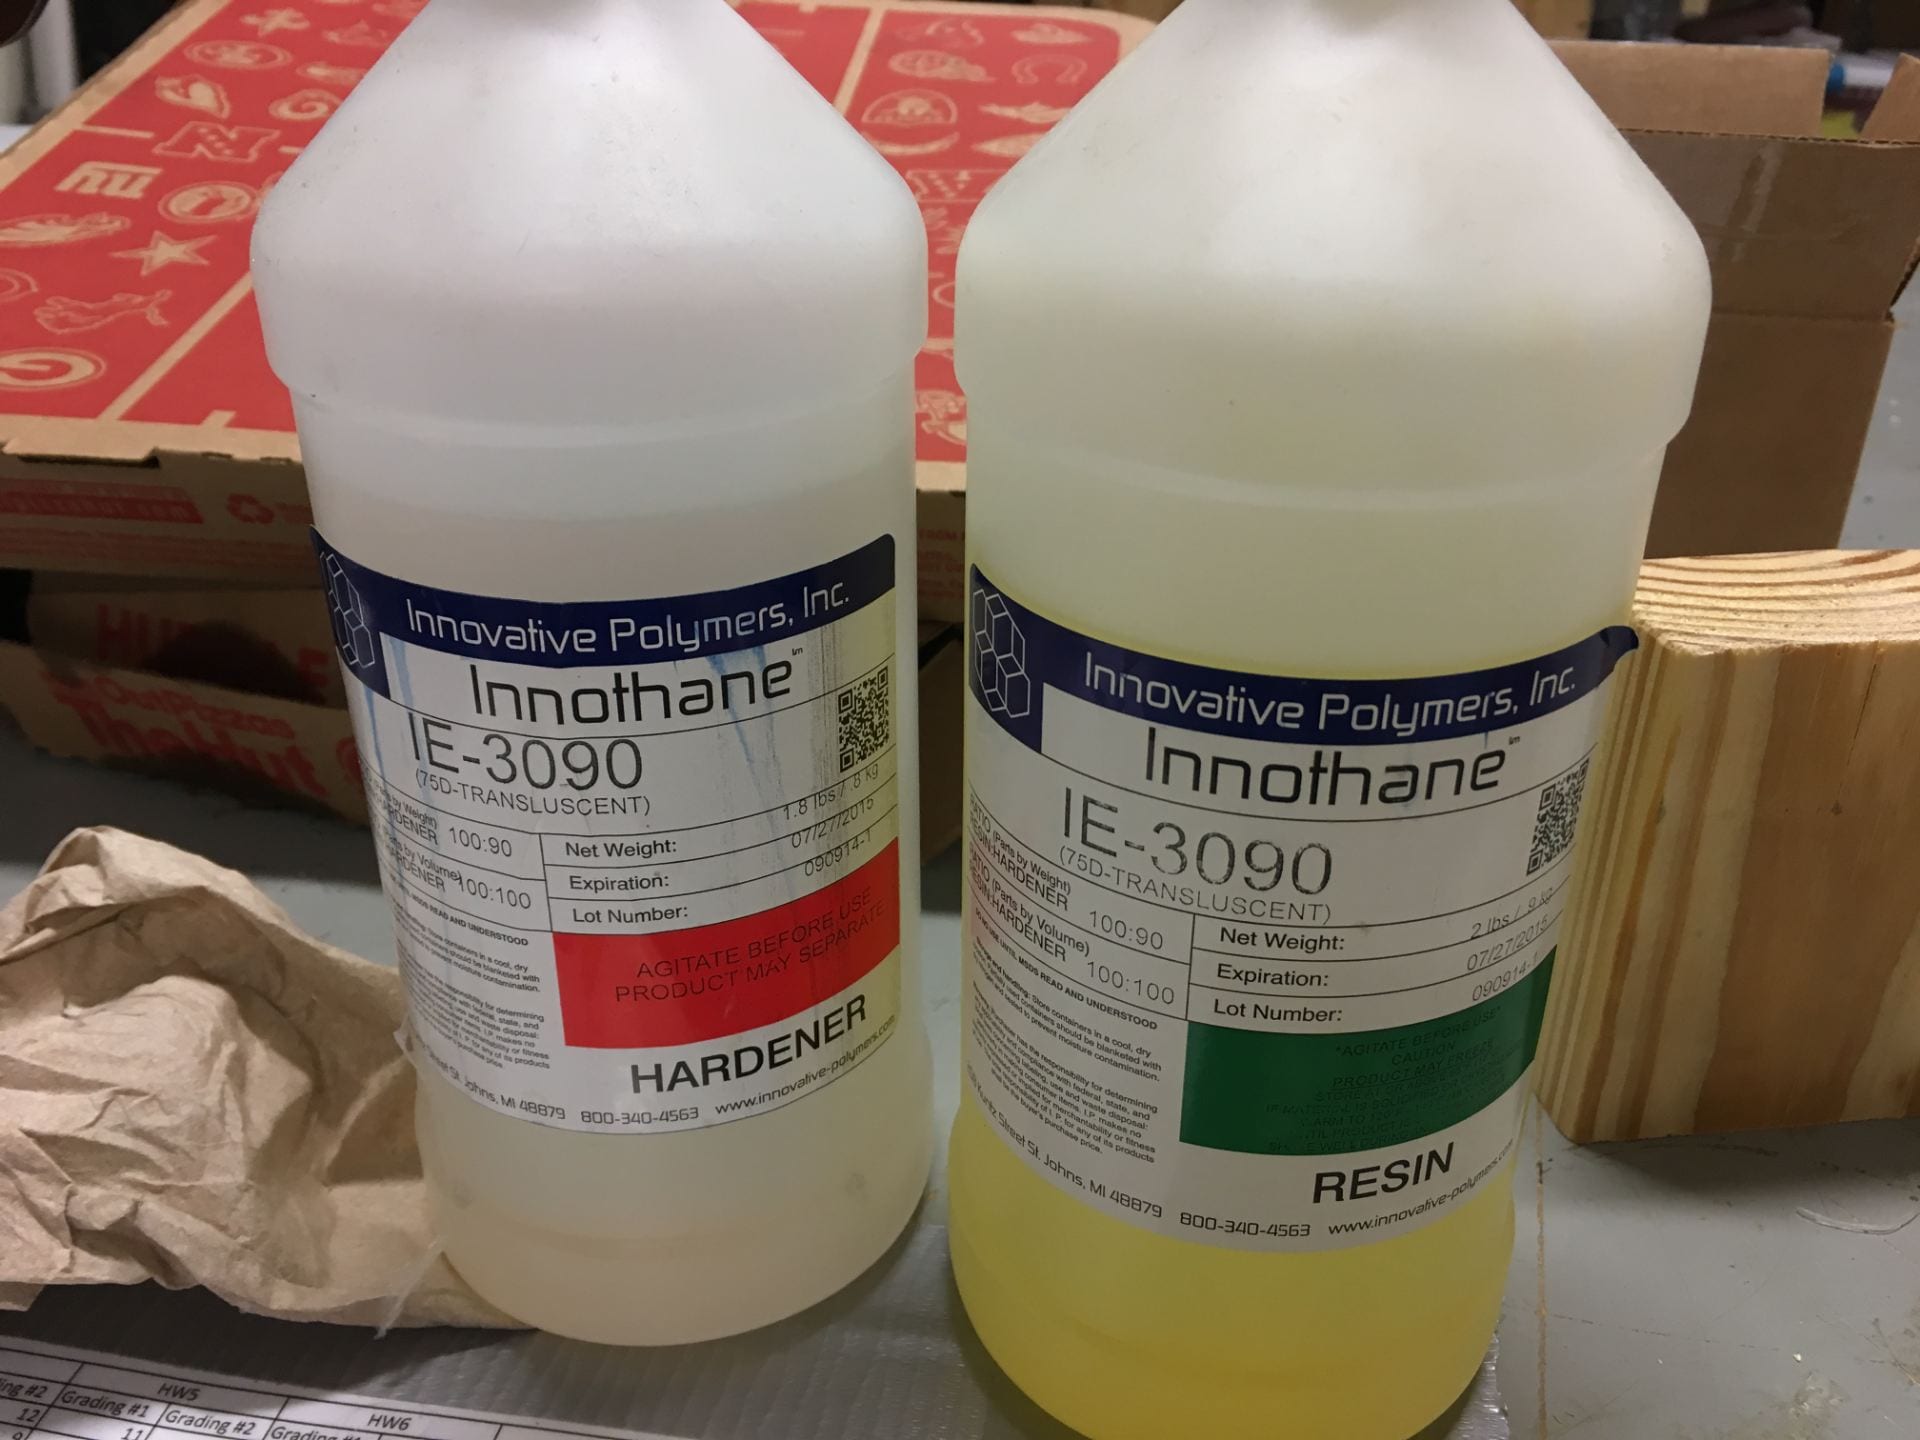
(25) Peeled away foam board from silicone molds. Looks like a massive gummy vitamin
(26) lmao
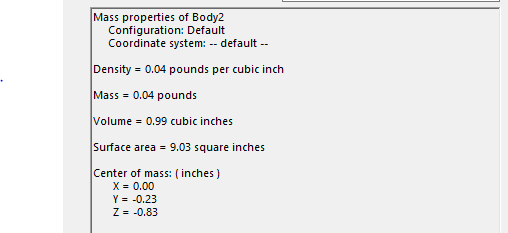
(27) I used Solidworks’ volume analysis tool to approximate how much casting resin we’d need
(28) Measuring out parts A and B for the resin
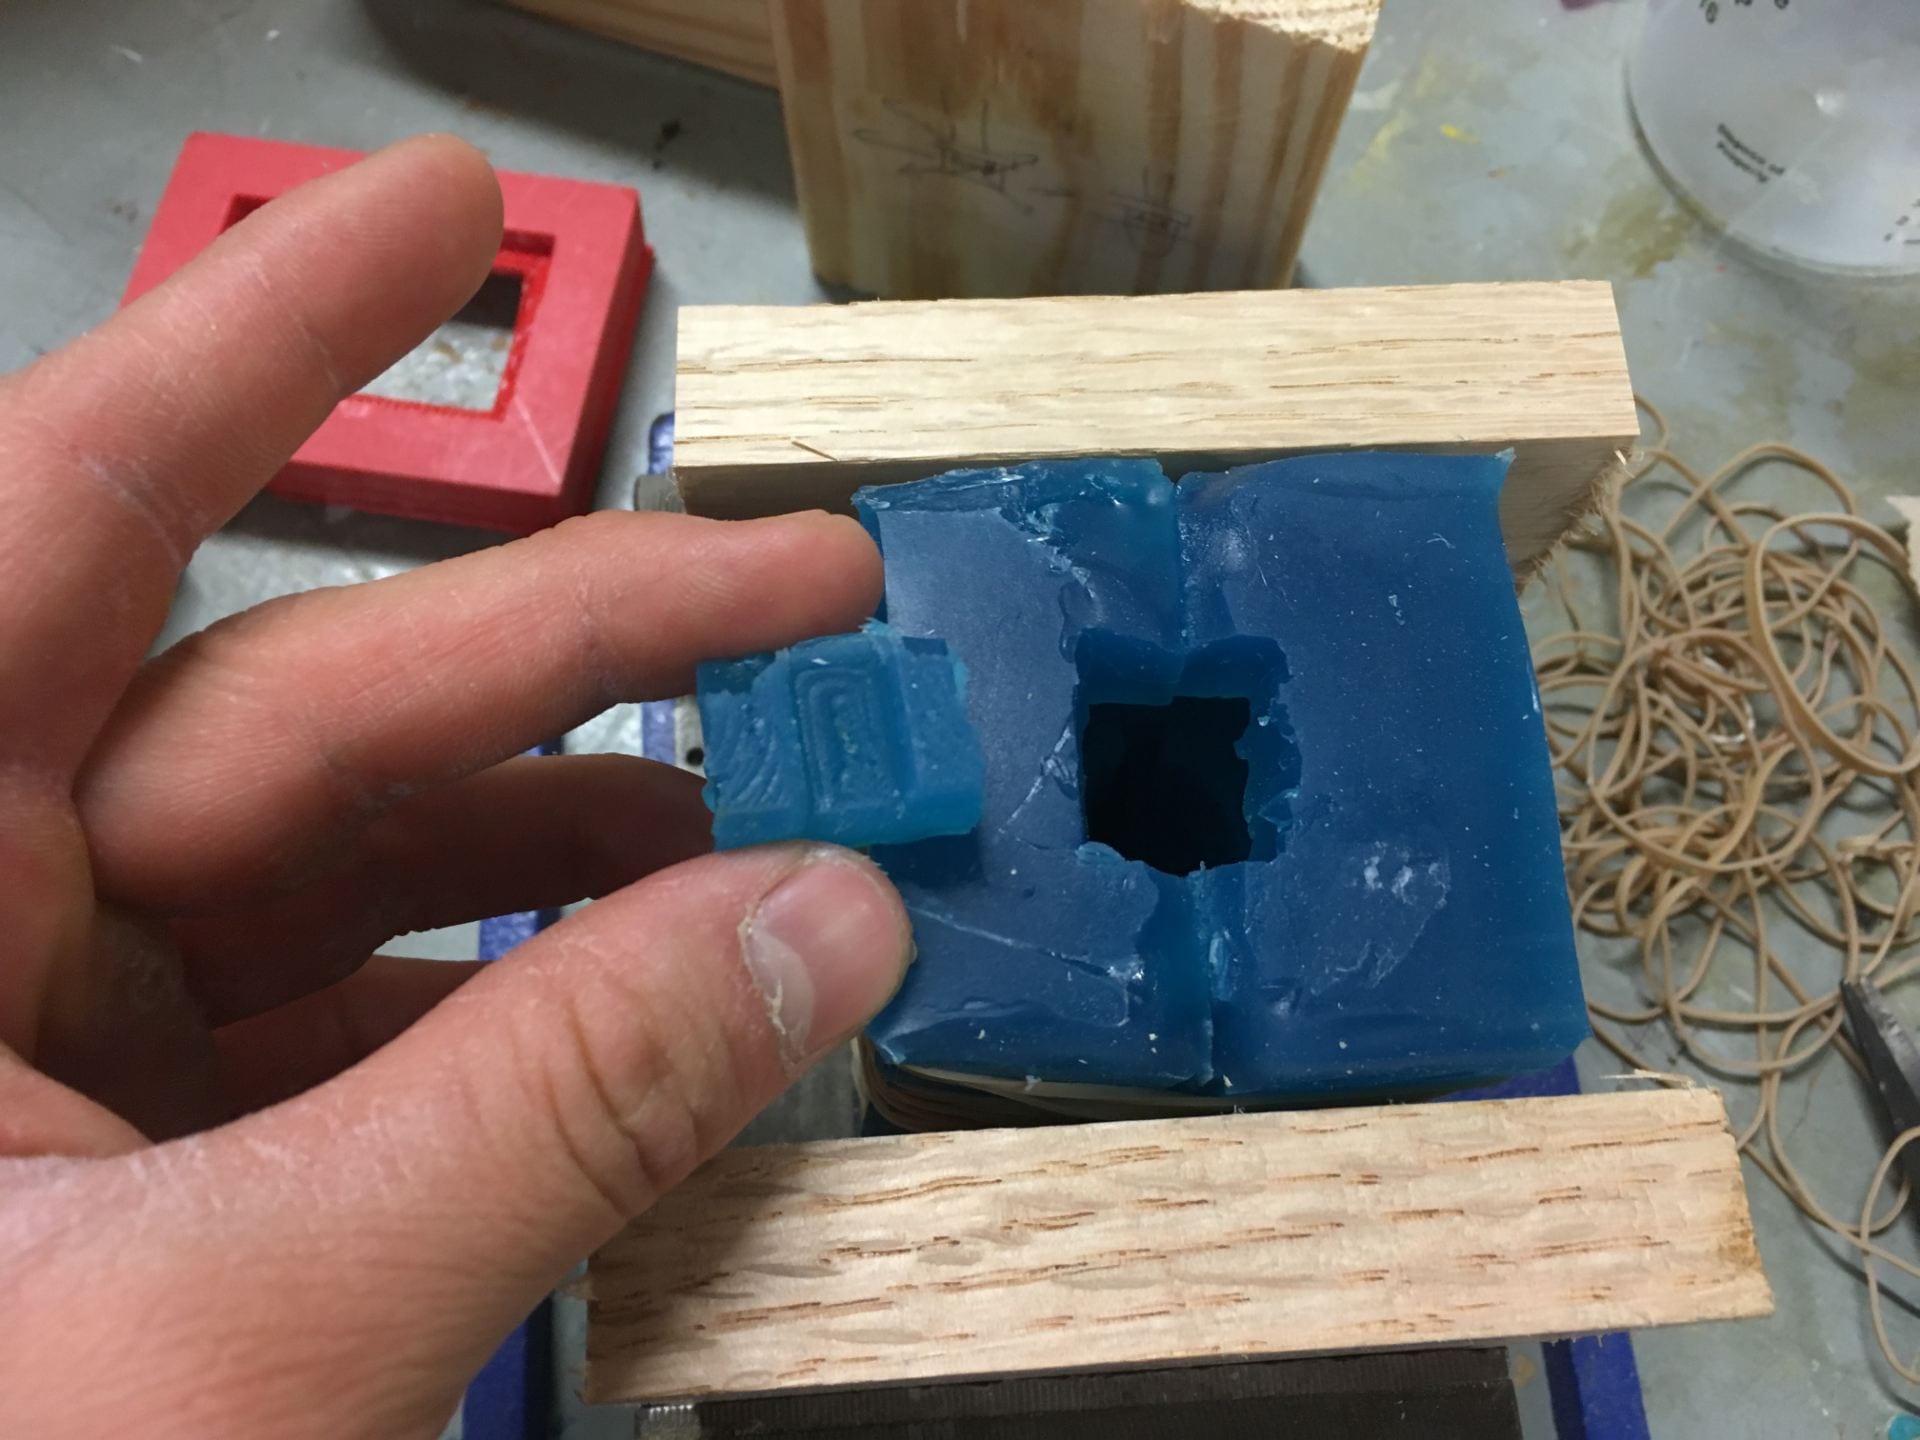
(29) As mentioned before, we sliced away at the silicone mold itself to create a larger fill hole, instead of messing around with CAD again.
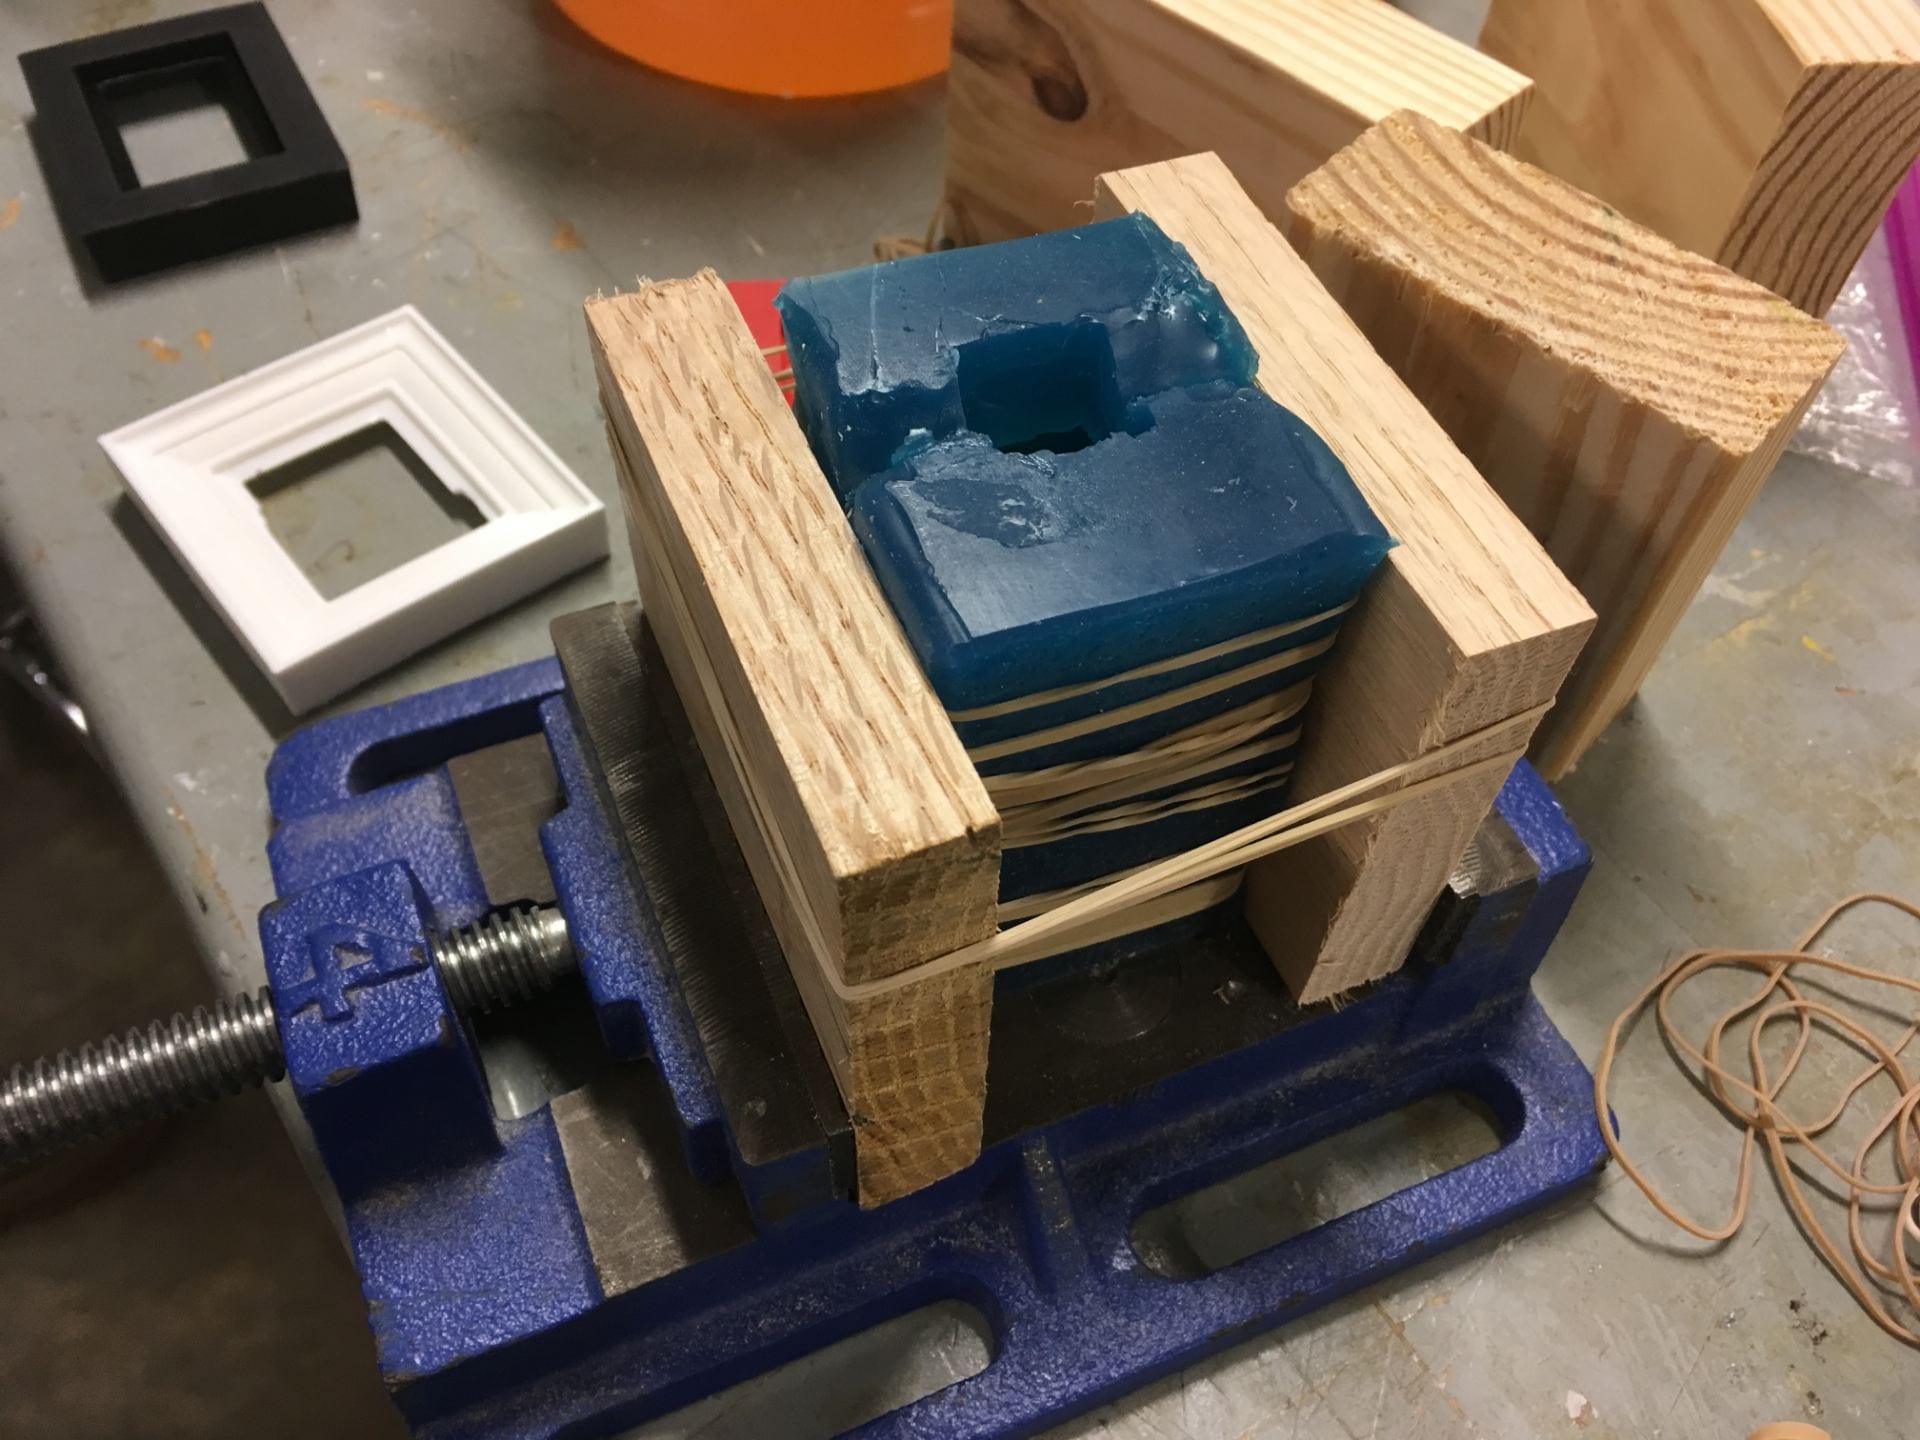
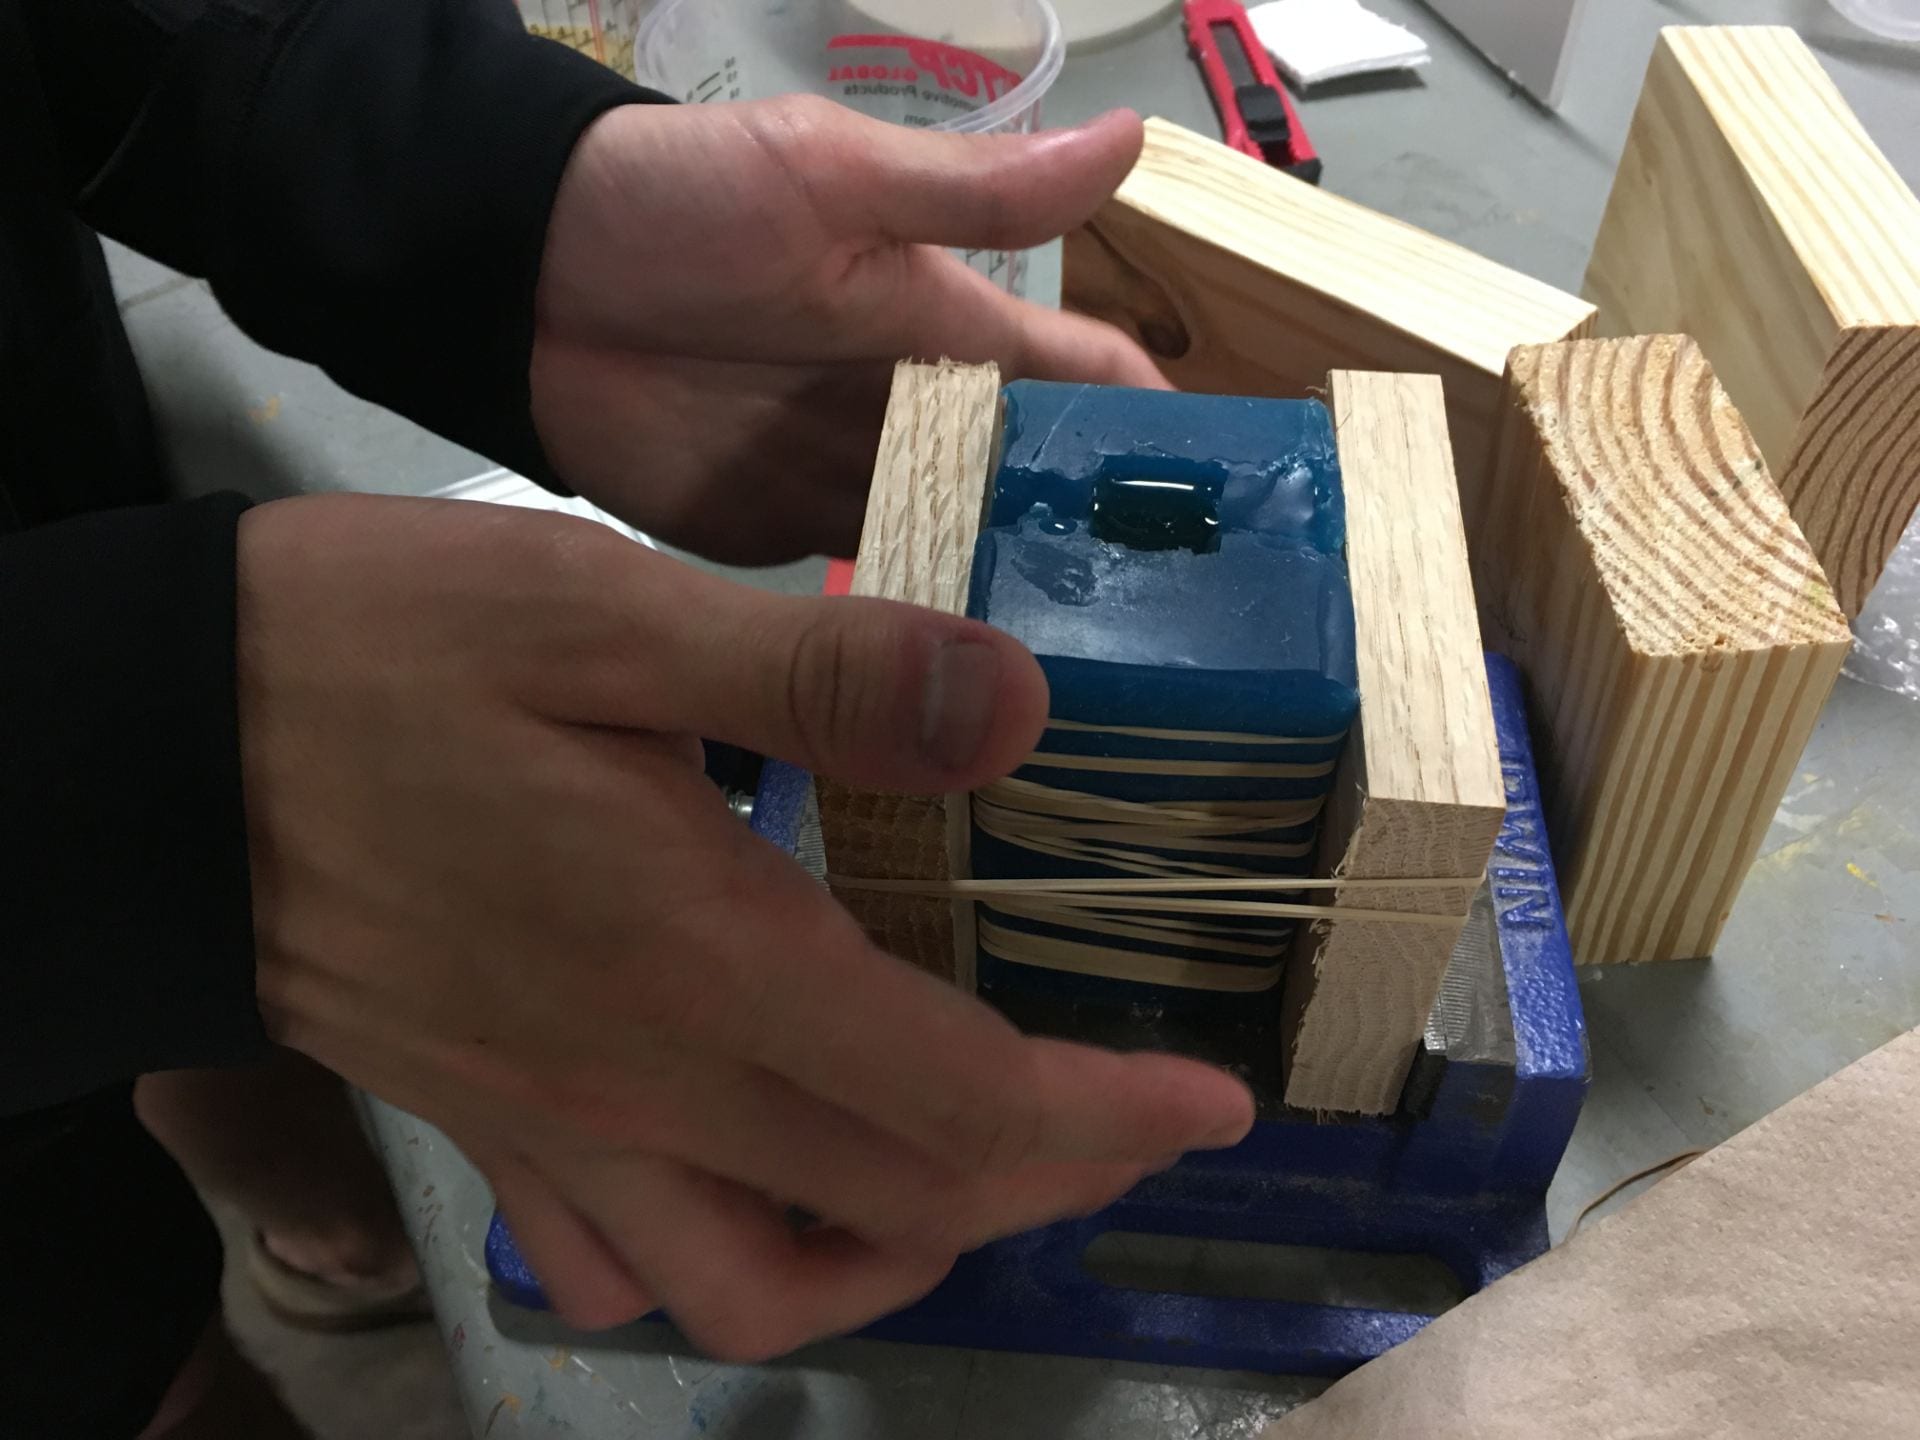
(30) Securing our mold with rubber bands, wood, and a clamp. Because our side walls still did bow a bit, we used the wood as reinforcement to try and have the mold stay more rigid.
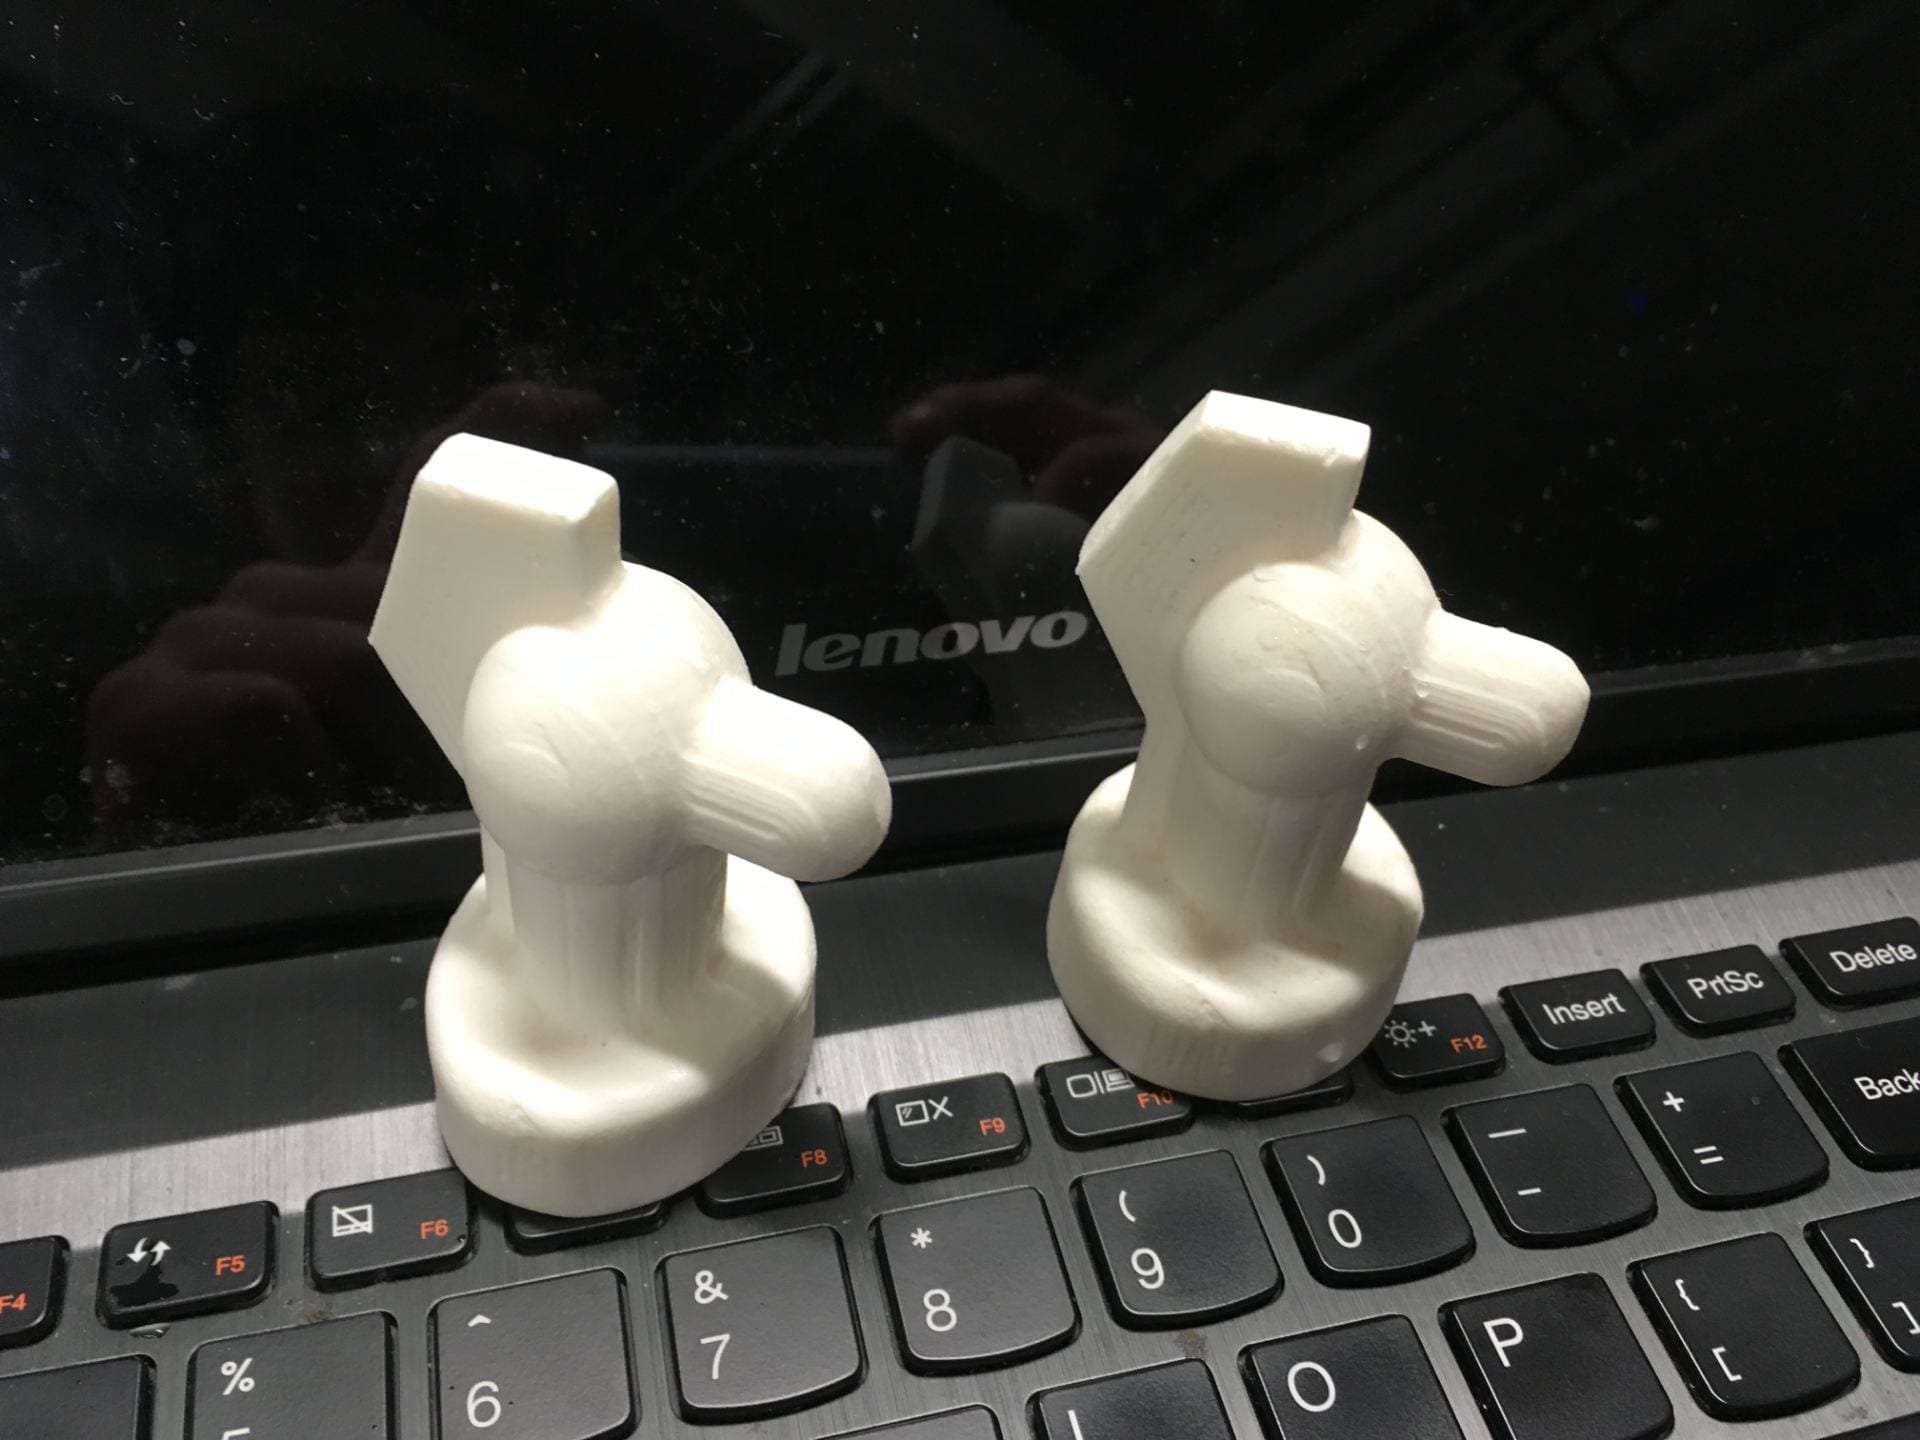
(31) Pour + wait half an hour (and shower in the meantime)
(32) Profit
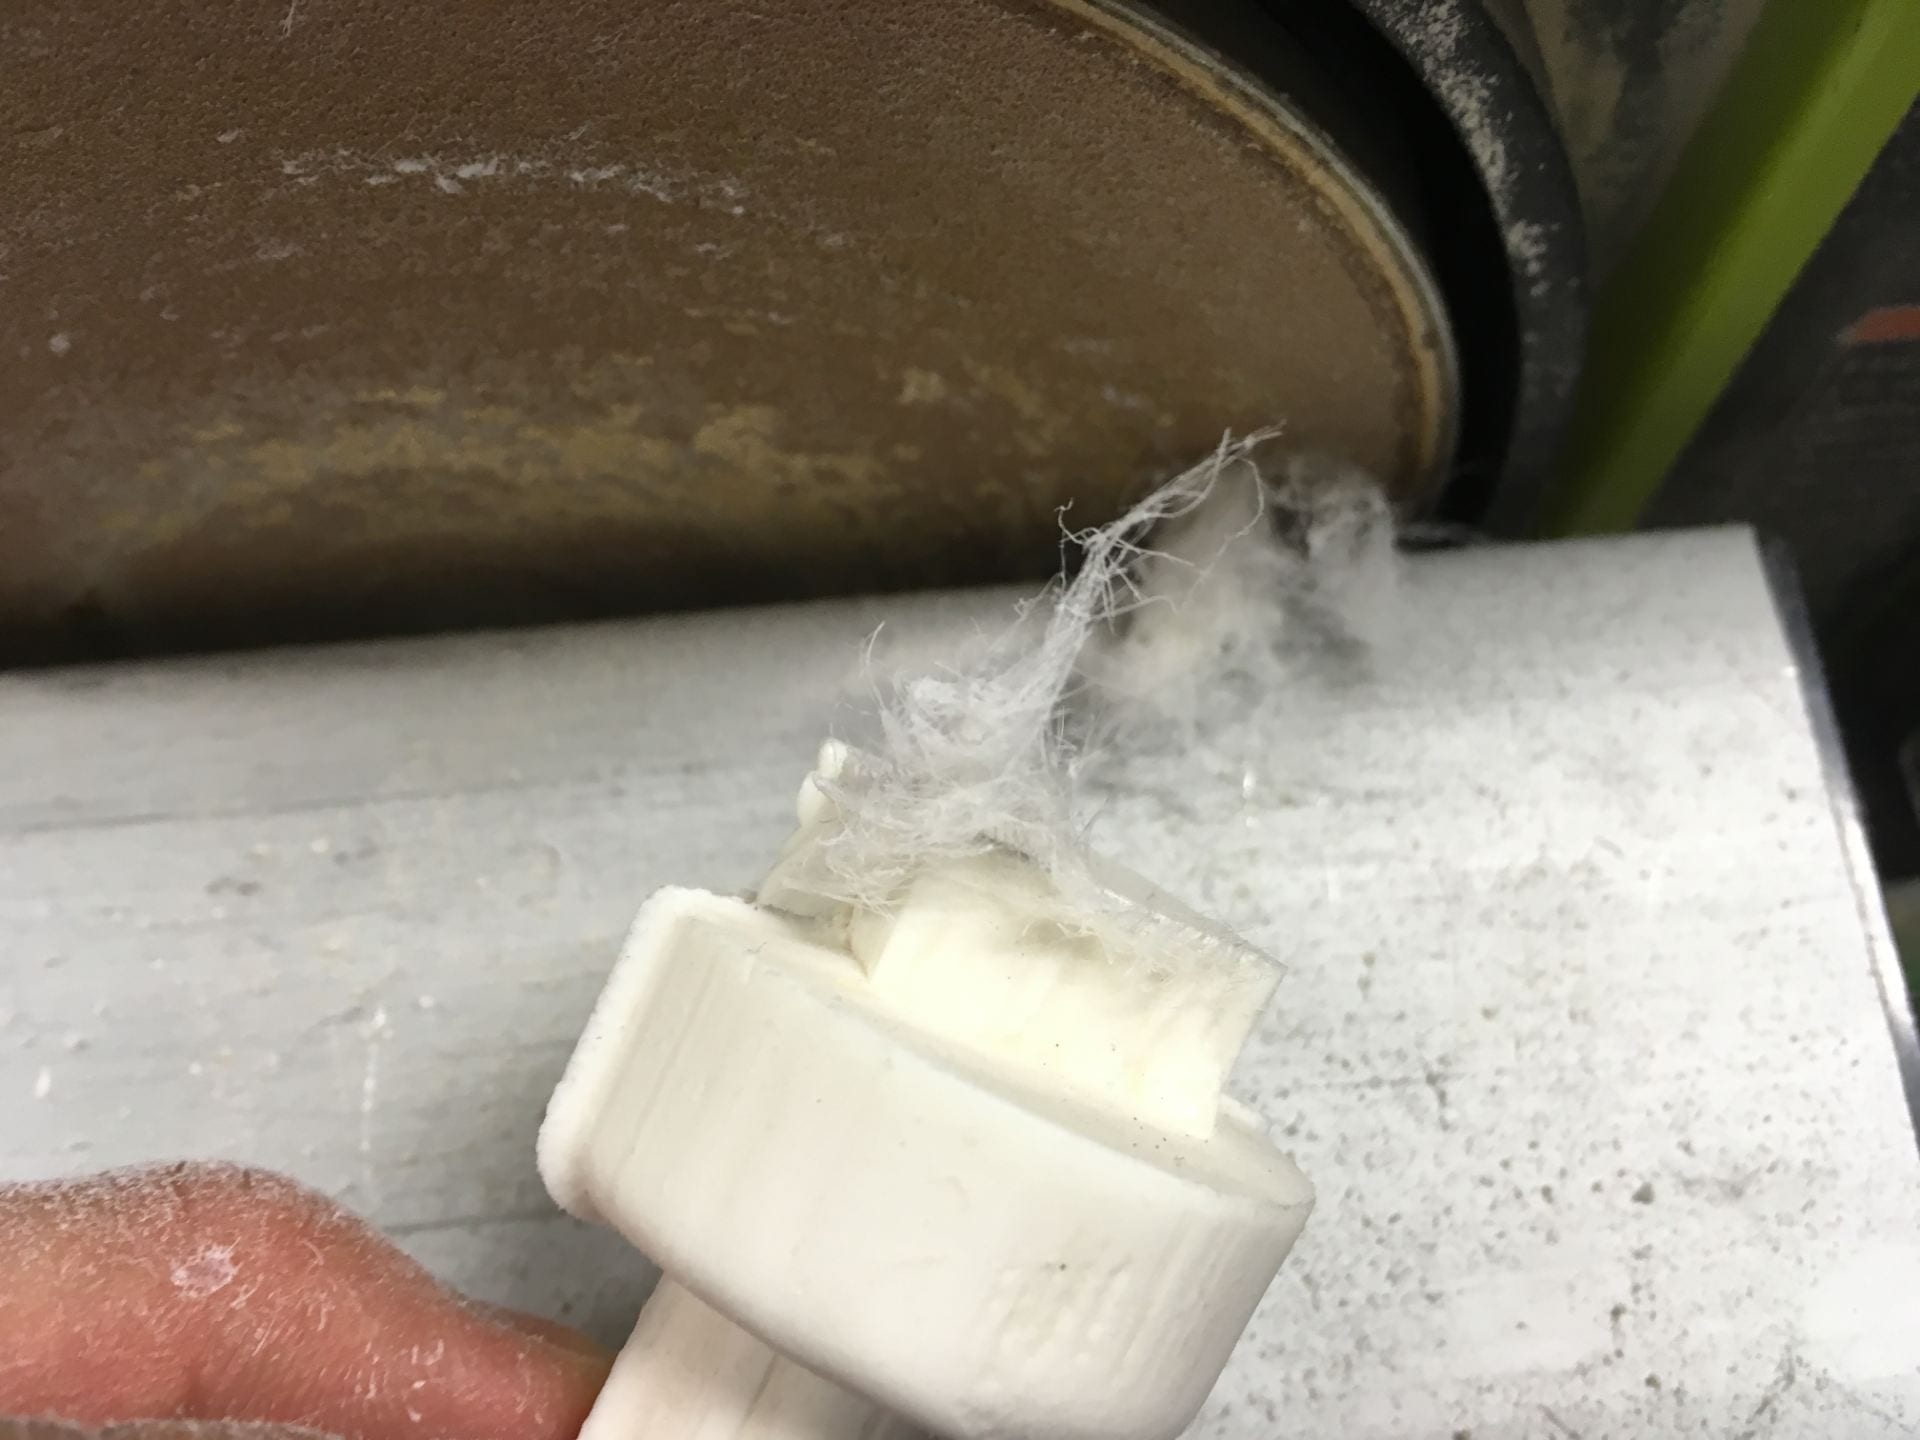
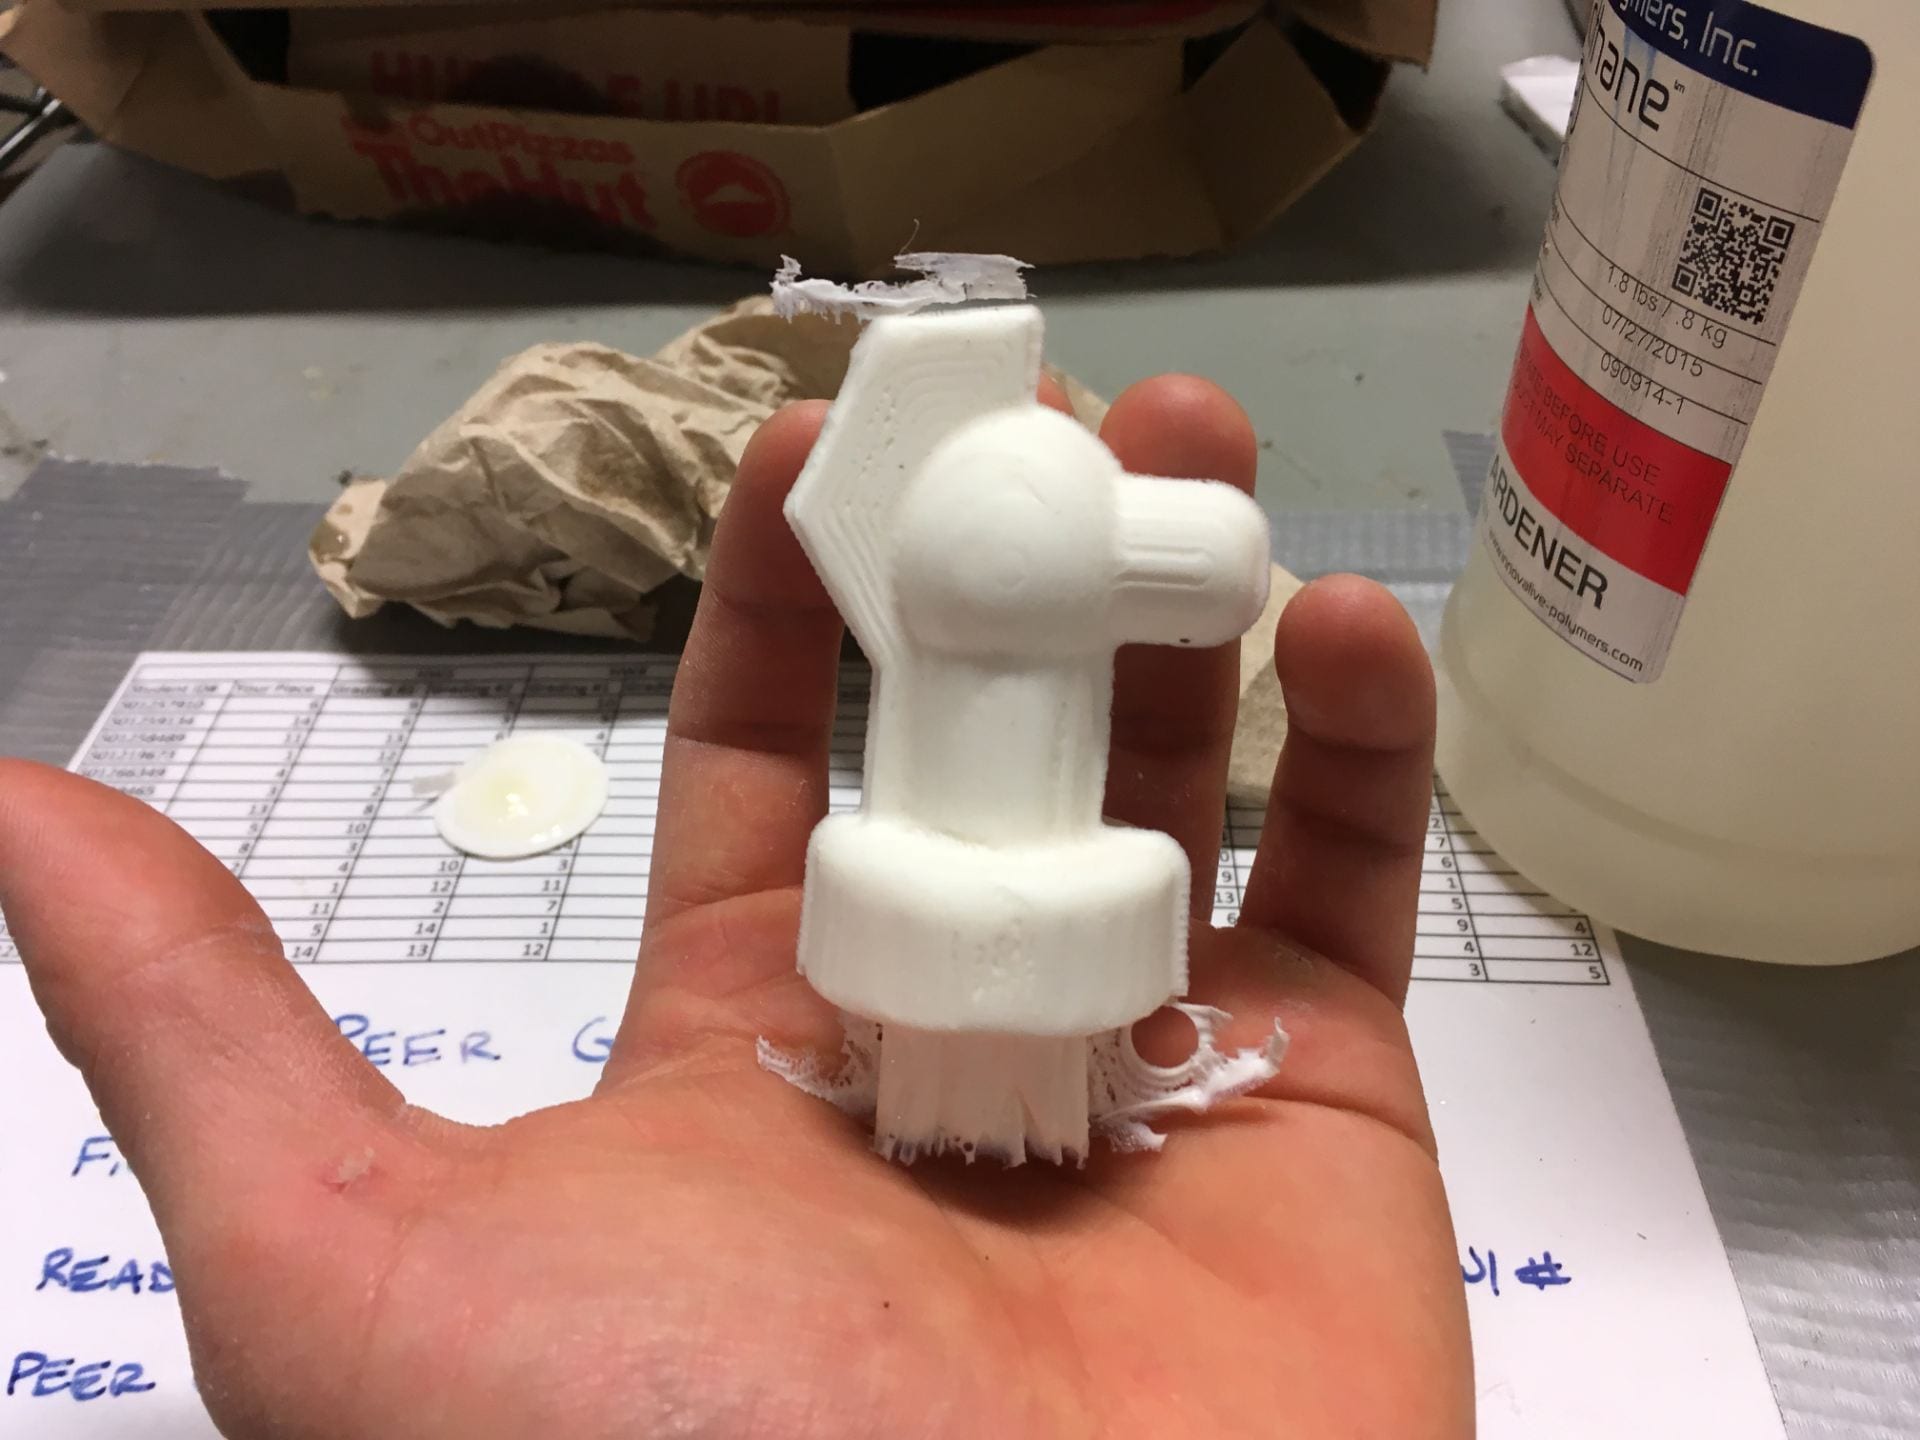
(33) I ran the pieces through the sander to get rid of the fill hole material and knocked off the seam where the molds joined with a file.
(34) Yeehaw


(35, 36) In the future (read: after finals), we may come back and try to do some clear casting (with embeded LEDs!!) with some resin I found, and also do Adulfo’s sea dragon, but for the purposes of the final project we’re happy with what we have.
Check out Adulfo’s sea dragon here!
Cost Analysis:
- Platsil 71-11 Gallon Kit – $255
- EasyFlo 60 Casting Resin Gallon Kit – $109
- 8 feet of 2″x4″ – $2.80
- CNC Time – $60/hr, 4 hours total – $240
- Mold Release Spray – $13.86
- Labor – $15/hr, ~10 hours – $150
Total Cost: $770.66 for two ugly duck looking horse knight things
Casting was pretty fun and something new. I can already think of several uses where I’d be able to use it but those are secrets for now.
Well, guess this brings my Engi 210 experience to a close. It’s been quite a ride. I’d be lying if I said I didn’t downright hate the class at times, but overall it was a good experience and I picked up some new techniques to make stuff with. It was good to meet new friends and share all-nighters slaving away in the OEDK, and the competition in the class (real or imagined) made life interesting. While I’ll undoubtedly see most of you in the OEDK in the future (pfft who am I kidding of course I will) this still feels kind of like a goodbye. So,
Thank you, Father.
Goodbye, Mother.
And, to all the Children:
Congratulations.
Thank you all.
